
Reemplazo de batería de Joy-Con

Introducción
Ir al paso 1Esta guía te mostrará cómo reemplazar la batería en tu controlador Joy-Con.
Hay algunas pocas diferencias entre el Joy-Con derecho y el izquierdo. Estos pasos se aplican para ambos Joy-Cons.
Qué necesitas
Kits de reparación
Este kit contiene todas las piezas y herramientas necesarias para completar esta guía.

Partes

Herramientas


Ver más…
Resumen del Video


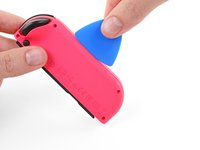


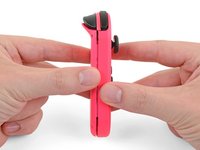
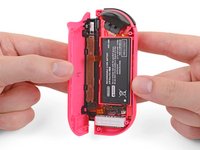


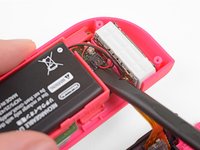
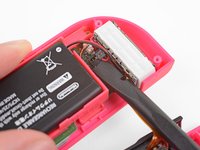
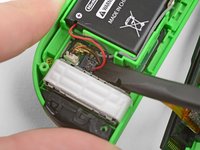


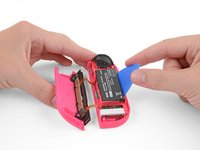
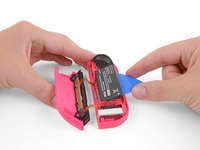
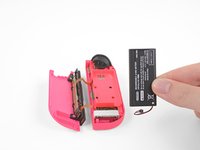
Para volver a ensamblar tu dispositivo, sigue estas instrucciones en orden inverso.
Para volver a ensamblar tu dispositivo, sigue estas instrucciones en orden inverso.
Cancelar: No complete esta guía.
69 personas más completaron esta guía.
Un agradecimiento especial a estos traductores:
100%


Estos traductores nos están ayudando a reparar el mundo! ¿Quieres contribuir?
Empezar a traducir ›



11 comentarios
Bonjour, après avoir suivi les étapes tout fonctionne ,SAUF la recharge … à savoir également que je me suis trompé dans la commande de la nouvelle batterie, celle-ci étant d'une capacité plus faible
Bonjour Ced ! Nous sommes désolés de l’apprendre. Avez-vous essayé de calibrer la batterie ? Veuillez prendre contact avec notre service client (support@ifixit.com pour la boutique américaine ou eustore@ifixit.com pour la boutique européenne et française) en indiquant votre numéro de commande. Ce sera un plaisir de vous porter assistance !
Bei mir ging beim roten Joy Con oder Akku nicht mehr, ich hab ihn jetzt auseinandergeschraubt, das Kabel vom Akku gelöst und wieder eingesteckt.
als ich alles zusammengebaut habe ging er. Es war wahrscheinlich nur das Kabel was nicht richtig drin war.
Hello, i'm unsure what to do now but I have replaced my battery but my switch still doesn't show the presence of my right joy-con. I opened up the joy-con while connected to the switch and the battery is only charging at 1.2v (without the battery the pins are the same) could it be the charging rail? Any tips would be appreciated. Thanks!
