Saltar al contenido principal
Right Temple

Right Temple

Alex Diaz-Kokaisl

Alex Diaz-Kokaisl y otro contribuidor

Última actualización: May 7, 2024

Sin estimación
Moderado
Sólo Prerrequisito
Esta guía solo debería usarse como prerrequisito para otras guías. Por tanto, estará incompleta.

Qué necesitas

Herramientas

  • T5 Torx Screwdriver
    T5 Torx Screwdriver
  • Spudger
    Spudger

Ver más…

  1. Right Temple, Remove the screw covers: paso 1, imagen 1 de 2 Right Temple, Remove the screw covers: paso 1, imagen 2 de 2
    Herramienta utilizada en este paso:
    Tweezers
    $4.99
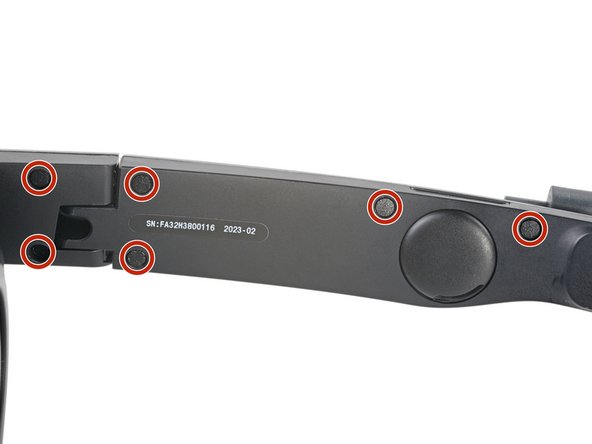
    • Use tweezers to remove the six screw covers from the right temple.

  2. Right Temple, Unfasten the right temple: paso 2, imagen 1 de 2 Right Temple, Unfasten the right temple: paso 2, imagen 2 de 2
    • Use a T5 Torx screwdriver to remove the six 4.9 mm‑long screws securing the two right temple halves.

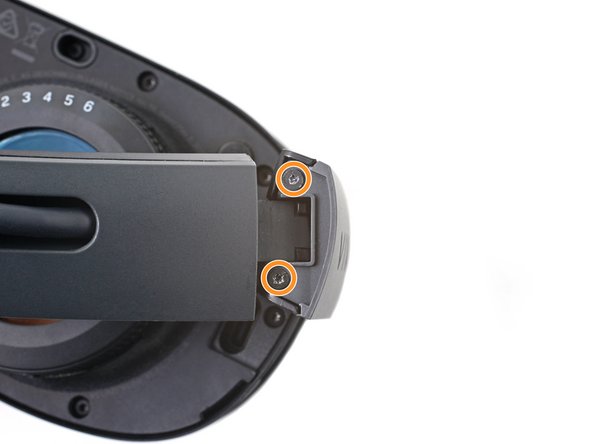
    • Use a T5 Torx screwdriver to remove the two 3.5 mm‑long screws securing the right hinge cover.

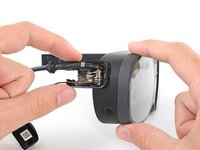
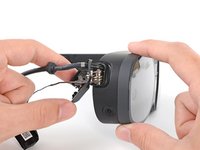
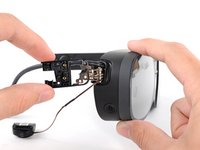
  3. Right Temple, Remove the outer hinge cover: paso 3, imagen 1 de 3 Right Temple, Remove the outer hinge cover: paso 3, imagen 2 de 3 Right Temple, Remove the outer hinge cover: paso 3, imagen 3 de 3
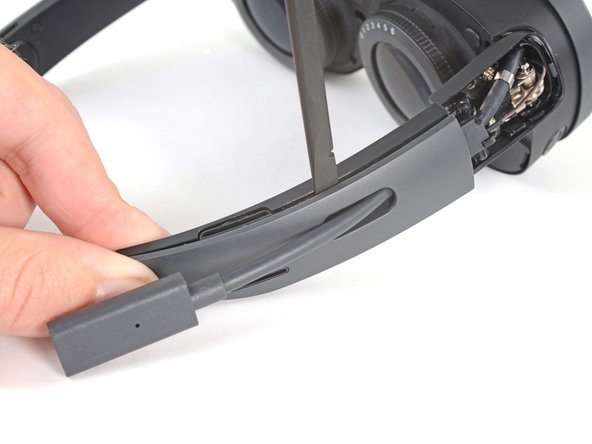
    • Insert the flat end of a spudger in the gap between the right outer and inner hinge covers.

    • Slide the spudger along the gap to separate the clips securing the outer hinge cover.

    • Remove the outer hinge cover.

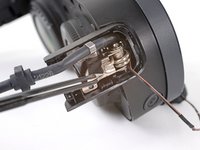
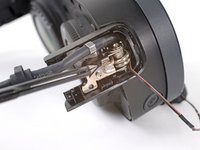
  4. Right Temple, Remove the outer temple: paso 4, imagen 1 de 3 Right Temple, Remove the outer temple: paso 4, imagen 2 de 3 Right Temple, Remove the outer temple: paso 4, imagen 3 de 3
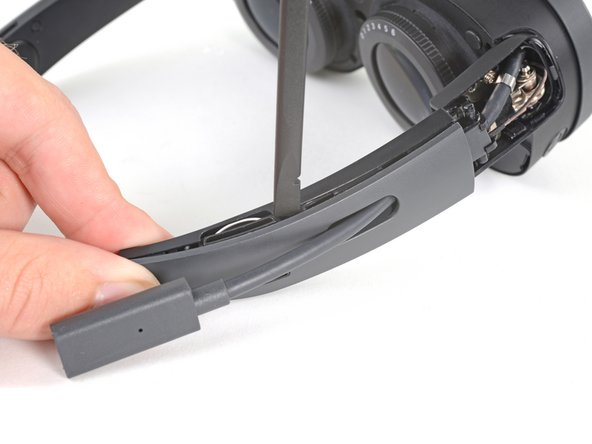
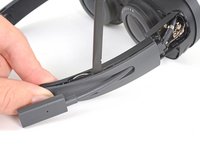
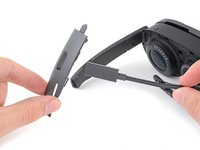
    • Insert the flat end of a spudger in the gap between the outer and inner temple.

    • Slide the spudger along the gap to separate the clips securing the outer temple.

  5. Right Temple: paso 5, imagen 1 de 3 Right Temple: paso 5, imagen 2 de 3 Right Temple: paso 5, imagen 3 de 3
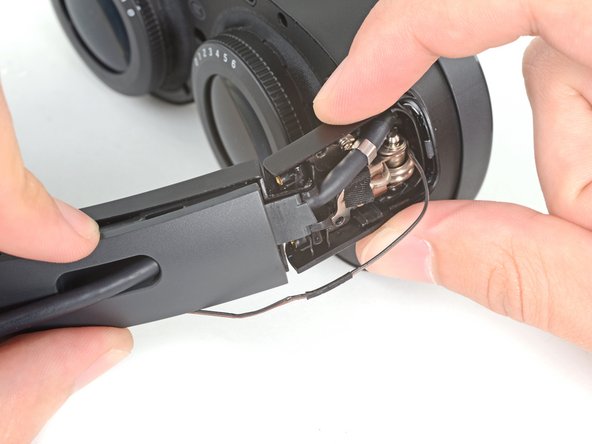
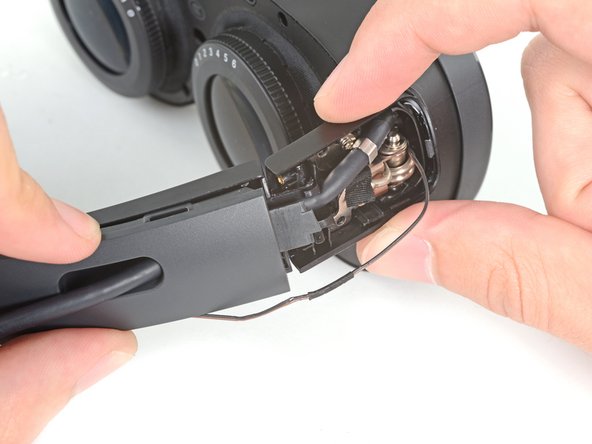
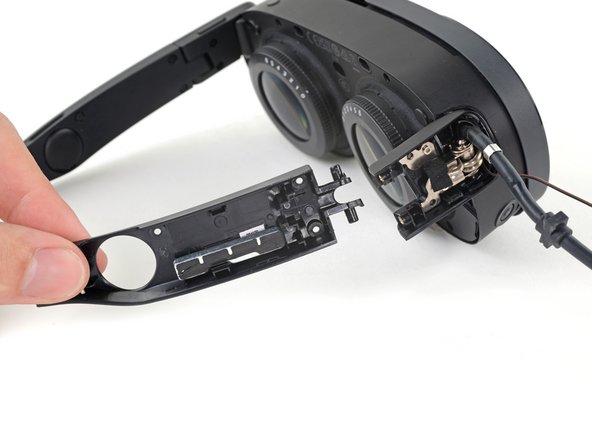
    • Slide the top of the outer temple out of its slot in the hinge.

  6. Right Temple: paso 6, imagen 1 de 2 Right Temple: paso 6, imagen 2 de 2
    Herramienta utilizada en este paso:
    Tesa 61395 Tape
    $6.99
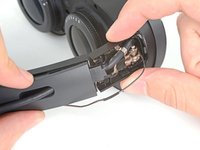
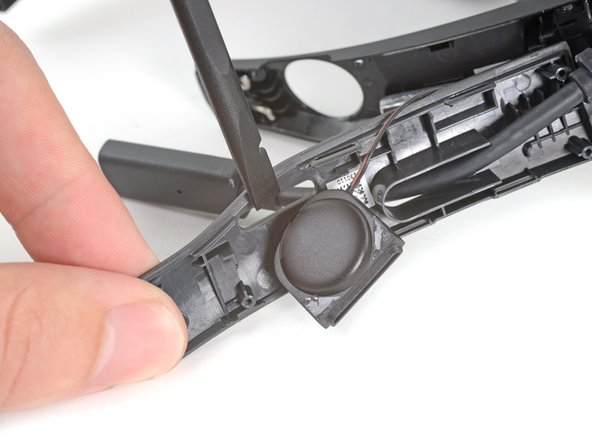
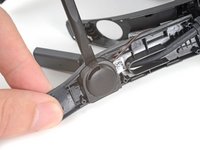
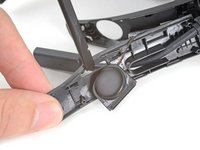
    • The speaker is lightly adhered to the outer temple.

    • Rotate the outer temple towards you to access the speaker.

    • Slide the flat end of a spudger under the speaker to separate its adhesive.

    • During reassembly, if your speaker adhesive isn't sticky, use double-sided tape to re-adhere the speaker to the outer temple.

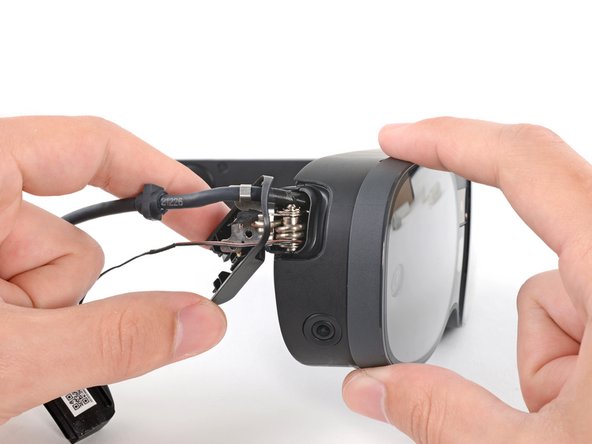
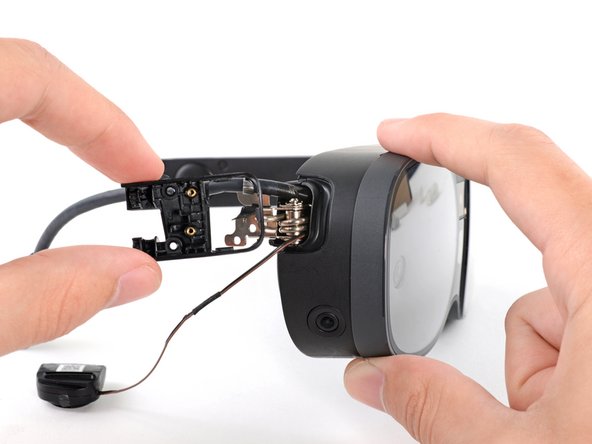
  7. Right Temple: paso 7, imagen 1 de 3 Right Temple: paso 7, imagen 2 de 3 Right Temple: paso 7, imagen 3 de 3
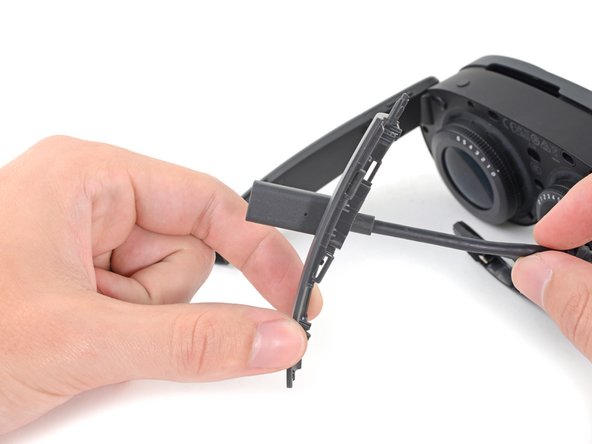
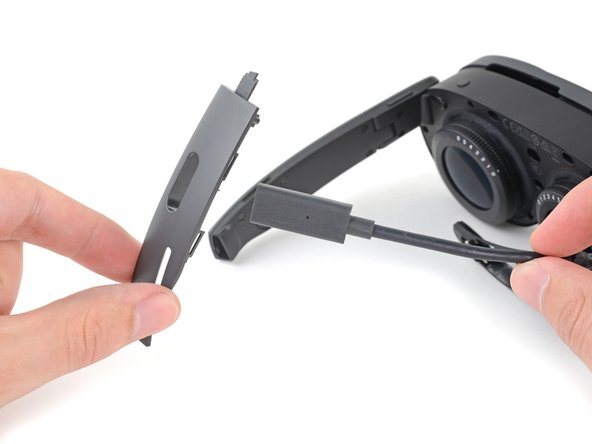
    • Thread the outer temple off of the USB‑C cable and remove it.

  8. Right Temple: paso 8, imagen 1 de 2 Right Temple: paso 8, imagen 2 de 2
    • Pull the inner temple out of its slot in the hinge and remove it.

  9. Right Temple, Peel the hinge tape: paso 9, imagen 1 de 2 Right Temple, Peel the hinge tape: paso 9, imagen 2 de 2
    • Use tweezers to peel back the black tape covering one of the inner hinge cover screws.

  10. Right Temple, Unfasten the inner hinge cover: paso 10, imagen 1 de 1
    • Use a T5 Torx screwdriver to remove the two screws securing the inner hinge cover:

    • One 3.1 mm‑long screw

    • One 4.9 mm‑long screw

  11. Right Temple, Remove the inner hinge cover: paso 11, imagen 1 de 3 Right Temple, Remove the inner hinge cover: paso 11, imagen 2 de 3 Right Temple, Remove the inner hinge cover: paso 11, imagen 3 de 3
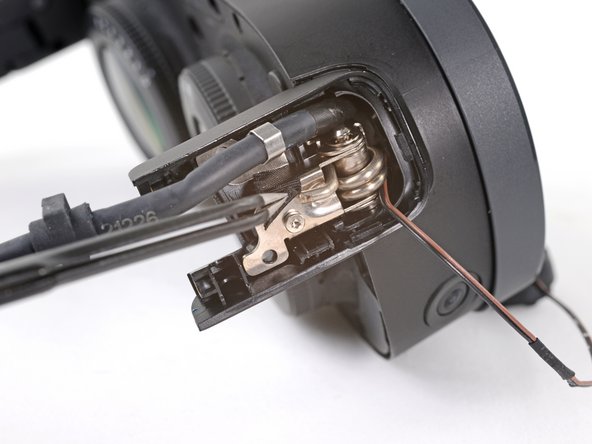
    • Rotate the inner hinge cover off its groove in the frame.

    • Thread the inner hinge cover off of the USB-C and speaker cables and remove it.

Conclusión

To reassemble your device, follow these instructions in reverse order.

Alex Diaz-Kokaisl

Miembro Desde 01/16/22

165,164 Reputación

769 Guías creadas

Equipo

iFixit Miembro de iFixit

Staff

Miembros de 121

19,845 Guías creadas

0Guía Comentarios

Agregar Comentario

Ver Estadísticas:

Ultimas 24 horas: 0

Ultimos 7 días: 1

Ultimos 30 días: 12

Todo El Tiempo: 49