
MacBook Pro 15" Unibody Late 2011 Trackpad Replacement
Introducción
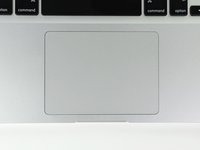
Ir al paso 1Has your MacBook Pro lost its magic touch? Bring it back with a new trackpad.


-
-
Remove the following ten screws securing the lower case to the upper case:
-
Three 13.5 mm (14.1 mm) Phillips screws.
-
Seven 3 mm Phillips screws.
-
-
-
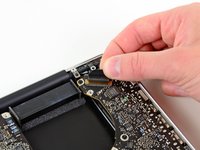
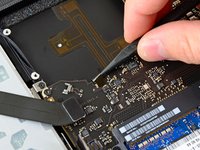
Use the edge of a spudger to pry the battery connector upwards from its socket on the logic board.
-
-
-
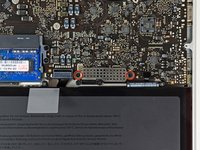
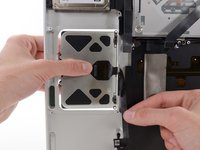
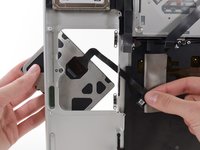
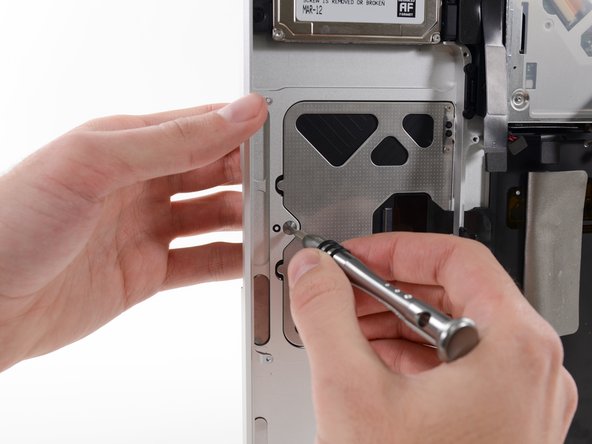
Remove the following three screws securing the left fan to the logic board:
-
Two 3.5 mm T6 Torx screws.
-
One 4.2 mm T6 Torx screw.
-
-
-
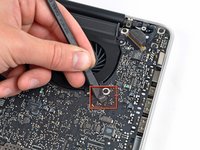
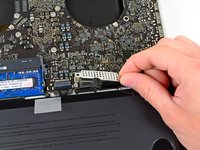
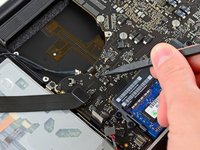
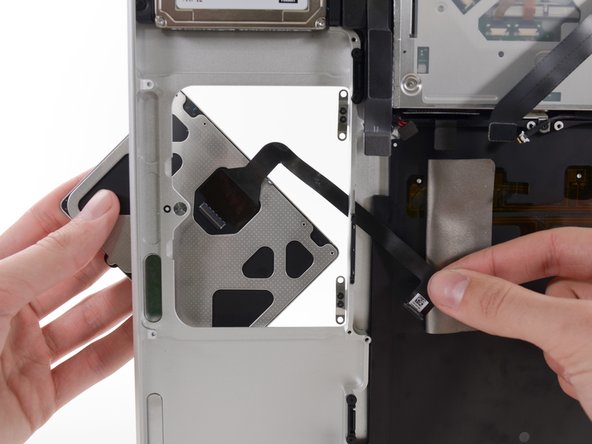
Use the flat end of a spudger to lift the right fan connector out of its socket on the logic board.
-
-
-
-
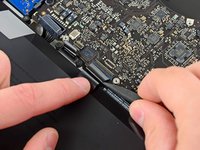
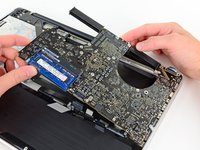
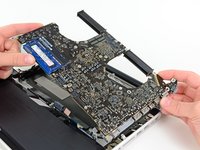
Carefully lift the logic board assembly from its left side and work it out of the upper case, minding the optical drive cable and the I/O ports that may get caught during removal.
-
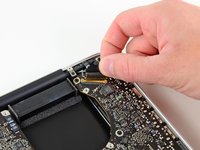
If necessary, use the flat end of a spudger to separate the microphone from the upper case.
-
Pull the I/O port side of the logic board away from the side of the upper case and remove the logic board assembly.
-
-
-
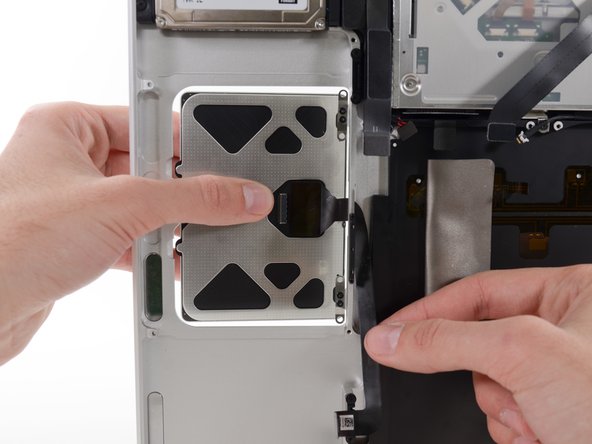
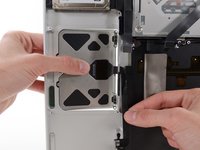
Remove the two 7.5 mm ( 7.2 mm )Tri-point screws securing the battery to the upper case.
-
-
-
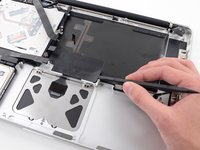
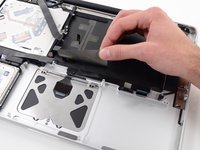
Use the flat end of a spudger to peel up the edge of the large piece of black tape covering the trackpad cable.
-
Peel the tape up and fold it back out of the way of the trackpad cable. Leaving it in place on the upper case will make it easier to reapply it during reassembly.
-
-
-
When reinstalling the trackpad, loosely replace the four Phillips screws and check the alignment of the trackpad on the keyboard side of the upper case.
-
Once you have centered the trackpad in the upper case, tighten the Phillips screws all the way.
-
Use the large Tri-point screw at the bottom of the trackpad to adjust the click stroke.
-


To reassemble your device, follow these instructions in reverse order.
To reassemble your device, follow these instructions in reverse order.
Cancelar: No complete esta guía.
37 personas más completaron esta guía.
