Saltar al contenido principal
Lenovo Yoga 900-13ISK Fan Assembly Replacement

Lenovo Yoga 900-13ISK Fan Assembly Replacement

Austin Blakely

Austin Blakely

Última actualización: May 14, 2021

1 hora
Moderado

Introducción

Ir al paso 1

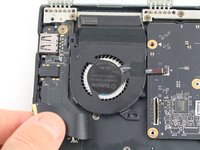
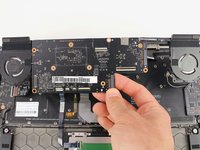
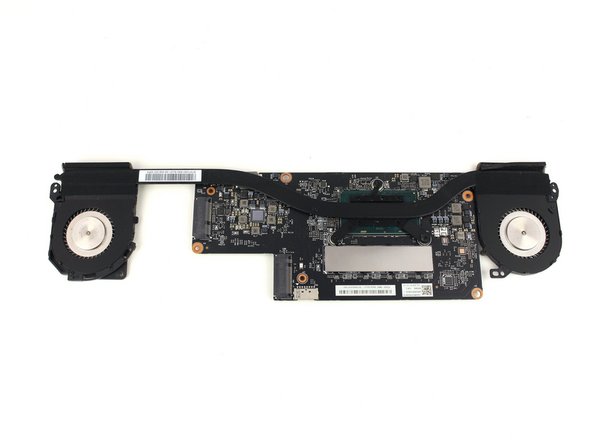
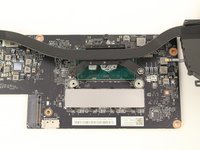
This guide will show you how to replace the fan assembly and heatsink from the motherboard of your 13” Lenovo Yoga 900 (900-13ISK). The heatsink and fans work together to dispel excess heat produced by the CPU and keep the computer from overheating. Common symptoms indicating the system is not working properly are loud noises from the fans, excessive heat emanating from the bottom case, or the computer shutting down frequently due to overheating. If you are experiencing any of these issues, replacing or servicing the fan assembly may alleviate your problems.

The heatsink relies on a layer of thermal paste between it and the CPU to effectively transmit heat up and out the fans. If this thermal paste becomes dried out, it can lose efficiency and cause the CPU to overheat. Cleaning and replacing the thermal paste is necessary any time the heatsink is removed from the CPU, but this simple act may help with thermal management on its own.

Also to note, the fans may collect dust over time, reducing their efficacy in dispersing heat. If you notice significant dust buildup in the fans, you may be able to restore functionality to the system by cleaning out the dust, without having to remove the heatsink from the motherboard.

Be sure to unplug and completely turn off your device before you start working.

Qué necesitas

Herramientas

Ver más…

  1. Lenovo Yoga 900-13ISK Fan Assembly Replacement, Back Cover: paso 1, imagen 1 de 2 Lenovo Yoga 900-13ISK Fan Assembly Replacement, Back Cover: paso 1, imagen 2 de 2
    • Using a T5 Torx screwdriver, remove the ten 5.5 mm screws from the back case of the laptop.

  2. Lenovo Yoga 900-13ISK Fan Assembly Replacement: paso 2, imagen 1 de 3 Lenovo Yoga 900-13ISK Fan Assembly Replacement: paso 2, imagen 2 de 3 Lenovo Yoga 900-13ISK Fan Assembly Replacement: paso 2, imagen 3 de 3
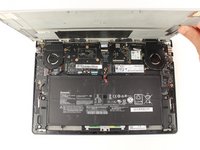
    • Use a spudger to pry open the back case at the hinges of the laptop.

    • There are plastic clips around the perimeter of the case holding down the back cover. These will need to be popped off as the cover is removed.

    • Use your fingers to completely pop off the back cover.

  3. Lenovo Yoga 900-13ISK Fan Assembly Replacement, Battery: paso 3, imagen 1 de 3 Lenovo Yoga 900-13ISK Fan Assembly Replacement, Battery: paso 3, imagen 2 de 3 Lenovo Yoga 900-13ISK Fan Assembly Replacement, Battery: paso 3, imagen 3 de 3
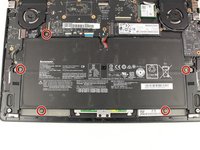
    • Remove the five 3.6 mm screws from the battery with a Phillips #00 screwdriver.

  4. Lenovo Yoga 900-13ISK Fan Assembly Replacement: paso 4, imagen 1 de 3 Lenovo Yoga 900-13ISK Fan Assembly Replacement: paso 4, imagen 2 de 3 Lenovo Yoga 900-13ISK Fan Assembly Replacement: paso 4, imagen 3 de 3
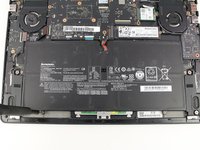
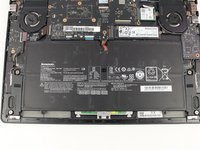
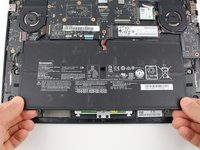
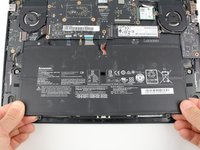
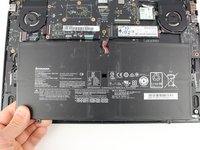
    • Grab the bottom corners of the battery and gently pull the battery until the cable disconnects from the connector on the motherboard.

    • While reassembling, use a plastic spudger to push the battery cable into the connector on the underside of the motherboard. This will be easier to do before the screws are replaced.

  5. Lenovo Yoga 900-13ISK Fan Assembly Replacement, Solid State Drive: paso 5, imagen 1 de 3 Lenovo Yoga 900-13ISK Fan Assembly Replacement, Solid State Drive: paso 5, imagen 2 de 3 Lenovo Yoga 900-13ISK Fan Assembly Replacement, Solid State Drive: paso 5, imagen 3 de 3
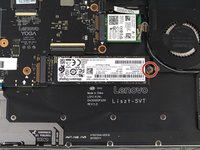
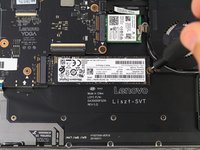
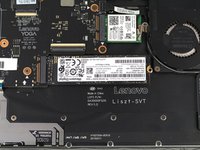
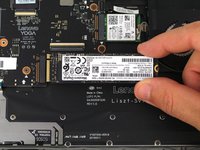
    • Use a Phillips #00 screwdriver to remove the 2.7 mm screw that is holding down the SSD card.

  6. Lenovo Yoga 900-13ISK Fan Assembly Replacement: paso 6, imagen 1 de 3 Lenovo Yoga 900-13ISK Fan Assembly Replacement: paso 6, imagen 2 de 3 Lenovo Yoga 900-13ISK Fan Assembly Replacement: paso 6, imagen 3 de 3
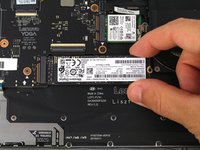
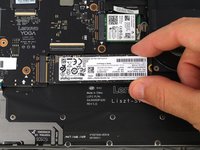
    • Pull the SSD card out of the port to the right.

  7. Lenovo Yoga 900-13ISK Fan Assembly Replacement, Wi-Fi Card Prereq: paso 7, imagen 1 de 3 Lenovo Yoga 900-13ISK Fan Assembly Replacement, Wi-Fi Card Prereq: paso 7, imagen 2 de 3 Lenovo Yoga 900-13ISK Fan Assembly Replacement, Wi-Fi Card Prereq: paso 7, imagen 3 de 3
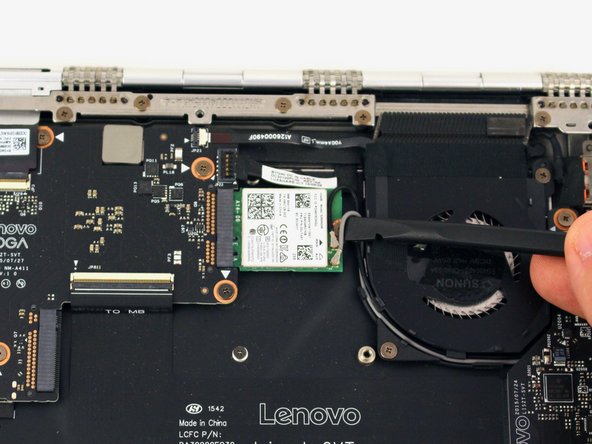
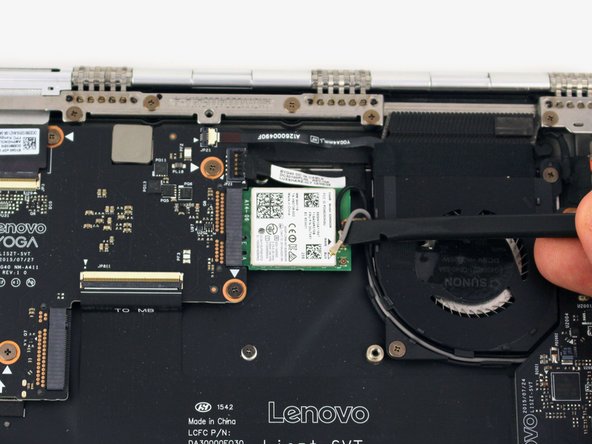
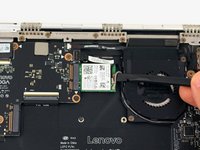
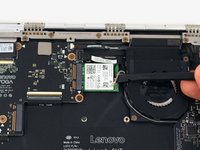
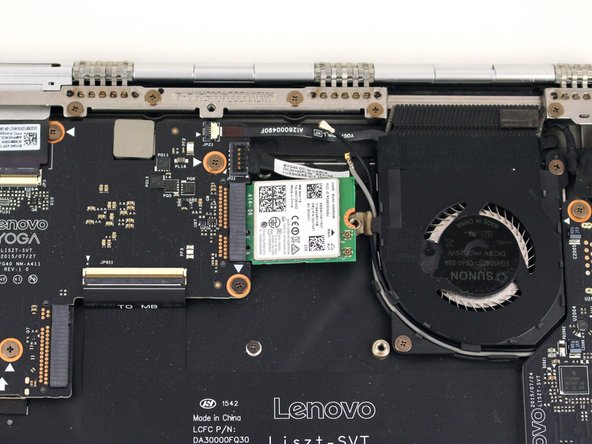
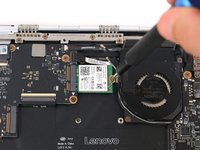
    • Pry up the gray and black coaxial cables from the Wi-Fi card using a spudger.

    • Move the cables to the side.

  8. Lenovo Yoga 900-13ISK Fan Assembly Replacement: paso 8, imagen 1 de 3 Lenovo Yoga 900-13ISK Fan Assembly Replacement: paso 8, imagen 2 de 3 Lenovo Yoga 900-13ISK Fan Assembly Replacement: paso 8, imagen 3 de 3
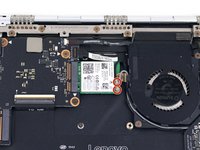
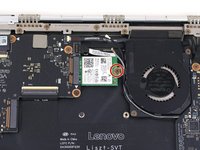
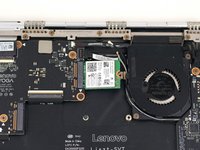
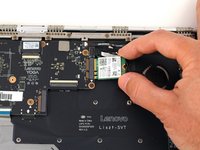
    • Using a Phillips #00 screwdriver, remove the 2.2 mm screw holding down the Wi-Fi card.

    • The Wi-Fi card may pop up to rest at an angle to the motherboard after the screw is removed.

  9. Lenovo Yoga 900-13ISK Fan Assembly Replacement: paso 9, imagen 1 de 3 Lenovo Yoga 900-13ISK Fan Assembly Replacement: paso 9, imagen 2 de 3 Lenovo Yoga 900-13ISK Fan Assembly Replacement: paso 9, imagen 3 de 3
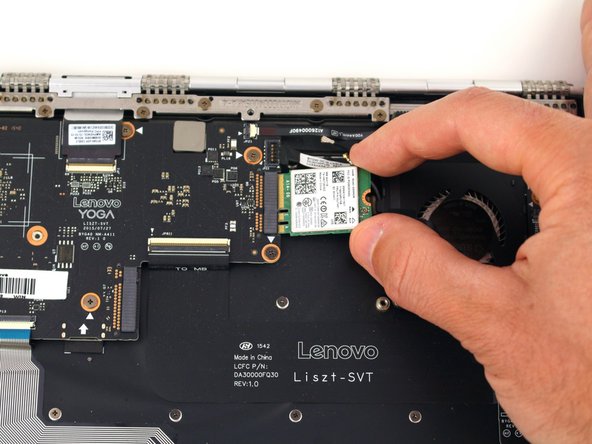
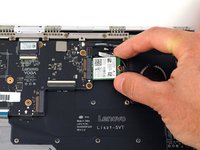
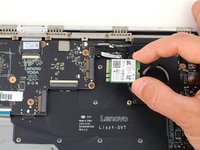
    • Pull the WiFi card out from the connector on the motherboard.

  10. Lenovo Yoga 900-13ISK Fan Assembly Replacement, Motherboard: paso 10, imagen 1 de 3 Lenovo Yoga 900-13ISK Fan Assembly Replacement, Motherboard: paso 10, imagen 2 de 3 Lenovo Yoga 900-13ISK Fan Assembly Replacement, Motherboard: paso 10, imagen 3 de 3
    Herramienta utilizada en este paso:
    Tweezers
    $4.99
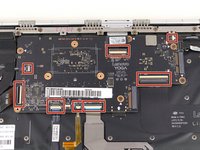
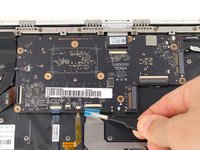
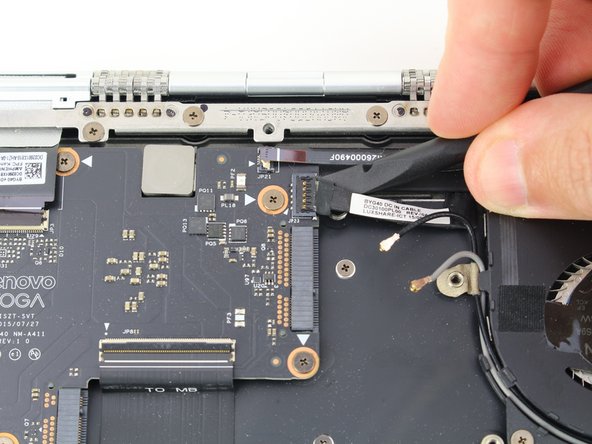
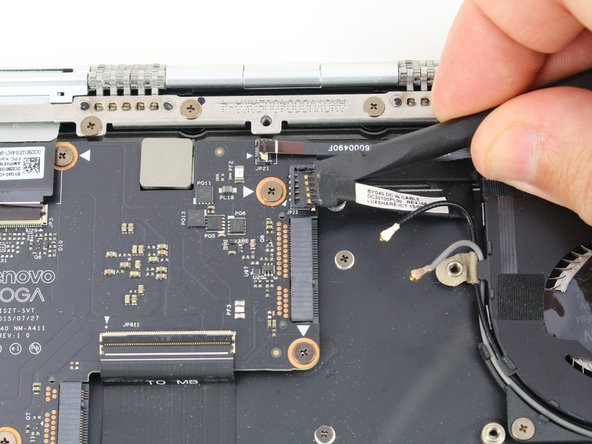
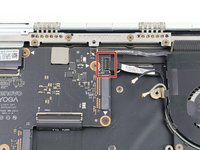
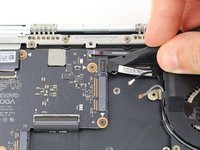
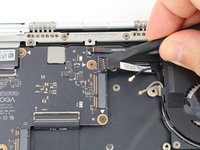
    • Using the pointed end of a spudger, flip up the hinged locking tabs of the eight ZIF connectors on the motherboard.

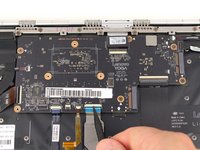
    • Pull the eight cables out from their connectors using a pair of blunt nose tweezers.

  11. Lenovo Yoga 900-13ISK Fan Assembly Replacement: paso 11, imagen 1 de 3 Lenovo Yoga 900-13ISK Fan Assembly Replacement: paso 11, imagen 2 de 3 Lenovo Yoga 900-13ISK Fan Assembly Replacement: paso 11, imagen 3 de 3
  12. Lenovo Yoga 900-13ISK Fan Assembly Replacement: paso 12, imagen 1 de 3 Lenovo Yoga 900-13ISK Fan Assembly Replacement: paso 12, imagen 2 de 3 Lenovo Yoga 900-13ISK Fan Assembly Replacement: paso 12, imagen 3 de 3
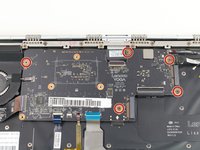
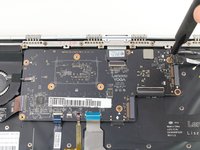
    • Remove the five 3.6 mm screws from the motherboard using a Phillips #00 screwdriver.

  13. Lenovo Yoga 900-13ISK Fan Assembly Replacement: paso 13, imagen 1 de 3 Lenovo Yoga 900-13ISK Fan Assembly Replacement: paso 13, imagen 2 de 3 Lenovo Yoga 900-13ISK Fan Assembly Replacement: paso 13, imagen 3 de 3
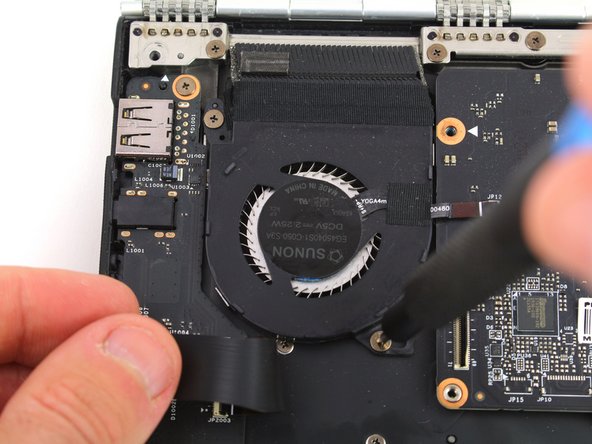
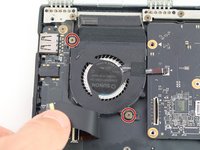
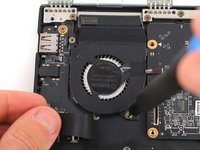
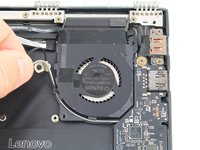
    • Pull back the interconnect cable on the left side of the motherboard to reveal one of the fan screws for the left fan.

    • Remove the two 3.6 mm screws from the left fan with a Phillips #00 screwdriver.

  14. Lenovo Yoga 900-13ISK Fan Assembly Replacement: paso 14, imagen 1 de 3 Lenovo Yoga 900-13ISK Fan Assembly Replacement: paso 14, imagen 2 de 3 Lenovo Yoga 900-13ISK Fan Assembly Replacement: paso 14, imagen 3 de 3
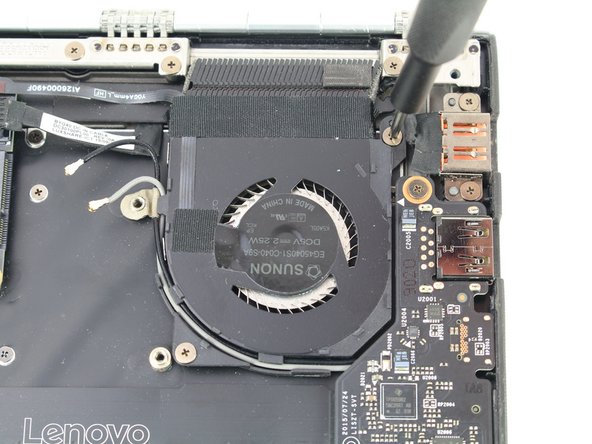
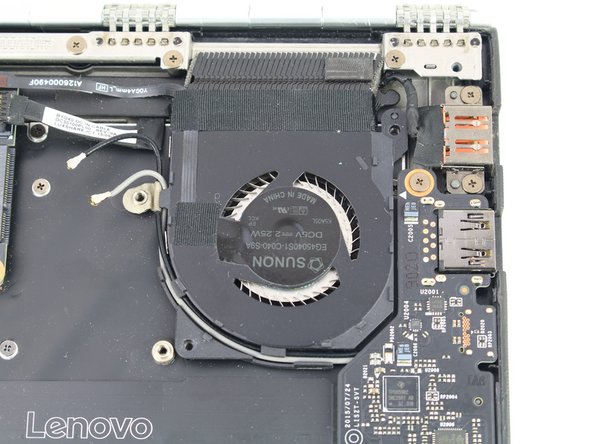
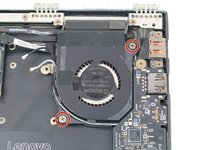
    • Remove the two 3.6 mm screws from the right fan using a Phillips #00 screwdriver.

  15. Lenovo Yoga 900-13ISK Fan Assembly Replacement: paso 15, imagen 1 de 3 Lenovo Yoga 900-13ISK Fan Assembly Replacement: paso 15, imagen 2 de 3 Lenovo Yoga 900-13ISK Fan Assembly Replacement: paso 15, imagen 3 de 3
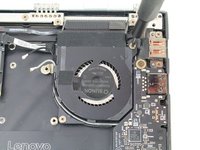
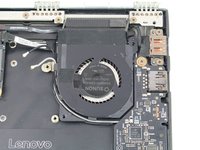
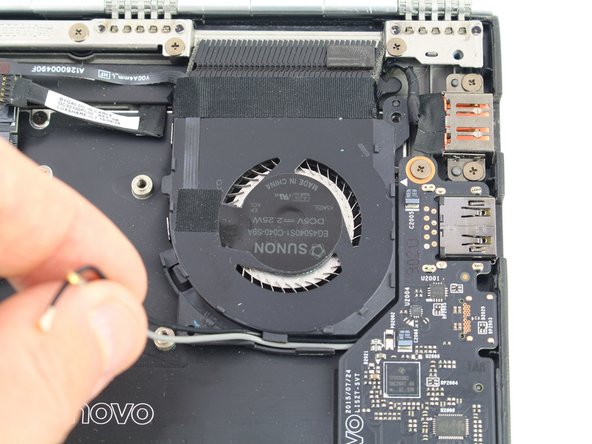
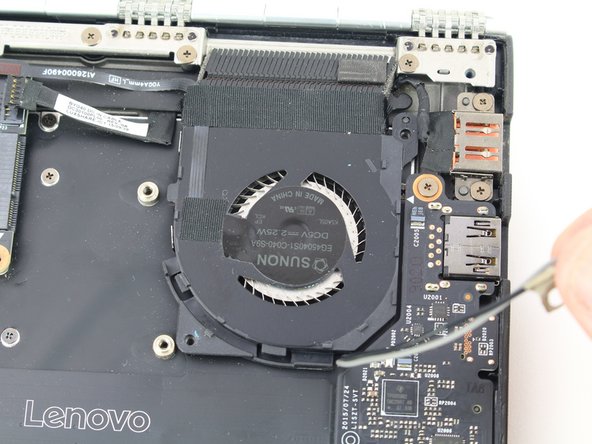
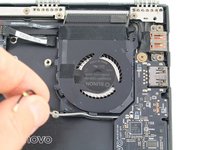
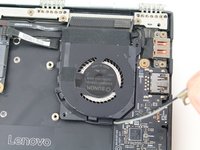
    • Unwind the black and white coaxial cables from the hooks on the right fan casing.

  16. Lenovo Yoga 900-13ISK Fan Assembly Replacement: paso 16, imagen 1 de 2 Lenovo Yoga 900-13ISK Fan Assembly Replacement: paso 16, imagen 2 de 2
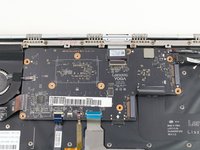
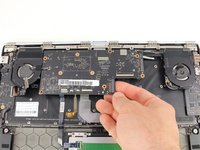
    • Lift the motherboard from the bottom edge and pull it up and out of the case.

    • If you need to remove the fan assembly to swap it over to your new motherboard, continue to follow along with the heatsink guide.

  17. Lenovo Yoga 900-13ISK Fan Assembly Replacement, Fan Assembly: paso 17, imagen 1 de 2 Lenovo Yoga 900-13ISK Fan Assembly Replacement, Fan Assembly: paso 17, imagen 2 de 2
    • Flip the motherboard over to access the heatsink.

  18. Lenovo Yoga 900-13ISK Fan Assembly Replacement: paso 18, imagen 1 de 3 Lenovo Yoga 900-13ISK Fan Assembly Replacement: paso 18, imagen 2 de 3 Lenovo Yoga 900-13ISK Fan Assembly Replacement: paso 18, imagen 3 de 3
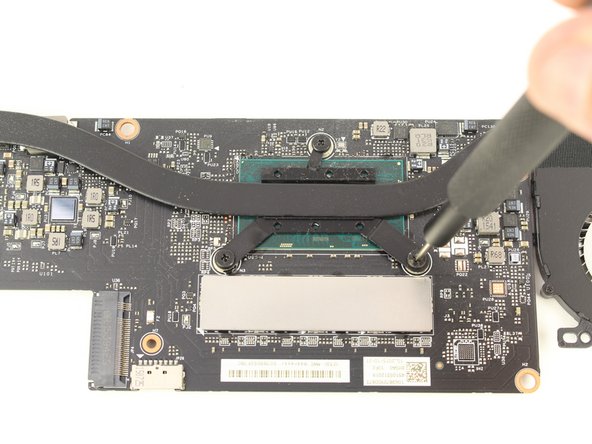
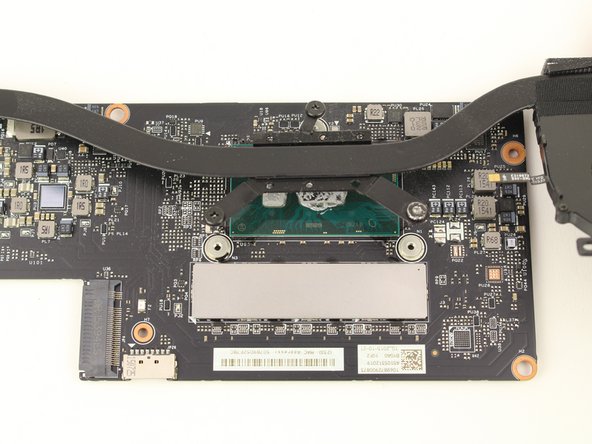
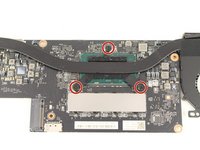
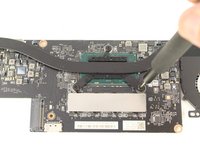
    • Unscrew the three captive screws on the heatsink with a Phillips #1 screwdriver.

    • These screws can be very tight, so be sure to employ screwdriver best practices and apply a lot of downward force to avoid stripping the screws.

  19. Lenovo Yoga 900-13ISK Fan Assembly Replacement: paso 19, imagen 1 de 1
    • Lift the heatsink and fan assembly off of the motherboard.

    • Be sure to clean off the old thermal paste and replace it with a fresh application any time the heatsink is separated from the CPU. Check out our How to Apply Thermal Paste guide if you need help!

Conclusión

To reassemble your device, follow these instructions in reverse order.

Una persona más ha completado esta guía.

Austin Blakely

Miembro Desde 03/11/19

21,327 Reputación

53 Guías creadas

Equipo

iFixit Miembro de iFixit

Staff

Miembros de 118

19,632 Guías creadas

1Guía Comentario

can I just change the left fan only ? is it possible ?

Nicholas Khaw - Contestar

Agregar Comentario

Ver Estadísticas:

Ultimas 24 horas: 0

Ultimos 7 días: 13

Ultimos 30 días: 53

Todo El Tiempo: 1,734