Saltar al contenido principal
Instant Pot Smart-60 Disassembly

Instant Pot Smart-60 Disassembly

Zen1

Zen1 y 2 otros contribuidores

Última actualización: June 25, 2024

10 - 30 minutos
Moderado
Guía aportada por comunidad

Introducción

Ir al paso 1

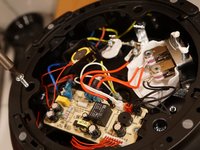
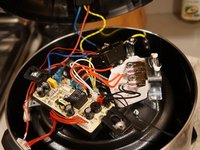
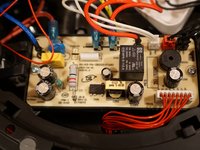
Key wiring photos of Instant Pot Smart 6 quart. Most useful if you first watch an older model repair video elsewhere.

Qué necesitas

Herramientas

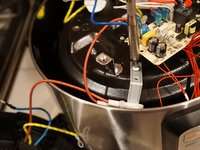
  1. Instant Pot Smart-60 Disassembly, Bottom access plate screw: paso 1, imagen 1 de 3 Instant Pot Smart-60 Disassembly, Bottom access plate screw: paso 1, imagen 2 de 3 Instant Pot Smart-60 Disassembly, Bottom access plate screw: paso 1, imagen 3 de 3
    • Insert wisdom here.

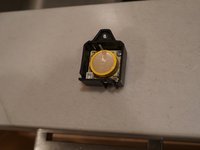
  2. Instant Pot Smart-60 Disassembly, Bottom bracket - remove battery holder, then 3x bolts: paso 2, imagen 1 de 3 Instant Pot Smart-60 Disassembly, Bottom bracket - remove battery holder, then 3x bolts: paso 2, imagen 2 de 3 Instant Pot Smart-60 Disassembly, Bottom bracket - remove battery holder, then 3x bolts: paso 2, imagen 3 de 3
    • Remove 3x bolts

  3. Instant Pot Smart-60 Disassembly, Bottom bracket - snap out power receptacle: paso 3, imagen 1 de 3 Instant Pot Smart-60 Disassembly, Bottom bracket - snap out power receptacle: paso 3, imagen 2 de 3 Instant Pot Smart-60 Disassembly, Bottom bracket - snap out power receptacle: paso 3, imagen 3 de 3
    • Insert wisdom here.

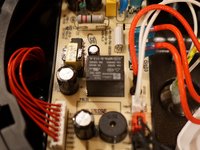
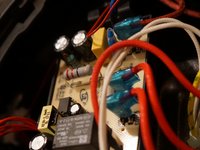
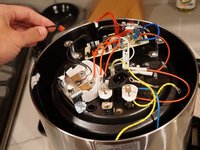
  4. Instant Pot Smart-60 Disassembly, Circuit board 1: paso 4, imagen 1 de 3 Instant Pot Smart-60 Disassembly, Circuit board 1: paso 4, imagen 2 de 3 Instant Pot Smart-60 Disassembly, Circuit board 1: paso 4, imagen 3 de 3
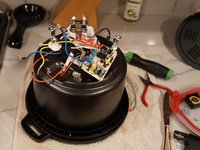
    • Black molex connector on top right must come out to remove the outer shell.

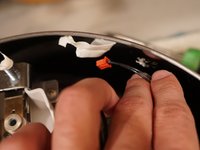
    • Red wire spring clips with blue translucent covers I was unable to remove safely, I suggest removing other ends of those wires if you need to remove the heating element plate.

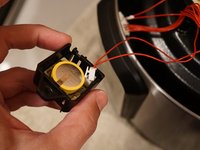
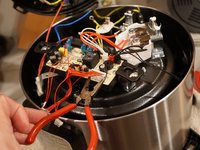
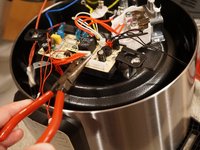
  5. Instant Pot Smart-60 Disassembly, Battery and front panel wires: paso 5, imagen 1 de 3 Instant Pot Smart-60 Disassembly, Battery and front panel wires: paso 5, imagen 2 de 3 Instant Pot Smart-60 Disassembly, Battery and front panel wires: paso 5, imagen 3 de 3
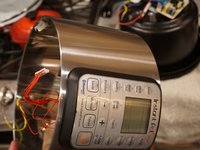
    • I needed small needle nose pliers to pinch and remove wide front panel connector.

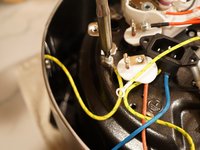
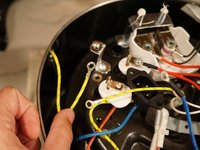
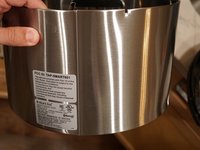
  6. Instant Pot Smart-60 Disassembly, Outer shell ground wire: paso 6, imagen 1 de 3 Instant Pot Smart-60 Disassembly, Outer shell ground wire: paso 6, imagen 2 de 3 Instant Pot Smart-60 Disassembly, Outer shell ground wire: paso 6, imagen 3 de 3
    • Insert wisdom here.

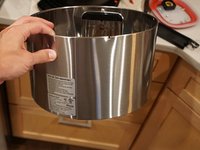
  7. Instant Pot Smart-60 Disassembly, Outer shell removal - release tape from lid sensor wire: paso 7, imagen 1 de 3 Instant Pot Smart-60 Disassembly, Outer shell removal - release tape from lid sensor wire: paso 7, imagen 2 de 3 Instant Pot Smart-60 Disassembly, Outer shell removal - release tape from lid sensor wire: paso 7, imagen 3 de 3
    • Insert wisdom here.

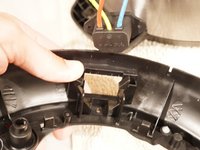
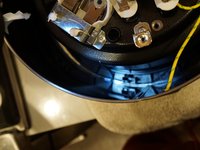
  8. Instant Pot Smart-60 Disassembly, Outer shell re-assembly - lid sensor wire notch: paso 8, imagen 1 de 3 Instant Pot Smart-60 Disassembly, Outer shell re-assembly - lid sensor wire notch: paso 8, imagen 2 de 3 Instant Pot Smart-60 Disassembly, Outer shell re-assembly - lid sensor wire notch: paso 8, imagen 3 de 3
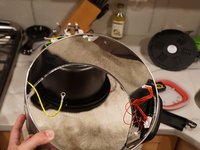
    • I'm skipping removing heating element and nearby sensors, it's similar to other models. Search for Instant Pot repair videos for instructions.

  9. Instant Pot Smart-60 Disassembly, Outer shell re-assembly - lid sensor wire goes into notch: paso 9, imagen 1 de 3 Instant Pot Smart-60 Disassembly, Outer shell re-assembly - lid sensor wire goes into notch: paso 9, imagen 2 de 3 Instant Pot Smart-60 Disassembly, Outer shell re-assembly - lid sensor wire goes into notch: paso 9, imagen 3 de 3
    • Insert wisdom here.

  10. Instant Pot Smart-60 Disassembly, Outer shell re-assembly: paso 10, imagen 1 de 2 Instant Pot Smart-60 Disassembly, Outer shell re-assembly: paso 10, imagen 2 de 2
    • Pull lid sensor wire up, re-tape to inside of outer shell.

    • Battery replacement, you should remove the screw and pull the mini circuit board holding the battery before attempting to swap batteries.

Conclusión

To reassemble your device, follow these instructions in reverse order.

8 personas más completaron esta guía.

Zen1

Miembro Desde 03/01/18

392 Reputación

1 Guía escrita

3Guía Comentarios

If the outer shell is dented but panel is functioning is it safe to operate the instant pot? looks like it moved a bit in the box in shipment, no visible damage to the pot just the to the aluminum shell

Jeff Medlin - Contestar

Mine is dented and it should be totally fine. As you said, the pressure vessel is separate from the outer shell, so there are no safety concerns. Just asthetic. I wish there wasn't this gap of air between the pressure vessel and the outer shell, or, I wish the shell was a bit more durable as it's VERY easily dented.

Kuake Ye - Contestar

What is the voltage of the component named ZNR091

Yanni Koulandris - Contestar

Agregar Comentario

Ver Estadísticas:

Ultimas 24 horas: 7

Ultimos 7 días: 31

Ultimos 30 días: 135

Todo El Tiempo: 8,627