
HTC MyTouch 4G Digitizer Replacement

Introducción
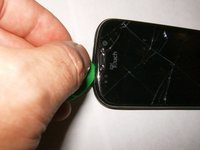
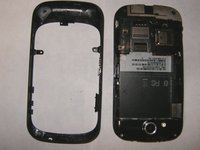
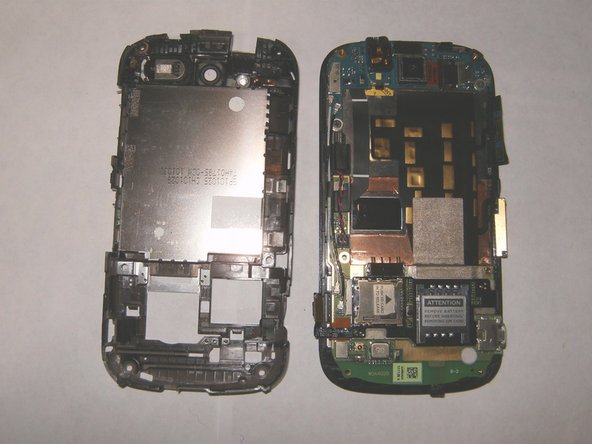
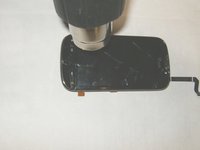
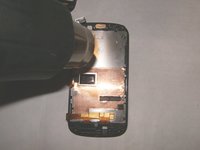
Ir al paso 1Here is a decent phone that belongs to a coworker. It got accidentally dropped and cracked the digitizer. The digitizer is widely available and not to difficult to change.
Qué necesitas


-
-
Here are the tools for this task. A couple of plastic opening tools and definitely a few guitar picks of different thickness will make the job easier.
-
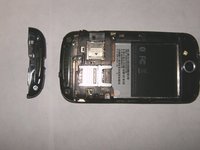
Power down the phone. Remove the battery cover and the battery. Remove Sim card and SD card if installed.
-
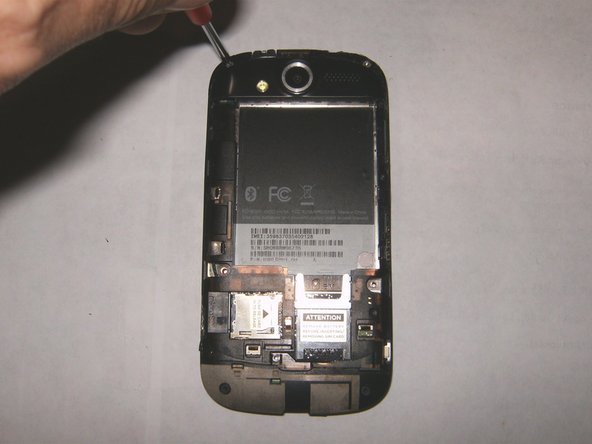
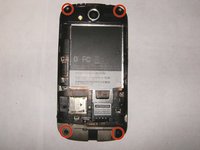
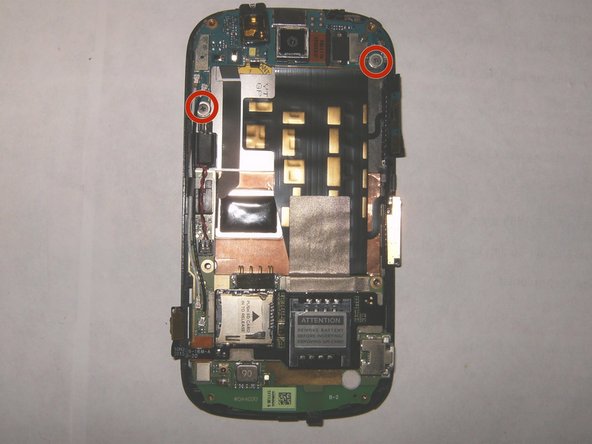
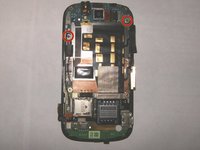
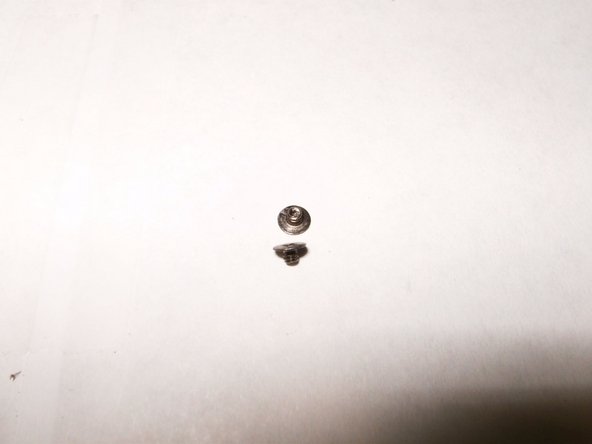
Remove the two Torx 5 screws and the small Phillips screw to remove the bezel
-
-
-
-
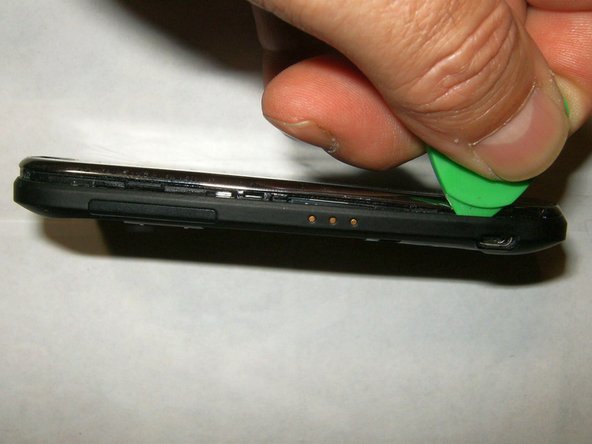
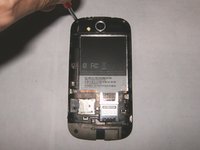
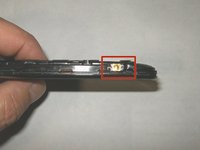
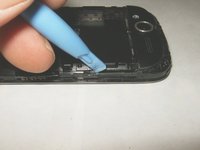
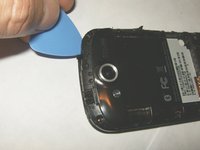
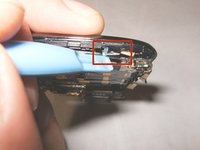
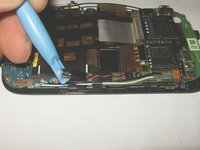
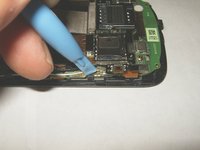
The power button is adhered to a landing at the top of the frame. Use a plastic opening tool to gently loosen it of the landing.
-
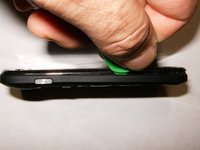
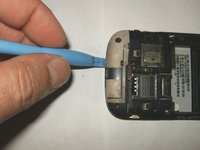
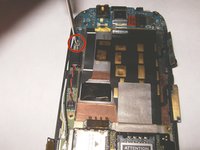
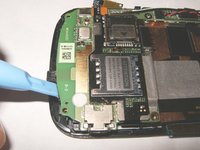
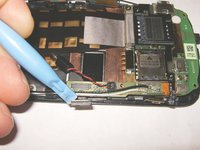
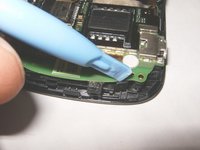
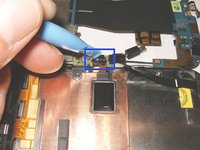
Use an opening tool to gently lift the logic board from the bottom until it clears the plastic clips.
-
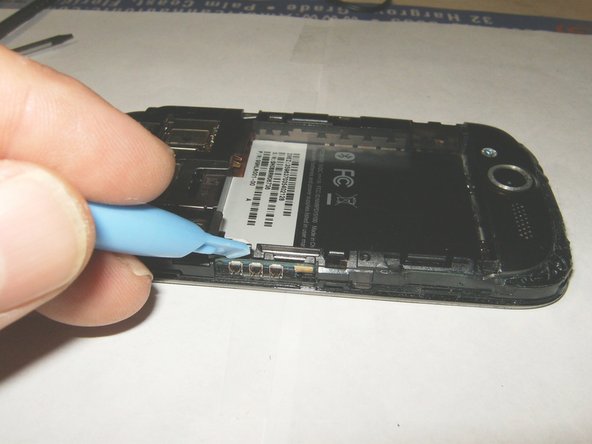
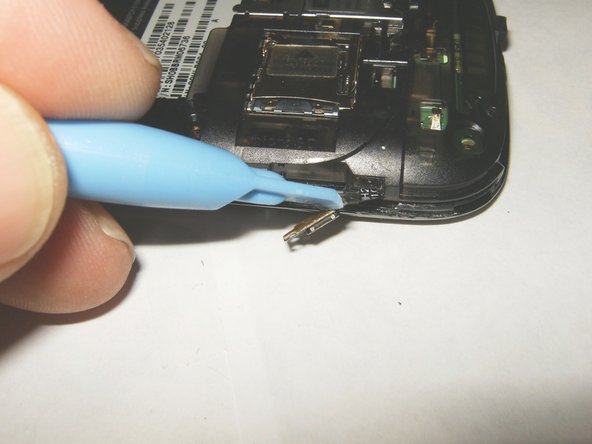
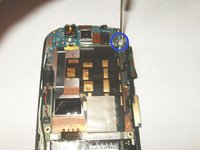
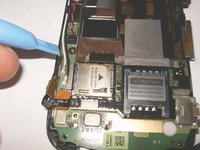
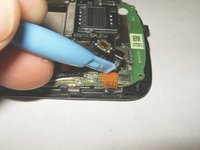
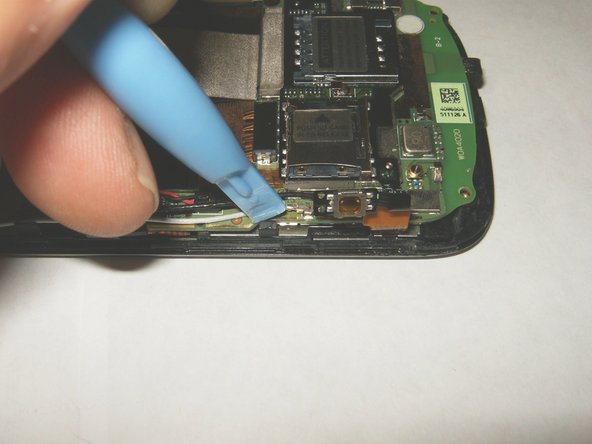
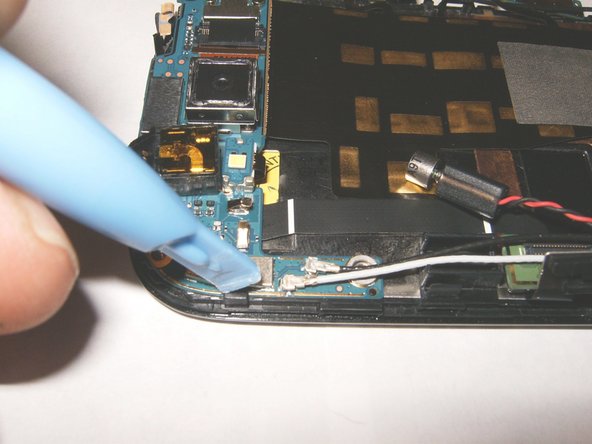
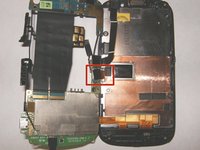
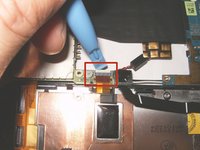
Use an opening tool to release the clip on the side of the logic board.
-
-
-
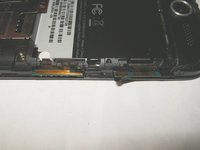
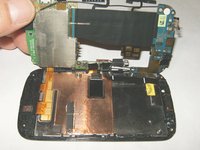
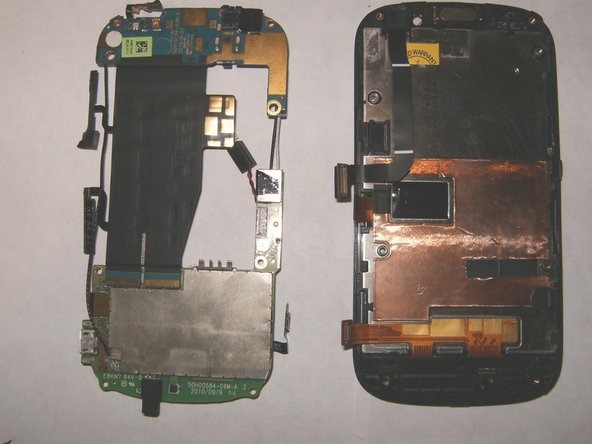
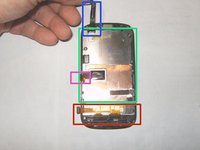
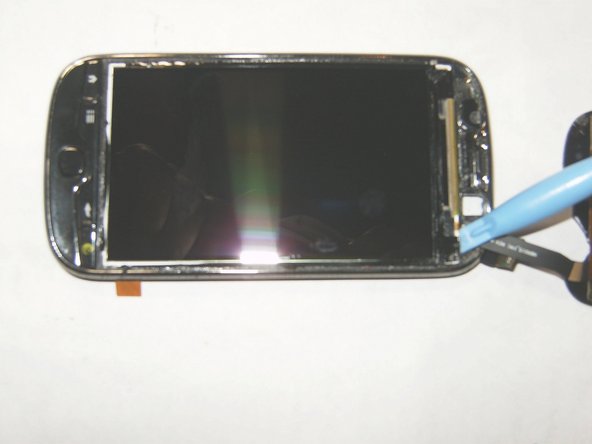
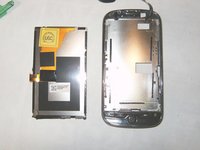
Here is the back of the display assembly with the main part being the LCD.
-
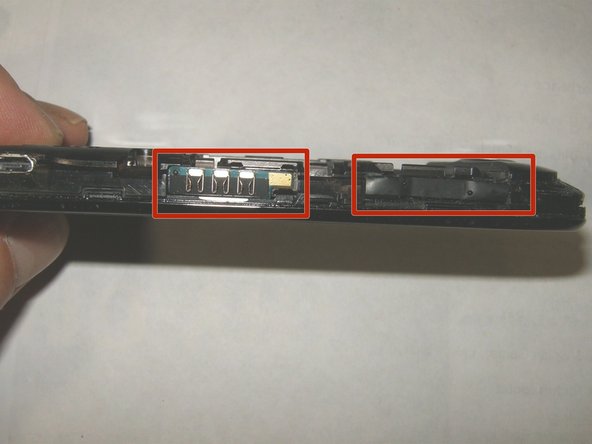
Digitizer ribbon
-
LCD ribbon
-
the button bar ribbon cable
-
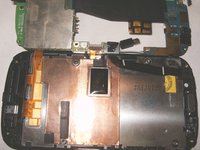
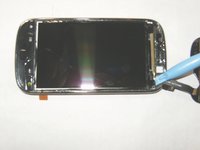
Now it is time to remove the digitizer. Turn the display assembly LCD side up
-
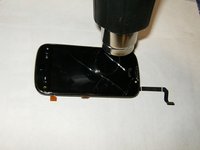
To soften the glue one can use a hairdryer on high, or a hotair gun on low. Continue to move the hot air source along the outside of the digitizer.
-
-
-
Keep moving it so that the sides are about equally hot.
-
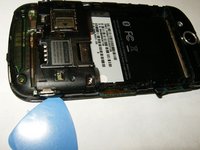
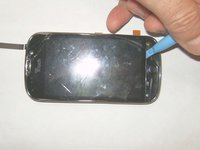
Use a plastic opening tool at the bottom of the digitizer and move it along the outside to the top.
-
The digitizer can not yet be removed since the ribbon cable is still attached to the assembly. It can not be pulled out since the opening is partially blocked by the LCD.
-
-
-
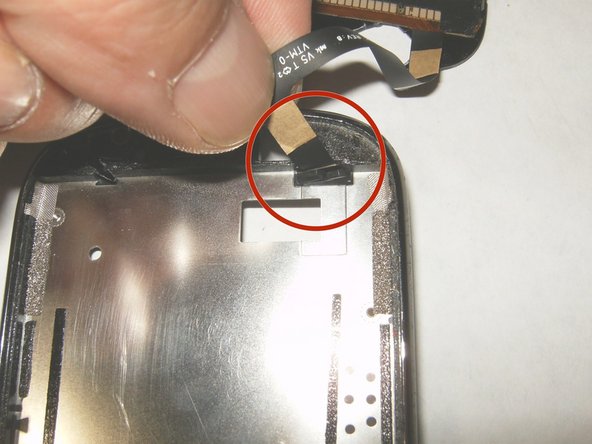
The LCD prevents the connector from the digitizer cable to fit through the opening. It will be necessary to remove the LCD.
-
Turn the display assembly face down. Warm the back of the LCD with a hot air source until the adhesive softens.
-
Turn the assembly over and use an opening tool to remove the LCD from the frame.
-
-
-
Remove the LCD from the frame.
-
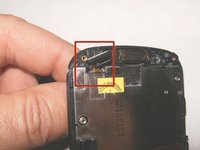
guide the connector from the digitizer ribbon cable through the opening.
-
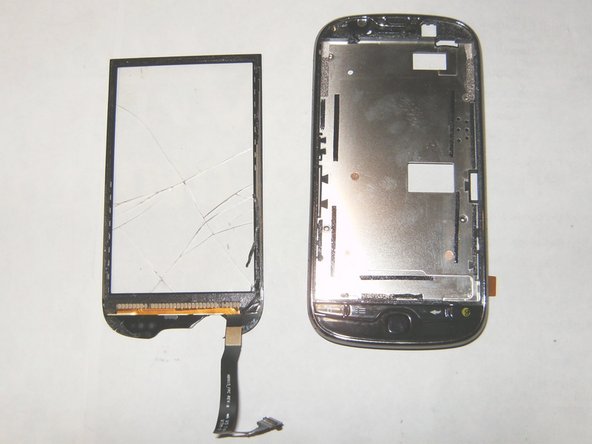
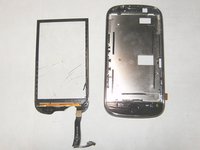
Digitizer is now removed and ready for replacement. Most digitizers come with replacement adhesive. It is important to clean the mating surfaces of any glass reside as well as dirt etc. Also, do not forget to remove the clear plastic that covers both sides of the new digitizer, before installation.
-


To reassemble your device, follow these instructions in reverse order. Clean the mating surfaces before installing a new digitizer. Also, utilize double sided tape, to re-adhere the three button ribbons, and the power switch to the frame.
To reassemble your device, follow these instructions in reverse order. Clean the mating surfaces before installing a new digitizer. Also, utilize double sided tape, to re-adhere the three button ribbons, and the power switch to the frame.
Cancelar: No complete esta guía.
9 personas más completaron esta guía.

Equipo
