Traduciendo paso 15
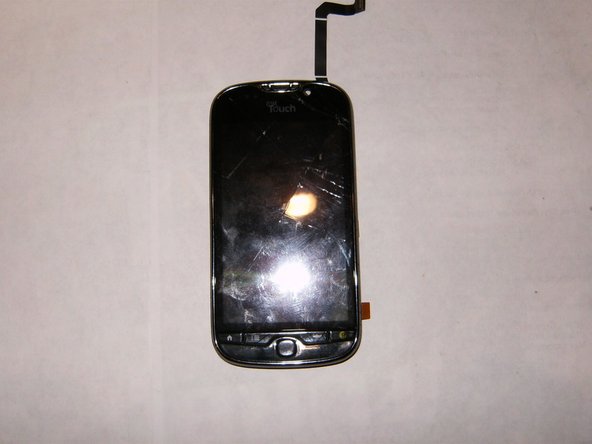
Paso 15


-
Here is the back of the display assembly with the main part being the LCD.
-
Digitizer ribbon
-
LCD ribbon
-
the button bar ribbon cable
-
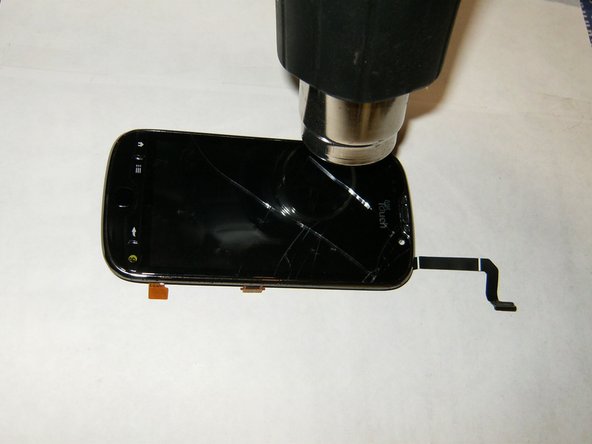
Now it is time to remove the digitizer. Turn the display assembly LCD side up
-
To soften the glue one can use a hairdryer on high, or a hotair gun on low. Continue to move the hot air source along the outside of the digitizer.
Tus contribuciones son autorizadas bajo la licencia de código abierto de Creative Commons.