Saltar al contenido principal

iPod Miniのバッテリーの交換

Inglés
Japonés
Paso 3
iPod Mini Battery Replacement: paso 0, imagen 1 de 1
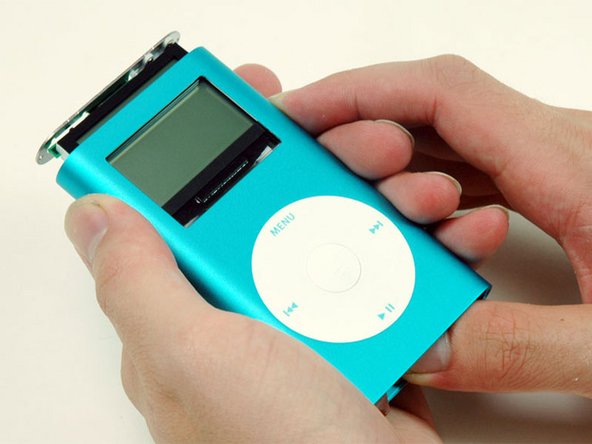
  • Carefully slide the iPod out of its casing by pushing on the logic board near the bottom edge of the click wheel.

  • As you slide the iPod out, small components may snag on the edge of the casing. Move the iPod side to side to clear these components.

  • Do not pull on the headphone jack board at the top of the iPod, as the connector to the logic board is fragile.

  • Be careful not to break the logic board connector off the iPod. The ribbon cable sits at the very top of the connector.

クリックホイールの下端付近にあるロジックボードを押しながら、慎重にiPodをケースから滑り出させます。

iPodをスライドさせると、小さな部品がケースの端に引っかかることがあります。iPodを左右に動かしながら、これらの部品を取り除いてください。

ロジックボードへのコネクタは壊れやすいので、iPodの上部にあるヘッドフォンジャックボードを引っ張らないでください。

iPodからロジックボードのコネクタを折らないように注意してください。リボンケーブルはコネクタの一番上に位置しています。

Tus contribuciones son autorizadas bajo la licencia de código abierto de Creative Commons.