
Upgrading your 2.0 GHz 13" Aluminum Unibody MacBook to a Backlit Keyboard

Introducción
Ir al paso 1This guide is here to help you upgrade your Late 2008 2.0 GHz Aluminum Unibody MacBook to have a backlit keyboard without buying an entire new topcase. Keyboards can be purchased off Ebay for less than $75.
Qué necesitas
Herramientas


-
-
-
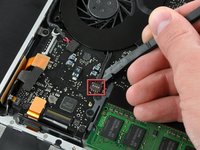
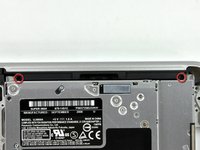
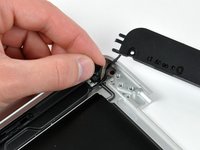
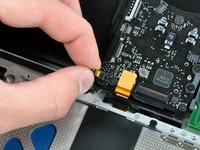
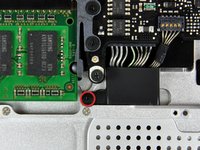
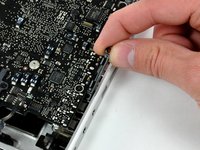
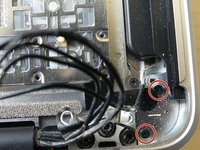
Remove the following five screws securing the logic board to the upper case:
-
Four 3 mm Phillips screws.
-
One 3.5 mm Phillips screw.
-
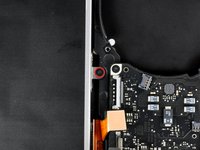
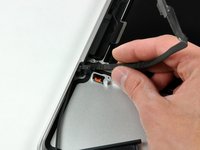
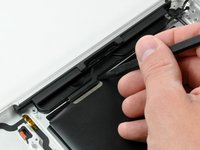
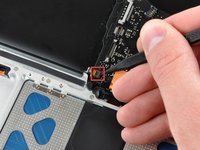
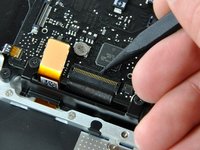
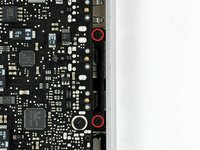
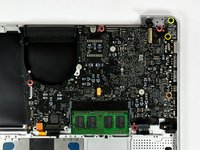
Remove the two 7 mm Phillips screws securing the DC-in board to the upper case.
-
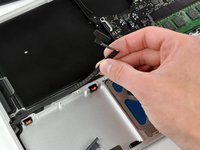
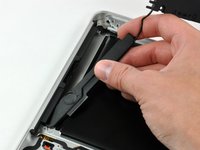
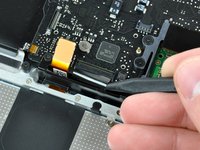
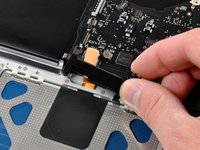
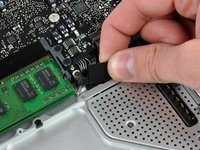
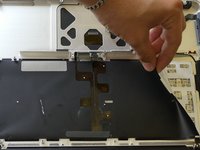
Lift the logic board from its left edge and pull it out of the upper case.
-
-
-
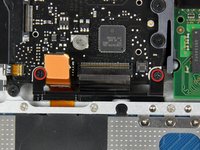
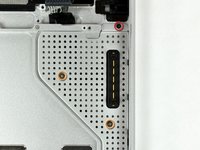
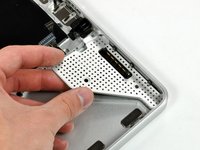
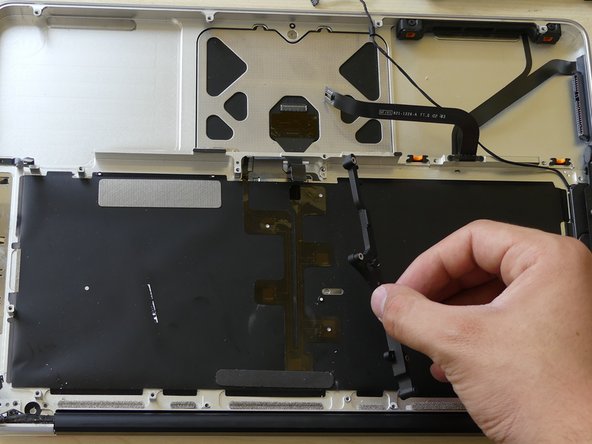
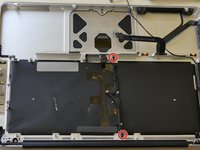
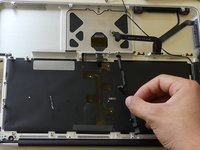
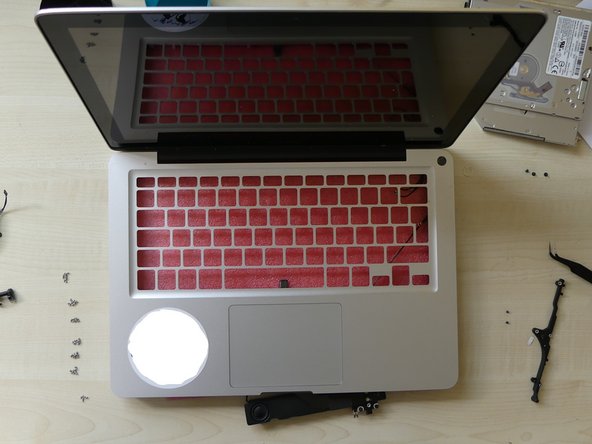
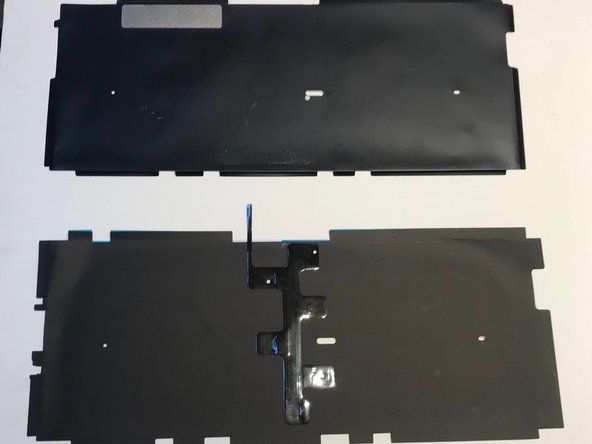
Now that you have removed the display (only required if a new top case is used to replace the keyboard), logic board, optical drive, and various other components from the upper case (or top case), you should have something that looks like this.
-
We are ready to begin!
-


To reassemble your device, follow these instructions in reverse order.
To reassemble your device, follow these instructions in reverse order.
Cancelar: No complete esta guía.
33 personas más completaron esta guía.

16 comentarios
The photos which show how to install the backlit aren't showing. Is there maybe another thread which shows them because I can't really figure it out .
The photos aren't failing to show up, there just aren't any photos - no one ever uploaded any, even though the text of the guide talks about the pictures. As you're doing the upgrade yourself though, snap some pictures, edit the steps here, and upload your pictures!
just a question. Where exactly do I put the backlight? Because I have a black film, then a thick plastic sheet, then the metal. then the silicon layer with the components inside, and then the front black sheet, and above that you mount the keys. In between which layer do I put the backlight?
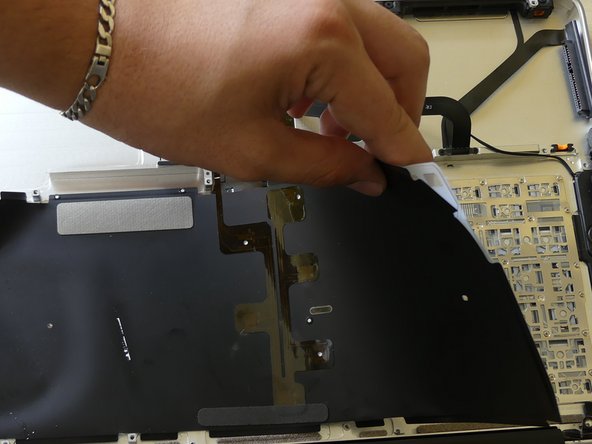
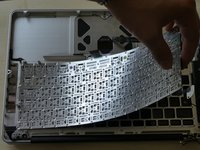
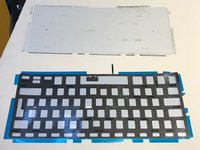
Remove black film and put your backlit
I realize that this guide is getting a bit old, but I bought just the backlight part off Ebay. It's essentially a black film with couple of leds, a clear plastic sheet and a black matte layer. It goes on top (if you look at the MB from the bottom, as in this guide) the metal layer. So it replaces the parts you remove in steps 32 and 33, after which you can start reassembling.