Saltar al contenido principal
Triace A310 Brake Cable Replacement

Triace A310 Brake Cable Replacement

Ben Hartinger

Ben Hartinger y 6 otros contribuidores

Última actualización: September 4, 2019

15 minuto
Fácil

Introducción

Ir al paso 1

This guide will show you how to replace an old or damaged brake cable. If you need to swap out your brake cable, this will help you replace it safely.

Qué necesitas

Herramientas

  1. Triace A310 Brake Cable Replacement, Brake Cable: paso 1, imagen 1 de 2 Triace A310 Brake Cable Replacement, Brake Cable: paso 1, imagen 2 de 2
    • WARNING: Be sure to follow each step carefully. Failure to do so may result in serious injury or death.

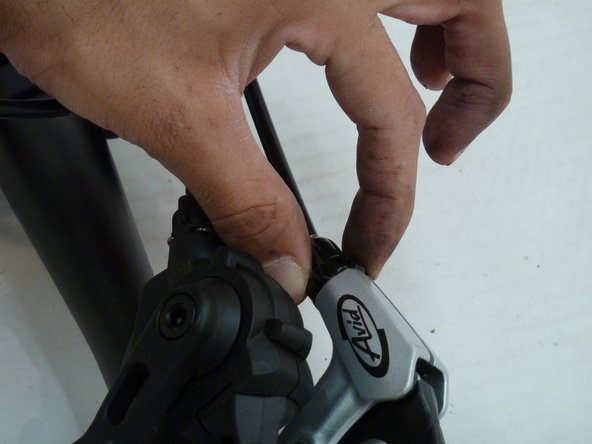
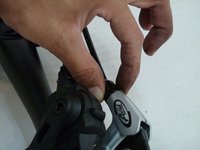
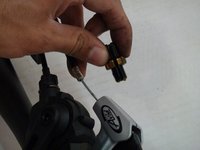
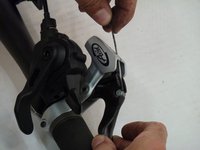
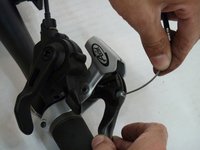
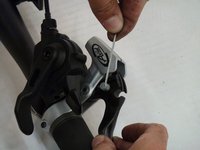
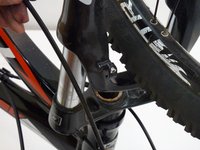
    • Unscrew the screw holding the brake cable in place with a 5mm allen wrench and pull out the cable.

  2. Triace A310 Brake Cable Replacement: paso 2, imagen 1 de 3 Triace A310 Brake Cable Replacement: paso 2, imagen 2 de 3 Triace A310 Brake Cable Replacement: paso 2, imagen 3 de 3
    • Unscrew the slotted brake cable cap on the rear tire and pull out the cable. Remove the cap from the cable.

  3. Triace A310 Brake Cable Replacement: paso 3, imagen 1 de 2 Triace A310 Brake Cable Replacement: paso 3, imagen 2 de 2
    • Unscrew the cap next to the brake handle and remove it from the cable.

  4. Triace A310 Brake Cable Replacement: paso 4, imagen 1 de 3 Triace A310 Brake Cable Replacement: paso 4, imagen 2 de 3 Triace A310 Brake Cable Replacement: paso 4, imagen 3 de 3
    • Pull up and out on the cable to remove the barrel nipple (the small cylinder at the end of the cable).

  5. Triace A310 Brake Cable Replacement: paso 5, imagen 1 de 3 Triace A310 Brake Cable Replacement: paso 5, imagen 2 de 3 Triace A310 Brake Cable Replacement: paso 5, imagen 3 de 3
    • Unscrew the bracket located on the front tire with a 3mm allen wrench.

    • Rotate the bracket 90 degrees or until the opening is large enough for the cable. Remove the cable.

    • Note that if removing cable for rear brake, rather than unscrewing a bracket, you will unclip several "spring" clips. Keep track of clips.

    • Test your brakes in a low-speed environment to ensure that they work.

Conclusión

To place the new cable, follow these instructions in reverse order.

Ben Hartinger

Miembro Desde 01/27/14

340 Reputación

3 Guías creadas

Equipo

Cal Poly, Team 1-37, Maness Winter 2014 Miembro de Cal Poly, Team 1-37, Maness Winter 2014

CPSU-MANESS-W14S1G37

4 Miembros

11 Guías creadas

0 comentarios

Agregar Comentario

Ver Estadísticas:

Ultimas 24 horas: 0

Ultimos 7 días: 4

Ultimos 30 días: 4

Todo El Tiempo: 353