
Sustitución del cojinete de bolas en el ventilador de techo chirriante

Introducción
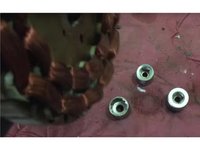
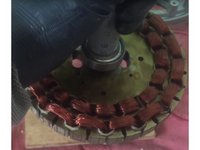
Ir al paso 1Esta guía de reparación resolverá los chirridos del ventilador de techo después de algunos años de funcionamiento. La guía de Youtube disponible muestra cómo reemplazar los dos cojinetes de bolas desgastados.
[vídeo|https://youtu.be/KLqHiEj5YQ8]
Qué necesitas
Partes
Herramientas


Ver más…
-
-
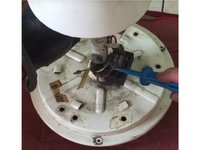
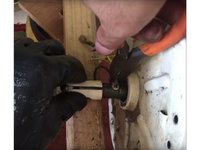
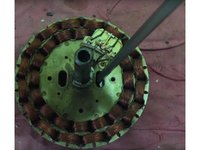
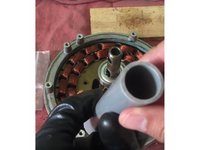
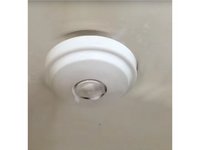
Primero, quita los tornillos de montaje de la cubierta de plástico ubicada a lo largo del borde, más alejado del centro.
-
-
-
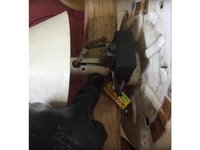
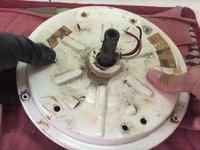
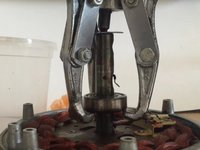
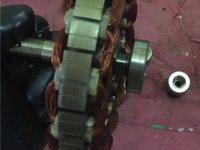
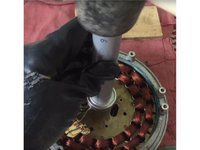
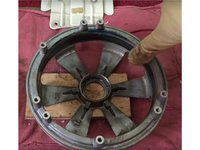
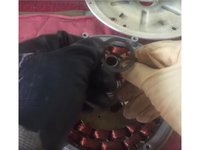
La jaula de hierro está firmemente asegurada por tres tornillos.
-
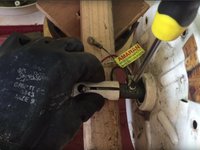
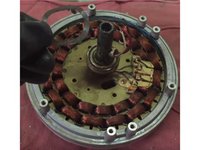
De los seis tornillos de montaje ubicados a lo largo del círculo interior, tres de ellos serán los tornillos de montaje de la jaula de hierro.
-
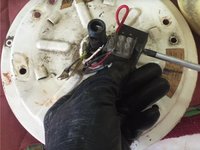
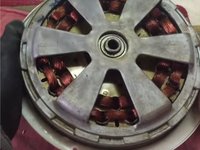
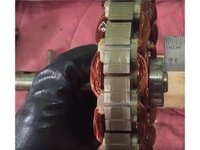
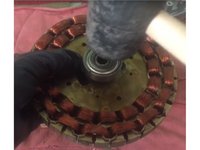
Los seis tornillos restantes serán los tornillos de montaje para el aspa del ventilador.
-
-


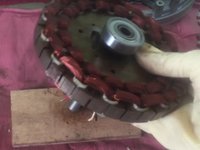


Para volver a armar tu dispositivo, sigue estas instrucciones en orden inverso.
Para volver a armar tu dispositivo, sigue estas instrucciones en orden inverso.
Cancelar: No complete esta guía.
19 personas más completaron esta guía.
Un agradecimiento especial a estos traductores:
100%

¡ Francisco Javier Saiz Esteban nos está ayudando a reparar el mundo! ¿Quieres contribuir?
Empezar a traducir ›

5 comentarios
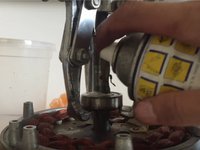
my ceiling fan would sometimes not start and making rumbling sounds (bearings) i did not want to replace or tear down so lifted plastic cover on top and liberally sprayed machine oil over exposed bearing & through slots underneath wd 40 this has cured problem perfectly just dry bearings would probably be better to use spray grease if you have --cheaper than new fan or bearings and only a few minutes work
My fan was not working what probelm
Thanks! I took apart my fan, thank you to your precise instructions. Used lithium grease and right now, enjoying quiet fan in my bedroom
price of the ceiling fan bearing