Saltar al contenido principal
Reparación de un cargador Lightning de Apple desgastado

Reparación de un cargador Lightning de Apple desgastado

Kalynn Copeharve

Kalynn Copeharve y 5 otros contribuidores

Última actualización: September 17, 2024

10 - 15 minutos
Fácil

Introducción

Ir al paso 1

Los cables pueden estar sujetos a ángulos extremos durante la carga, lo que provoca que el revestimiento exterior se afloje, rasgue y, en última instancia, exponga su cableado.

Qué necesitas

iFixit gana una comisión si finalizas una compra usando estos enlaces.
  1. Reparación de un cargador Lightning de Apple desgastado, Reparación de un cargador Lightning de Apple desgastado: paso 1, imagen 1 de 2 Reparación de un cargador Lightning de Apple desgastado, Reparación de un cargador Lightning de Apple desgastado: paso 1, imagen 2 de 2
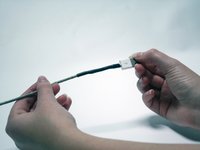
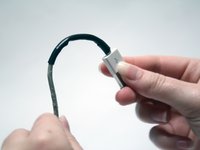
    • Ubique el área deshilachada o expuesta del cable Lightning.

    • Puede ser necesario exponer aún más las áreas deshilachadas para la reparación. Con los dedos, tire suavemente del cableado de su revestimiento exterior hasta que se separen.

  2. Reparación de un cargador Lightning de Apple desgastado: paso 2, imagen 1 de 2 Reparación de un cargador Lightning de Apple desgastado: paso 2, imagen 2 de 2
    • Puede ser necesario exponer aún más las áreas deshilachadas para la reparación. Con los dedos, el neumático del cableado de revestimiento exterior hasta que se separen.

  3. Reparación de un cargador Lightning de Apple desgastado: paso 3, imagen 1 de 3 Reparación de un cargador Lightning de Apple desgastado: paso 3, imagen 2 de 3 Reparación de un cargador Lightning de Apple desgastado: paso 3, imagen 3 de 3
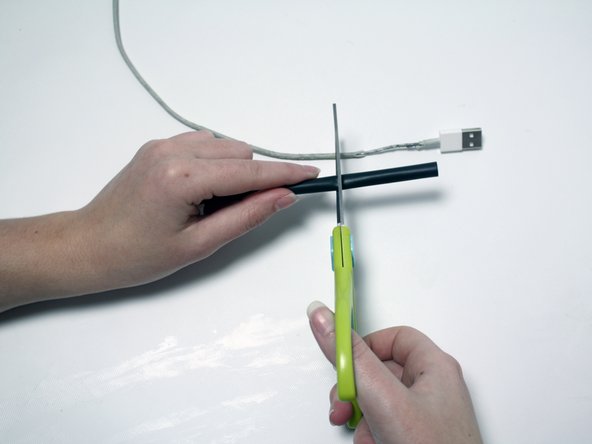
    • Mida la longitud aproximada del encogimiento de calor necesario para cubrir el área deshilachada o expuesta.

    • Mientras corta, mantenga la longitud del termocontracción más larga que la longitud del área deshilachada o dañada.

  4. Reparación de un cargador Lightning de Apple desgastado: paso 4, imagen 1 de 3 Reparación de un cargador Lightning de Apple desgastado: paso 4, imagen 2 de 3 Reparación de un cargador Lightning de Apple desgastado: paso 4, imagen 3 de 3
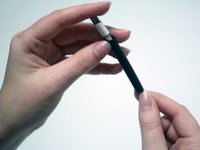
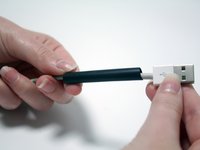
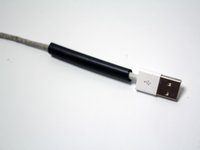
    • Deslice la contracción térmica sobre el cable para que cubra el área desgastada o expuesta.

    • El encogimiento de calor de 1/4 "utilizado no es lo suficientemente grande para deslizarse sobre el conector cerca del deshilachado. Puede ser necesario deslizar el encogimiento de calor sobre el extremo opuesto del cargador.

  5. Reparación de un cargador Lightning de Apple desgastado: paso 5, imagen 1 de 2 Reparación de un cargador Lightning de Apple desgastado: paso 5, imagen 2 de 2
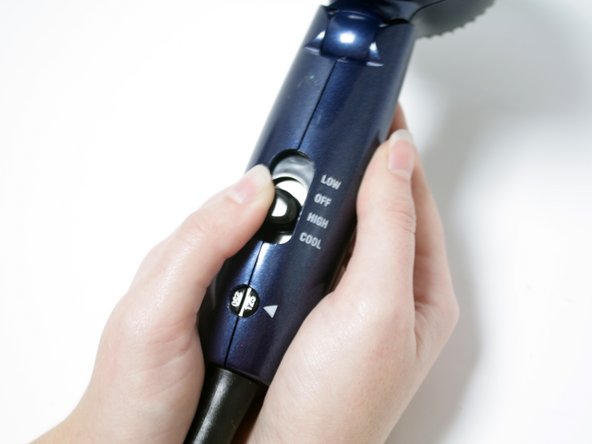
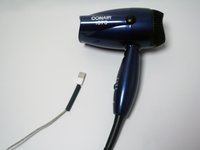
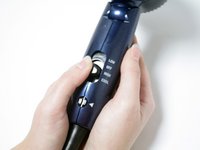
    • Caliente el secador de pelo encendiéndolo en la configuración de calor más alta.

  6. Reparación de un cargador Lightning de Apple desgastado: paso 6, imagen 1 de 2 Reparación de un cargador Lightning de Apple desgastado: paso 6, imagen 2 de 2
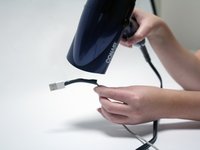
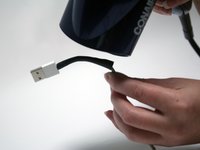
    • Aplique calor al encogimiento de calor.

    • Mientras se calienta, mantenga el secador de pelo en movimiento. Aplicar calor durante demasiado tiempo en una ubicación provocará un sobrecalentamiento. El sobrecalentamiento puede dañar aún más el cable deshilachado o expuesto por debajo, e incluso puede derretir el termocontraíble.

  7. Reparación de un cargador Lightning de Apple desgastado: paso 7, imagen 1 de 1
    • Deje que el termorretráctil se seque durante dos minutos.

  8. Reparación de un cargador Lightning de Apple desgastado: paso 8, imagen 1 de 2 Reparación de un cargador Lightning de Apple desgastado: paso 8, imagen 2 de 2
    • Pruebe el ajuste flexionando el cable en diferentes direcciones.

    • Si el ajuste es flojo, aplique una capa adicional de termocontracción mediante la recomposición de los pasos 3-7.

    If the wire isn’t completely broken and if it is still working, you can also add some MSeal around it, this worked well for my adapters. Besides, I think it is a better idea to prevent cable breaks rather than fixing it afterwards. You can know more about here.

    Michael B - Contestar

    One problem is the heat shrink wraparound bandage used isn’t equivalent to the original.

    Original lightning cables are wrapped with an insulator, a metallic shield and finally the outer white plastic jacket. And possibly a drain wire for grounding of the insulator.

    So the simple heat shrink plastic jacket applied totally lacks the electromagnetic interference shielding capability.

    Wu Ming - Contestar

    This doesn’t address fraying of the wire itself. The title would be more accurate if it said “How To Repair Exposed Charger Wires”

    Silver Wolf - Contestar

Conclusión

Para volver a armar su dispositivo, siga estas instrucciones en orden inverso.

7 personas más completaron esta guía.

Un agradecimiento especial a estos traductores:

en es

100%

Estos traductores nos están ayudando a reparar el mundo! ¿Quieres contribuir?
Empezar a traducir ›

Equipo

Missouri Western, Team 1-3, Adkins Fall 2016 Miembro de Missouri Western, Team 1-3, Adkins Fall 2016

MWSU-ADKINS-F16S1G3

Miembros de 2

4 Guías creadas

7 comentarios

Thank you for taking the time to post your pictures and the steps to repair a lightening cord. I plan to do this repair, and also, apply heat shrink to the other end BEFORE that one frays. Thanks!!

craig.eden - Contestar

I have cables that do not work anymore due to the fraying at the lightning port end. Are there instructions on how to fix this?

Christine Lucas - Contestar

The wiring is too intricate, Christine. It’s not worth the time it would take, IMO.

Dave -

Kills me as I recently fixed 3 separate lighting cables at the power converter end, but took no pictures! You have to razor the seam around the outside of the case, split the case apart by pulling out with pliers in the cord-wrap flap area (careful don’t split it) and then attach a new cord to the solder spots on the circuit board, or just to the wire stubs. Best to just order a replacement cord as these include the little stopper that fits into the case between the halves. If you’re good at solder-joining cables you can just do this and shrink-wrap ‘em, but I prefer to use a little crimp joiner, and then fill the crimp with solder before sliding the shrink-wrap down over it. It’s tricky because the join has to fit a small space inside the case. You can get replacement cords at AliExpress. I use duct-tape to tightly close the case in case of more repairs.

https://nl.aliexpress.com/wholesale?catI...

Atticus Mullikin -

Does this work with plastic straws instead of heat shrink?

joris van de noort - Contestar

Plastic straws cause several issues: it will be difficult to push the Lightning connector through, they won’t shrink as easily or uniformly compared to shrink tubing, and they’re rigid so there will be a hard edge at the end, likely creating a strain point where the cable will fray. Heat shrink tubing is readily available at hardware stores and it’s not expensive.

Mark Cousins -

My iPad charging cable has three layers frayed: the plastic jacket, the metal shielding sleeve and the plastic insulator sleeve exposing the cables underneath. How to fix them?

Wu Ming - Contestar

Agregar Comentario

Ver Estadísticas:

Ultimas 24 horas: 20

Ultimos 7 días: 99

Ultimos 30 días: 476

Todo El Tiempo: 61,307