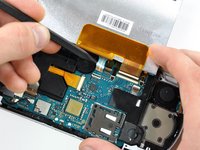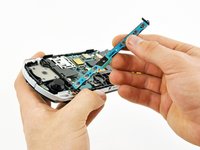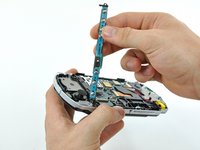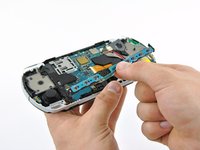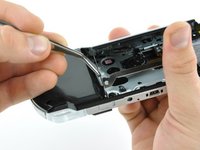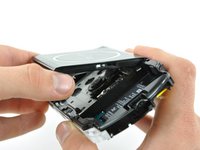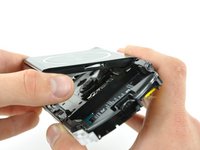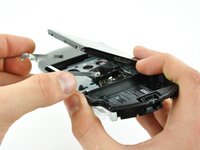
PSP 300xc UMD Drive Replacement
Introducción
Ir al paso 1Can your PSP 300xc no longer read UMDs? Replace your faulty UMD drive to get back in the game!
Qué necesitas
Partes
Herramientas
Ver más…
-
-
Press the button securing the battery door to the PSP 300xc, and lift the battery door off.
-
Lift the battery out of the PSP.
-
-
-
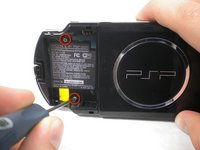
Use a spudger or your fingernail to remove the warranty sticker stuck to the inside of the battery tray
-
-
-
-
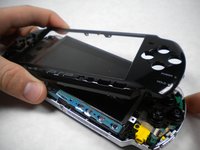
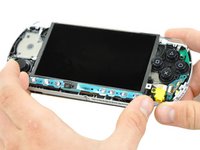
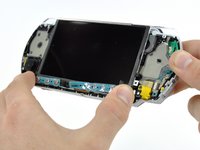
Rotate the LCD away from the PSP to reveal the LCD and home bar ribbon cables.
-
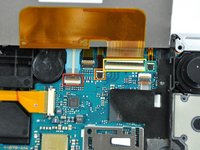
Use your fingernail or the edge of a plastic opening tool to flip up the retaining flap on the following four ZIF connectors:
-
Home bar cable
-
Microphone cable
-
LCD display data cable
-
Touchscreen cable
-
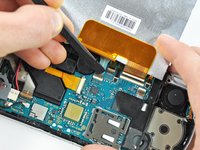
After flipping up the locking tabs on all four connectors, use your fingers or a spudger to gently pull the cables straight out of the connectors.
-
-
-
Lift the home bar up as high as it will go, but not so high that the wires disconnect.
-
Twist the home bar counter clockwise while carefully lifting it further. The left edge has to lift over the black plastic frame to allow it to rotate.
-
The home bar should now lift out of the PSP 300xc.
-
-
-
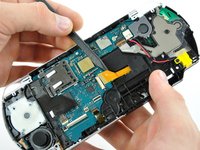
Using the flat edge of a spudger, pry the power board away from the PSP 300xc.
-
-
-
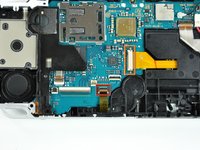
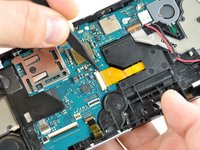
Use your fingernail or the edge of a spudger to flip up the retaining flap on the UMD drive ribbon socket.
-
Use your fingernail or tip of a spudger to push both sides of the black retaining flap on the UMD laser ribbon socket to the right.
-
Use a spudger to gently pull both ribbon cables straight out of their sockets.
-
-
Herramienta utilizada en este paso:Tweezers$4.99
-
Flip the PSP 300xc over and open the UMD door.
-
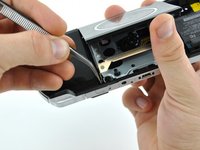
Using a pair of tweezers, grab the small rubber square between the metal UMD brace and case, and lift it out of the PSP 300xc.
-
Repeat for the rubber square on the other side of the UMD door.
-
-
-
Bend the PSP 300xc case while pulling up on the right edge of the UMD door until the right edge lifts free.
-
Remove the UMD door.
-
To reassemble your device, follow these instructions in reverse order.
To reassemble your device, follow these instructions in reverse order.
Cancelar: No complete esta guía.
4 personas más completaron esta guía.


