
Nintendo Switch Pro Controller Front Button Replacement

Introducción
Ir al paso 1The front buttons on a Nintendo switch pro controller are supposed to be free flowing and have lightning fast response time. If your controller is not performing at the highest level it can then that means you will keep losing games. The controller has to be the best it can possibly be so that you can play up to your ultimate potential. If your front buttons are sticky, unresponsive, or will not press down all the way, use this guide to remove and replace your buttons. This guide requires a Phillips #00 screwdriver for screw removal.
Qué necesitas


-
-
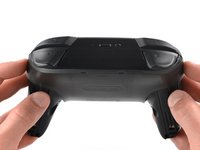
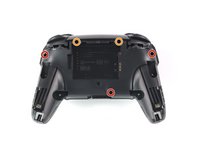
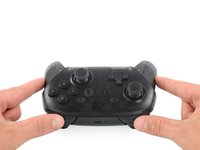
Flip the controller over so the model stickers face the ceiling.
-
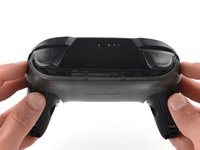
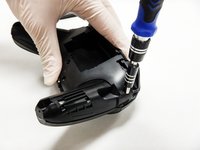
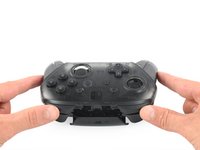
Use a JIS #00 screwdriver to remove the two black 8.4 mm screws that secure the handles, located at the ends of the handles.
-
-
-
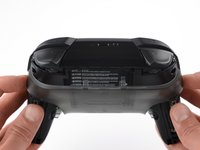
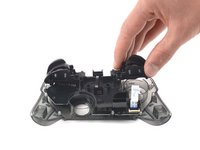
Carefully remove the handle covers by pulling them away from the main body.
-
-
-
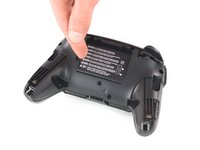
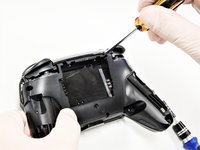
Use a JIS #00 screwdriver to remove the four silver 6.8 mm screws that secure the clear back plastic cover.
-
-
-
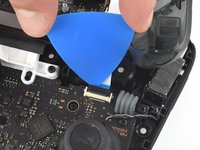
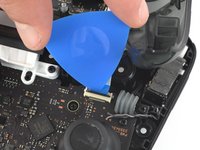
Carefully pry away the clear plastic cover using your fingernail.
-
-
-
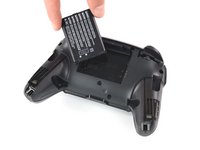
Remove the lithium-ion battery by using a fingernail or plastic opening tool to pry it up on the left side.
-
-
-
-
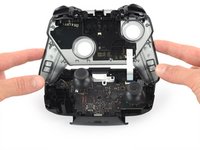
Use a Phillips #1 screwdriver to remove the five 5 mm screws from the back of the controller.
-
The two case screws above the handgrips and the single case screw below the battery bay have a shallow seat. These three screws can be easily removed.
-
The two case screws adjacent to the ZR and ZL shoulder buttons have a deep seat. Use an extension or a Phillips screwdriver with a longer shaft to reach these screws.
-
-
-
Use the tip of an opening pick to open the black flap of the ZIF connector by pushing it upwards.
-
-
Herramienta utilizada en este paso:Tweezers$4.99
-
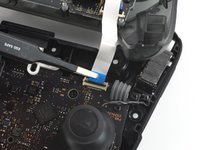
Use your fingers or a pair of blunt nose tweezers to disconnect the interconnect cable from its connector.
-
-
-
Remove the two 6.8 mm-long screws on the top circuit board using a Phillips screwdriver.
-
-
-
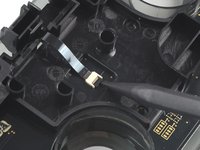
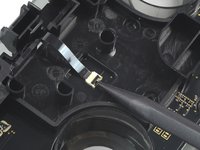
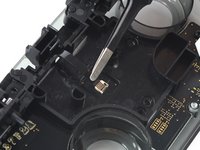
Use a spudger to flip up the locking tab on the ZIF connector.
-
-
-
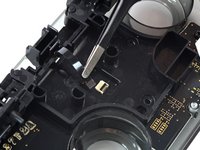
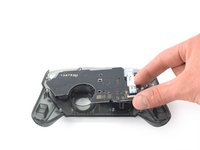
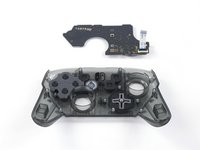
Use a Phillips screwdriver to remove the 5 mm-long screw securing the front button board.
-
There may be an additional screw. If so, remove it now.
-


To reassemble your device, follow these instructions in reverse order.
To reassemble your device, follow these instructions in reverse order.
Cancelar: No complete esta guía.
8 personas más completaron esta guía.

Equipo

Cal Poly, Team S11-G2, Regan Fall 2019 Miembro de Cal Poly, Team S11-G2, Regan Fall 2019
CPSU-REGAN-F19S11G2
5 Miembros
43 Guías creadas
4 comentarios
I broke the locking tab on the ZIF connector what can I do?
I’ve been looking myself and can’t find any replacement button board to buy - just asking again if anyone knows how to find or where to buy one?
if anyone else is reading this article... I easily found a nice set of replacement buttons that fit well on zedlabz. they're made in china and they are good quality rigid plastic with pleasant texturizing so they are easy to grip and press. happy fixing!
Be carefull, these screws are super easy to strip even with the right tools.
Lukas Eberharter - Contestar
I tried editing these instructions after I had trouble with stripping screws, but it doesn't seem to take. The issue is that these are JIS and not Phillips screws. They are VERY similar looking but a Phillips head screwdriver will strip the screws.
Isaac Webb - Contestar
I tried using a Philips #00 screwdriver but it didn’t work
vincent ingrassia - Contestar
Don't even think about trying Phillips. There are some other guides online that say you'll be fine, but they're wrong. Even one attempt with Phillips WILL strip these, and you will never, ever get this controller open once that happens. Even with JIS they're really hard to get out and really easy to strip.
Luke T. Allen - Contestar