
Nikon Coolpix P90 LCD Screen Replacement
Introducción
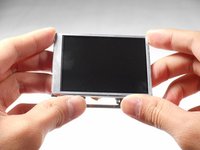
Ir al paso 1Note that the LCD screen display and the glass screen are separate parts.
Qué necesitas
Herramientas


-
-
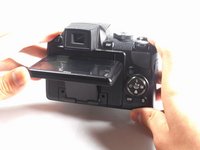
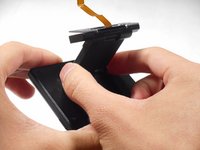
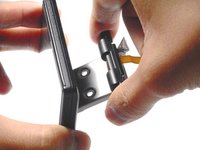
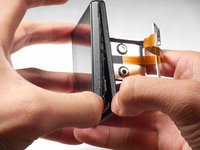
Use your finger to push the latch of the compartment door to the center of the camera body, per image 1.
-
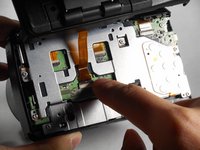
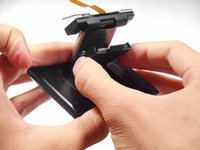
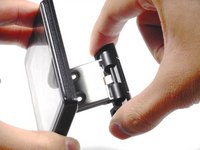
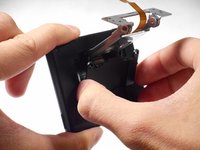
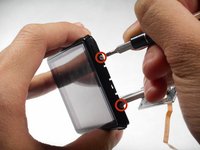
Push the door open, and remove the existing battery with your fingers, per images 2-3.
-
-
-
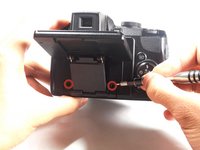
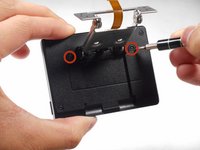
Remove both 4.5 mm screws holding the bottom into place.
-
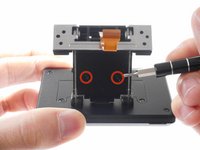
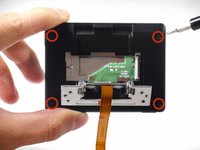
Remove both 4.5 mm screws holding the side into place.
-
Remove the 4.5 mm screw underneath the A/V flap.
-
Remove the 4.0 mm screw on the left-side wrist strap loop.
-
-


To reassemble your device, follow these instructions in reverse order.
To reassemble your device, follow these instructions in reverse order.
Cancelar: No complete esta guía.
2 personas más completaron esta guía.
Equipo

Cal Poly, Team 20-14, Maness Winter 2015 Miembro de Cal Poly, Team 20-14, Maness Winter 2015
CPSU-MANESS-W15S20G14
4 Miembros
7 Guías creadas
4 comentarios
Hello Elizabeth,
I have just followed the video’s for replacing a screen on my Coolpix P90.
The procedure was excellent and for an old Australian (born 1931) I never had a problem.
Just one question, is there a special way for reconnecting the data transfer ribbon.
Just cannot reconnect.
Thank you.
Regards, Noman
QLD Australia.
Help! I must be missing something. I only need to replace the screen and I can’t get the angled screen to lay flat. Because of this I cant access the two screws on the back “extension” piece allowing me to remove the plastic cover on the back of the screen. The camera is a coolpix P90. Any advice?
I also need to know where to buy a new screen.
Everywhere I look on line there are only parts listed for newer models.
Thanks, Allen