
Motorola Moto X 2nd Generation Battery Replacement
Introducción
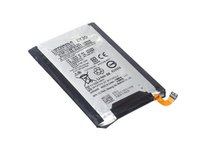
Ir al paso 1The battery is a delicate and critical component of a cell phone, and great care should be taken when replacing it. The Motorola Moto X 2nd generation phone battery can be replaced without any specialized skills and only a few standard maintenance tools. Make sure to power off the phone completely and disconnect from all cables. You should always back up your phone data when replacing a critical component to avoid any losses due to accidental damage. Take additional care if the battery is swollen..
Before you begin, download the Rescue and Smart Assistant app to backup your device and diagnose whether your problem is software or hardware related.


-
-
Remove the SIM card tray by inserting the SIM card eject tool into the small hole on the tray.
-
-
-
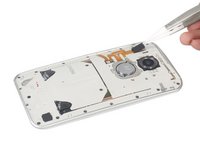
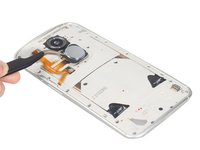
Insert a SIM eject tool into the SIM tray slot, and through a small hole in the mid frame.
-
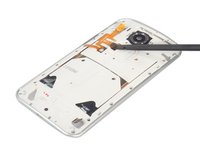
Push the SIM eject tool through the hole and against the back cover to lift the cover slightly.
-
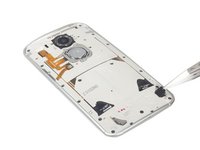
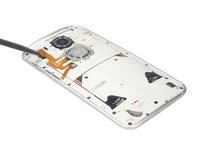
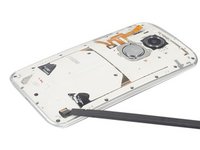
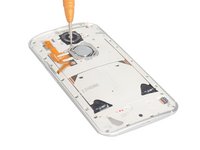
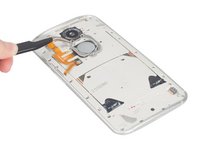
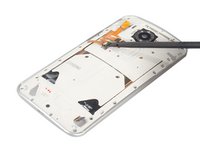
Insert an opening pick into the gap created with the SIM eject tool, and slide the pick around the edge of the cover to cut the cover's adhesive.
-
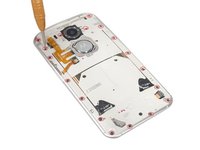
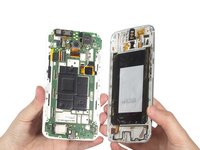
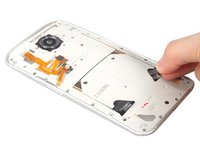
Remove back cover.
-
-


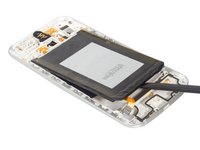
To reassemble your device, follow these instructions in reverse order.
After completing this guide, calibrate your newly-installed battery.
To reassemble your device, follow these instructions in reverse order.
After completing this guide, calibrate your newly-installed battery.
Cancelar: No complete esta guía.
52 personas más completaron esta guía.
37 comentarios
Are you friggin' kidding me. Why would Motorola make a major project out of simply removing a battery. Definately needs to be simplified. It'seems like doing friggin' surgery on a phone.
Too funny! hahahha
I'd call this battery replacement requirement 'built in obsolescence'! There's no way I'd attempt this. I'd rather buy a new phone. Then again, that's probably why it's so complicated...
How do you repeat the steps in reverse such that you replace the adhesive holding the battery in place? Does a new battery come with the adhesive?