
Motorola Moto G5 Plus Rear Facing Camera Replacement

Introducción
Ir al paso 1If your rear facing camera is damaged and not letting you take photos or videos, this guide will show you how to remove and replace it so your Motorola Moto G5 Plus is working at peak condition.


-
-
Use a SIM eject bit, SIM eject tool, or paper clip to remove the SIM card from your phone.
-
-
-
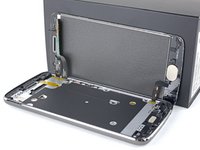
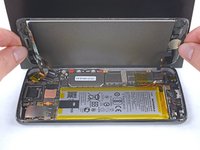
Prepare an iOpener and heat the front of the phone along its left edge for about two minutes, or until it's slightly too hot to touch. This will help soften the adhesive securing the display.
-
-
-
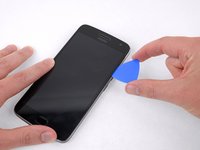
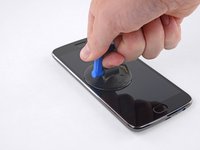
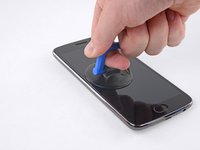
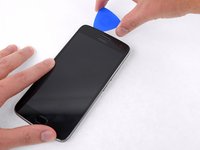
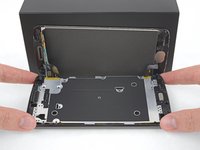
Apply a suction cup to the display, near the middle of the left edge.
-
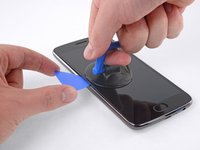
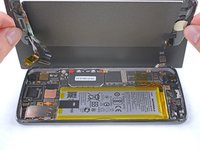
Pull the suction cup with firm, constant pressure to create a slight gap between the display panel and the rear case.
-
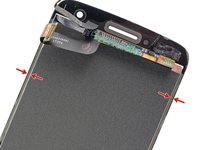
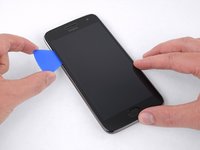
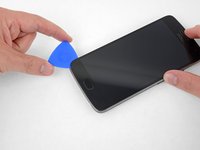
If the display doesn't separate even with significant force, apply more heat to further soften the adhesive and try again. The adhesive cools quickly, so you may need to heat it repeatedly.
-
-
-
Herramienta utilizada en este paso:Tesa 61395 Tape$5.99
-
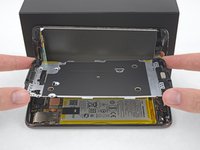
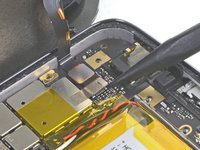
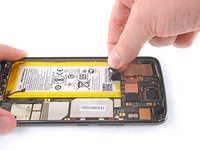
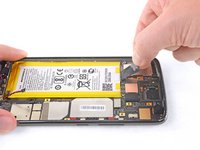
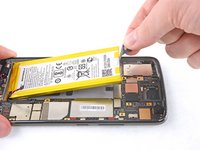
Once the battery is loose, remove it from the phone.
-
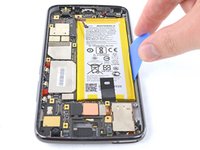
Remove any remaining adhesive from the phone, and clean the entire area under the battery with isopropyl alcohol.
-
Apply a few new strips of pre-cut adhesive or Tesa tape.
-
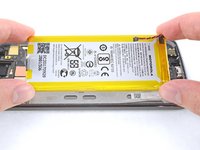
Press the new battery firmly into place for 5-10 seconds.
-
-
-
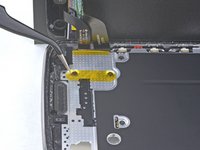
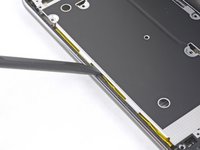
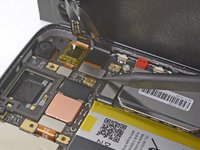
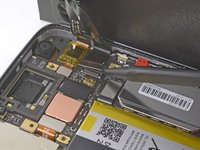
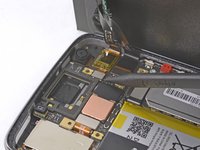
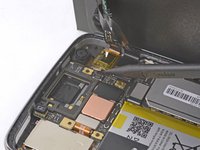
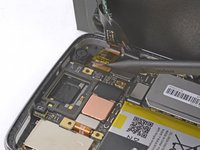
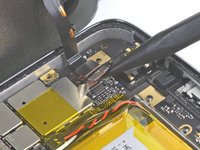
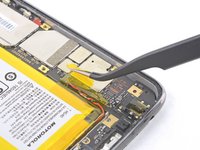
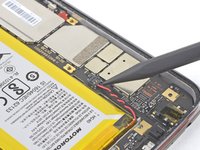
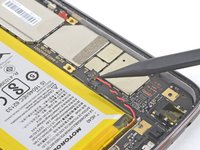
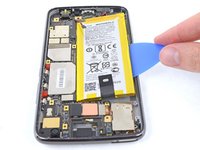
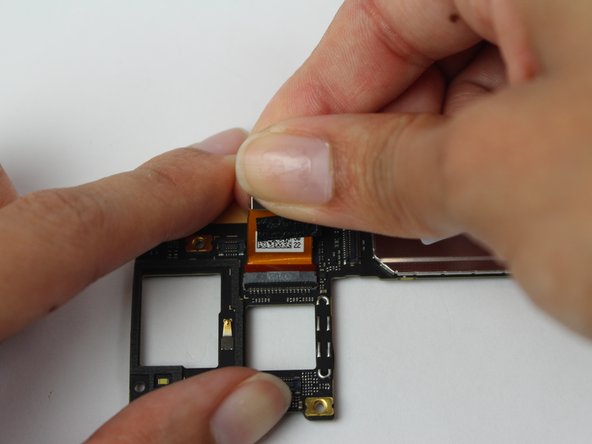
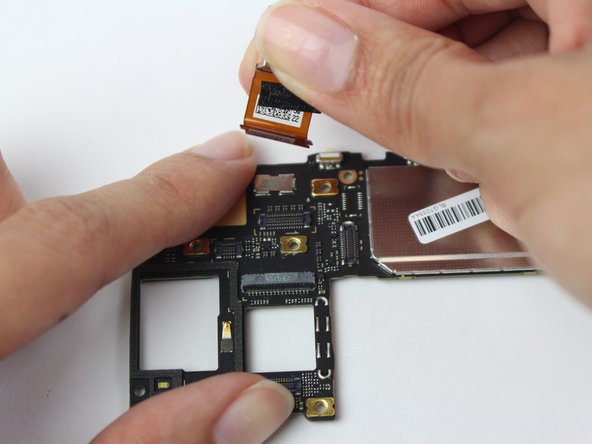
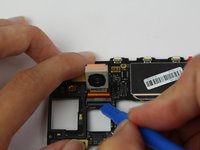
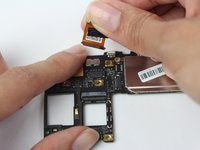
Gently pry the 12-megapixel G5 Plus rear-facing camera up using the plastic opening tool, exposing the ZIF connector.
-


To reassemble your device, follow these instructions in reverse order.
To reassemble your device, follow these instructions in reverse order.
Cancelar: No complete esta guía.
5 personas más completaron esta guía.

Equipo

USF Tampa, Team S1-G6, Leahy Fall 2017 Miembro de USF Tampa, Team S1-G6, Leahy Fall 2017
USFT-LEAHY-F17S1G6
5 Miembros
21 Guías creadas