
MacBook Core Duo iSight Camera Replacement

Introducción
Ir al paso 1Replace a broken iSight camera on your MacBook Core Duo so you can get back to making silly faces in Photobooth.
Qué necesitas


-
-
Use a coin or spudger to rotate the battery-locking screw 90 degrees clockwise.
-
-
-
Remove the three evenly-spaced Phillips screws from along the rear wall of the battery compartment.
-
-
-
Remove the following 3 screws:
-
One 11 mm Phillips #00 in the middle of the case.
-
Two 14.5 mm Phillips #00.
-
-
-
Starting near the display and working around to the front of the computer, pry up on the upper case. It is held with clips on the right above the optical drive. These will release with some firm lifting pressure.
-
Be careful when prying up the upper case. It's very easy to slice open a fingertip and thus provide the blood sacrifice the Mac gods sometimes require of those who insist on doing their own repairs.
-
-
-
Grasp the white plastic tab attached to the hard drive and pull it to the left, removing the hard drive from the computer.
-
-
-
-
Remove the following 3 screws:
-
Two 3 mm Phillips near the right speaker.
-
One 6 mm Phillips threaded through a hole in a plastic finger above the subwoofer.
-
-
-
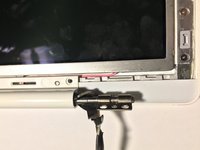
Use a spudger to carefully disconnect the microphone cable from the logic board. You'll want to work from side to side, and slowly wiggle the connector out of its socket.
-
-
-
Hold the display with one hand while removing the screws from the left hinge mount.
-
Remove the following 3 screws from the left hinge mount:
-
One 6 mm smaller diameter Phillips from the right side.
-
One 6 mm larger diameter Phillips from the middle.
-
One 10 mm Phillips from the left side.
-
Lift the left hinge mount out of the computer.
-
-
Herramienta utilizada en este paso:Plastic Cards$2.99
-
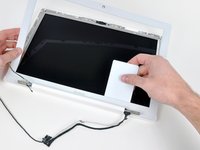
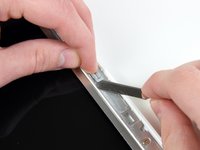
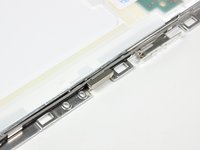
Use a thin plastic card to release the tabs and their clips holding the front display bezel to the display assembly. There are five tabs along the left side of the display bezel.
-
-
-
While holding the display down with one hand, use your other hand to lift the left end of the clutch cover off the clutch hinge and guide the inverter cable and AirPort cables through the gap in the clutch cover. If the cables snag on the two hooked tabs on the inside end of the clutch cover, free them carefully.
-
-
-
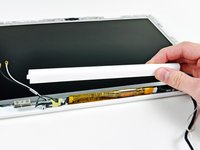
Lift up the right end of the clutch cover while guiding the display data and iSight cables through the gap and the two hooked tabs at the right end of the clutch cover. If the cables snag on the two hooked tabs, free them carefully.
-
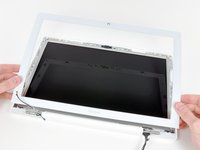
Lift the clutch cover off of the display assembly.
-
-
-
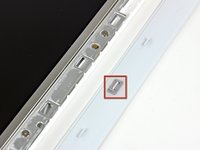
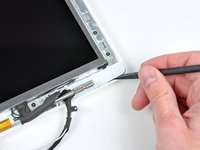
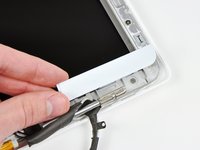
Remove the small piece of foam tape stuck down above each of the bezel covers, at the lower left and right corners.
-
-
-
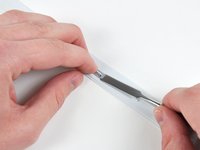
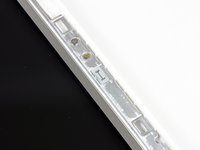
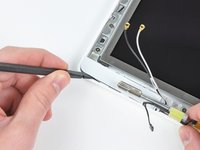
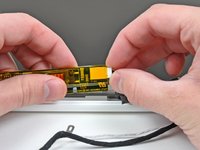
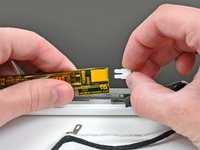
Remove the two pieces of yellow tape covering the camera cable near the top edge of the LCD assembly.
-


To reassemble your device, follow these instructions in reverse order.
To reassemble your device, follow these instructions in reverse order.
Cancelar: No complete esta guía.
11 personas más completaron esta guía.
