Saltar al contenido principal
Lenovo Yoga 910-13IKB Fan Replacement

Lenovo Yoga 910-13IKB Fan Replacement

Angel L Appelzoller

Angel L Appelzoller y 8 otros contribuidores

Última actualización: May 7, 2024

40 minuto - 1 hora
Moderado

Introducción

Ir al paso 1

The Lenovo Yoga 910-13IKB is a dynamic laptop with tablet-like features. In this guide, you will be walked through each step needed to replace the fan, which will eventually break or become inoperable due to wear and tear from regular usage. The fan is a vital component, as it cools down the CPU when the laptop is in use. If you notice that the fan is silent, that the air near the vents is calm, or that your laptop is especially hot, it is likely time to consider replacing your fan. The replacement process can be completed without any technical skills, all that is needed is a bit of patience.

Qué necesitas

Partes

Herramientas

Ver más…

  1. Lenovo Yoga 910-13IKB Fan Replacement, Back Panel: paso 1, imagen 1 de 2 Lenovo Yoga 910-13IKB Fan Replacement, Back Panel: paso 1, imagen 2 de 2
    • Turn the laptop over and remove the ten Torx T5 screws along the perimeter of the bottom panel using the T5 Torx Screwdriver.

    • Remove the back panel from the device exposing the components.

  2. Lenovo Yoga 910-13IKB Fan Replacement, Battery: paso 2, imagen 1 de 1
    • Remove the four 3 mm Phillips #0 screws holding the battery in place.

  3. Lenovo Yoga 910-13IKB Fan Replacement: paso 3, imagen 1 de 3 Lenovo Yoga 910-13IKB Fan Replacement: paso 3, imagen 2 de 3 Lenovo Yoga 910-13IKB Fan Replacement: paso 3, imagen 3 de 3
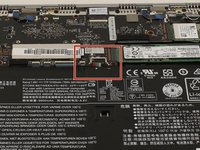
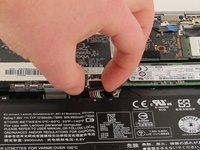
    • Disconnect the battery cable from its motherboard socket by gently pulling it towards the battery. The spudger tool may be needed to lift the flap seal.

    • Pull parallel to the battery, not straight up.

    • Pull evenly on the width of the cable so that no individual wire is overly strained.

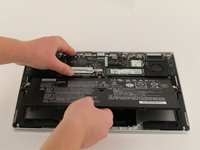
    • Lift the battery out.

    This was perfect for me.

    Thanks!

    Larry Doughan - Contestar

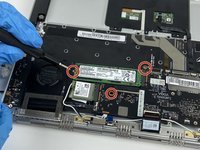
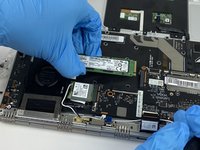
  4. Lenovo Yoga 910-13IKB Fan Replacement, Fan: paso 4, imagen 1 de 2 Lenovo Yoga 910-13IKB Fan Replacement, Fan: paso 4, imagen 2 de 2
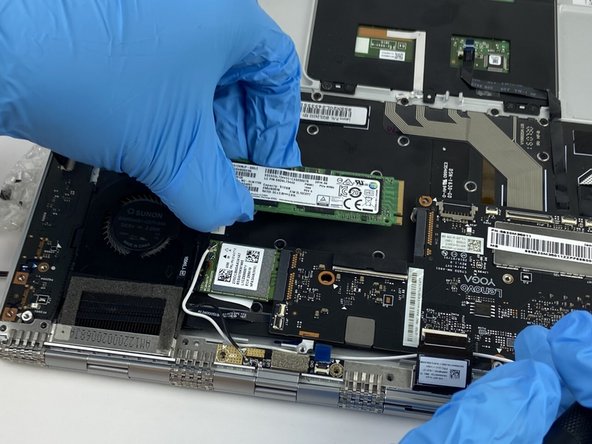
    • Remove the screws attached to the SSD stick by using a Phillips #0 screwdriver.

    • Pull the SSD stick directly to the right until it shifts out of place to remove it.

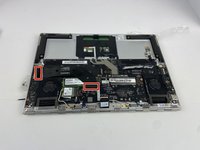
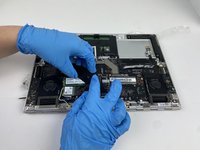
  5. Lenovo Yoga 910-13IKB Fan Replacement: paso 5, imagen 1 de 3 Lenovo Yoga 910-13IKB Fan Replacement: paso 5, imagen 2 de 3 Lenovo Yoga 910-13IKB Fan Replacement: paso 5, imagen 3 de 3
    • Lift the labeled flap seal and remove the ribbon cable that connects the USB ports to the motherboard and gently pull away.

    • Be gentle when detaching the cables, the attachment port is easy to damage.

    What if I break one of the ports

    Francisco Bayardo, Jr. - Contestar

  6. Lenovo Yoga 910-13IKB Fan Replacement: paso 6, imagen 1 de 3 Lenovo Yoga 910-13IKB Fan Replacement: paso 6, imagen 2 de 3 Lenovo Yoga 910-13IKB Fan Replacement: paso 6, imagen 3 de 3
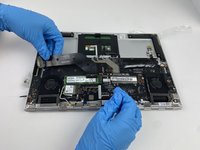
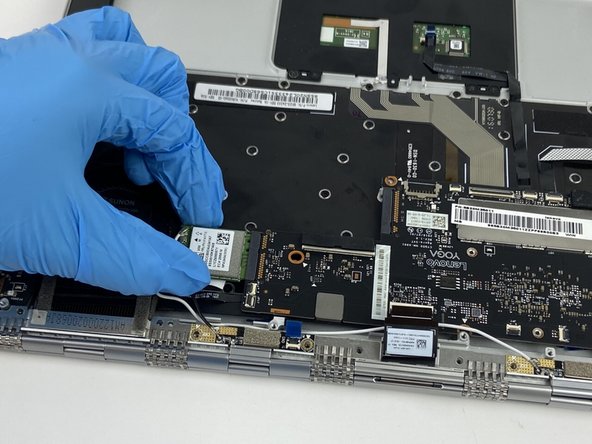
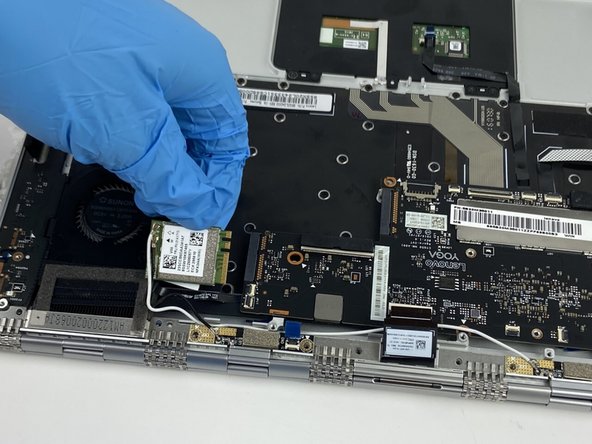
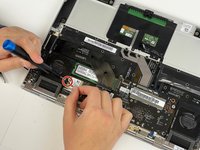
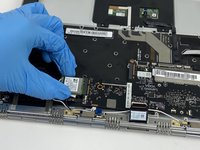
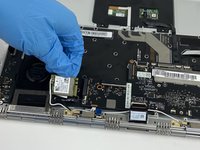
    • Unscrew the single 1 mm screw at the left of Wi-Fi card with a Phillips #0 screwdriver.

    • Remove the Wi-Fi card by gently pulling the card to the left.

  7. Lenovo Yoga 910-13IKB Fan Replacement: paso 7, imagen 1 de 3 Lenovo Yoga 910-13IKB Fan Replacement: paso 7, imagen 2 de 3 Lenovo Yoga 910-13IKB Fan Replacement: paso 7, imagen 3 de 3
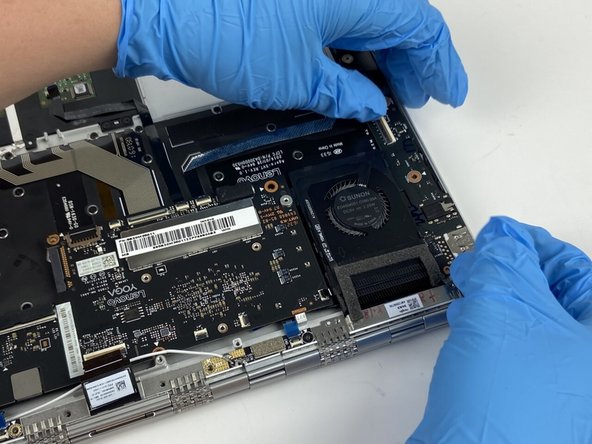
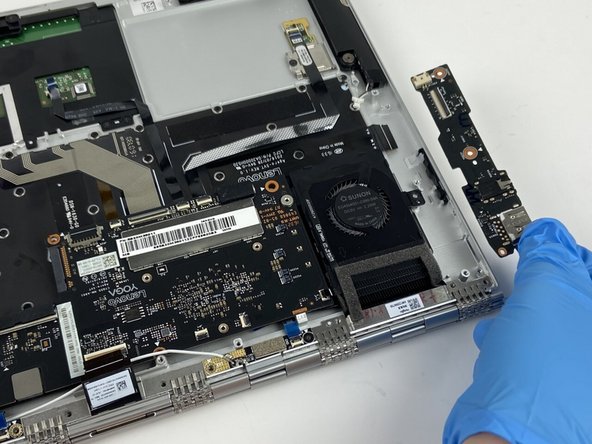
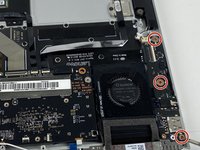
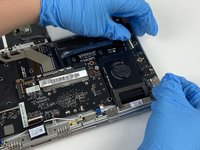
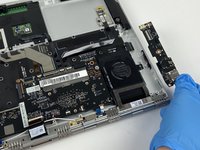
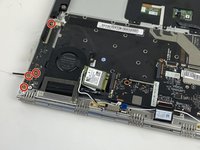
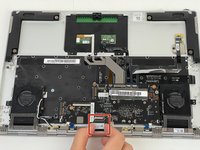
    • Unscrew three 1 mm screws on the rightmost USB port board using a Phillips #0 screwdriver.

    • Remove the rightmost USB port board by pulling it up and out.

  8. Lenovo Yoga 910-13IKB Fan Replacement: paso 8, imagen 1 de 3 Lenovo Yoga 910-13IKB Fan Replacement: paso 8, imagen 2 de 3 Lenovo Yoga 910-13IKB Fan Replacement: paso 8, imagen 3 de 3
    • Unscrew the four 1 mm screws on the leftmost USB port using a Phillips #0 screwdriver.

    • Remove the leftmost USB port board by pulling it up and out.

  9. Lenovo Yoga 910-13IKB Fan Replacement: paso 9, imagen 1 de 2 Lenovo Yoga 910-13IKB Fan Replacement: paso 9, imagen 2 de 2
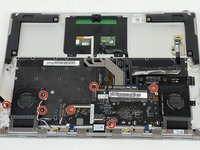
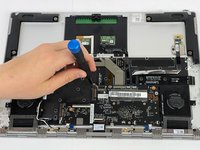
    • Remove seven 1 mm screws from the motherboard using a Phillips #0 screwdriver.

  10. Lenovo Yoga 910-13IKB Fan Replacement: paso 10, imagen 1 de 2 Lenovo Yoga 910-13IKB Fan Replacement: paso 10, imagen 2 de 2
    Herramienta utilizada en este paso:
    Tweezers
    $4.99
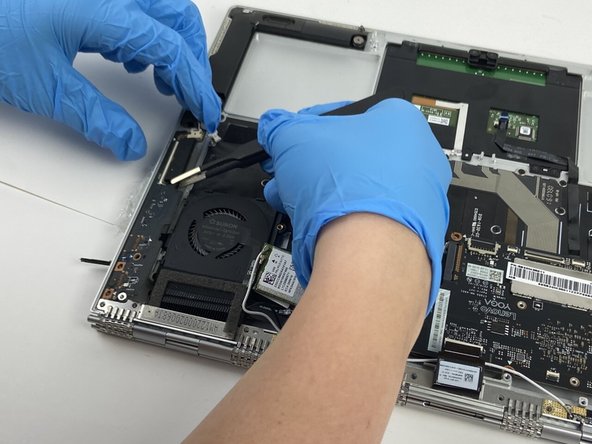
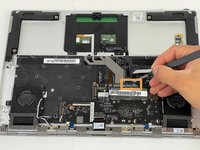
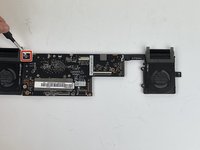
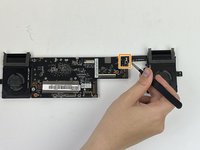
    • Gently pull the Back Connector strip towards you, this will safely disconnect it.

    • Disconnect the two Upper Connector Strips by using Tweezers and unclipping the upper tab.

    • Be cautious not to rip the strips or parts.

  11. Lenovo Yoga 910-13IKB Fan Replacement: paso 11, imagen 1 de 3 Lenovo Yoga 910-13IKB Fan Replacement: paso 11, imagen 2 de 3 Lenovo Yoga 910-13IKB Fan Replacement: paso 11, imagen 3 de 3
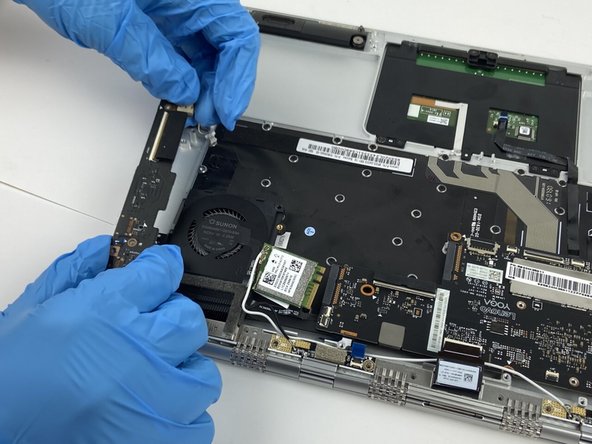
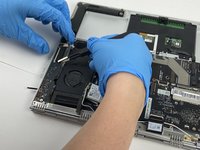
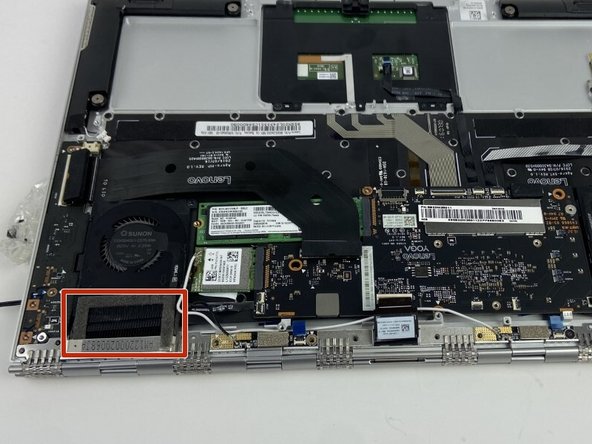
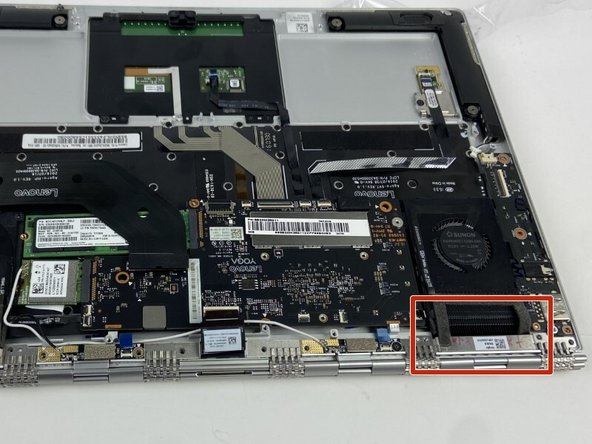
    • Gently peel up the sticky adhesive attaching the fan to the hinge.

    • Be very careful with the ports when removing to not damage anything else.

  12. Lenovo Yoga 910-13IKB Fan Replacement: paso 12, imagen 1 de 2 Lenovo Yoga 910-13IKB Fan Replacement: paso 12, imagen 2 de 2
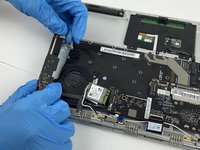
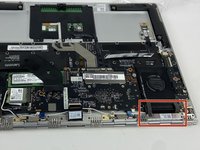
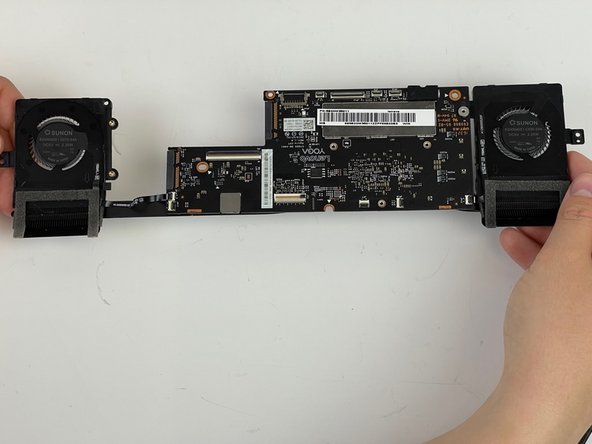
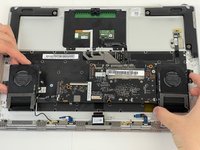
    • Remove the motherboard and fan by pulling away and up from the hinge.

  13. Lenovo Yoga 910-13IKB Fan Replacement: paso 13, imagen 1 de 2 Lenovo Yoga 910-13IKB Fan Replacement: paso 13, imagen 2 de 2
    • Flip the component to the opposite side.

  14. Lenovo Yoga 910-13IKB Fan Replacement: paso 14, imagen 1 de 2 Lenovo Yoga 910-13IKB Fan Replacement: paso 14, imagen 2 de 2
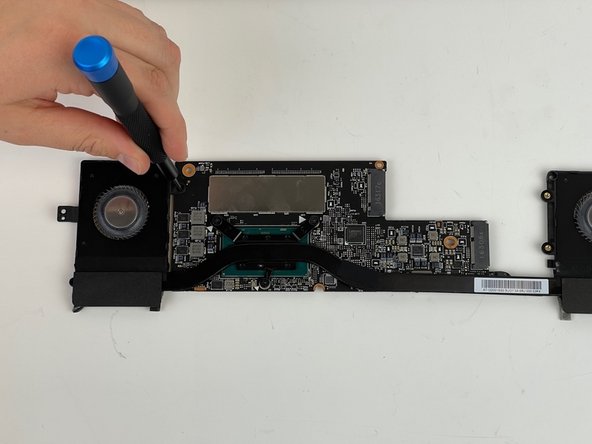
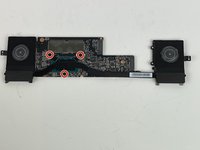
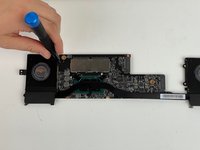
    • Remove three 1 mm screws using a Phillips #0 screwdriver.

  15. Lenovo Yoga 910-13IKB Fan Replacement: paso 15, imagen 1 de 2 Lenovo Yoga 910-13IKB Fan Replacement: paso 15, imagen 2 de 2
    • Lift the leftmost flap seal up and remove the connector strip.

    • Lift the two right flap seals up and remove the connector strip.

    • Using tweezers or a spudger may be helpful.

  16. Lenovo Yoga 910-13IKB Fan Replacement: paso 16, imagen 1 de 1
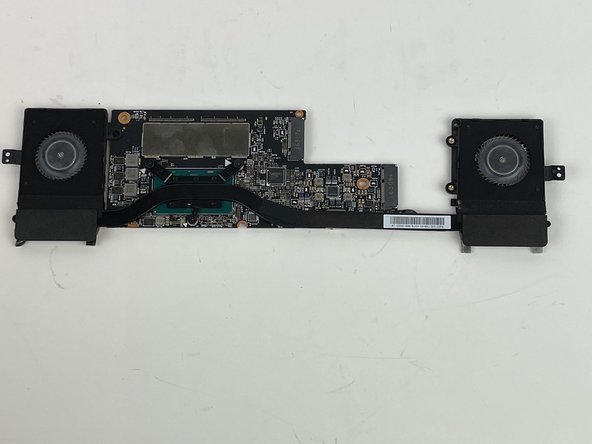
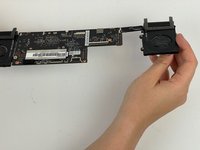
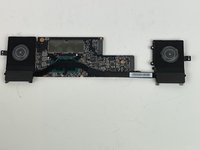
    • Lift the fan component upward and away from the motherboard.

Conclusión

To reassemble your device, follow steps 1-8 in reverse order.

Una persona más ha completado esta guía.

Un comentario

This laptop throttles like crazy with heavy load even if both fans are working perfectly!

danwat1234 - Contestar

Agregar Comentario

Ver Estadísticas:

Ultimas 24 horas: 1

Ultimos 7 días: 15

Ultimos 30 días: 45

Todo El Tiempo: 1,613