Saltar al contenido principal
LG GW910 Camera Replacement

LG GW910 Camera Replacement

Jonas Ke

Jonas Ke y 3 otros contribuidores

Última actualización: May 29, 2022

7 minuto
Moderado

Introducción

Ir al paso 1

This guide will assist you while you take your phone apart. This disassembly is not a very difficult task. There will be a few connectors that will be disconnected during the process. Make sure to be cautious with them so they do not rip. There are many little screws that will be taken off the phone. Make sure that you have a clean and organized work space.

Qué necesitas

Herramientas

Ver más…

  1. LG GW910 Camera Replacement, Motherboard: paso 1, imagen 1 de 2 LG GW910 Camera Replacement, Motherboard: paso 1, imagen 2 de 2
    • Remove the back cover by firmly pressing the triangle and push upwards.

    • Lift the bottom section to remove the cover.

  2. LG GW910 Camera Replacement: paso 2, imagen 1 de 2 LG GW910 Camera Replacement: paso 2, imagen 2 de 2
    • Remove the battery by lifting from the bottom.

  3. LG GW910 Camera Replacement: paso 3, imagen 1 de 1
    • Remove six 3mm PH000 screws.

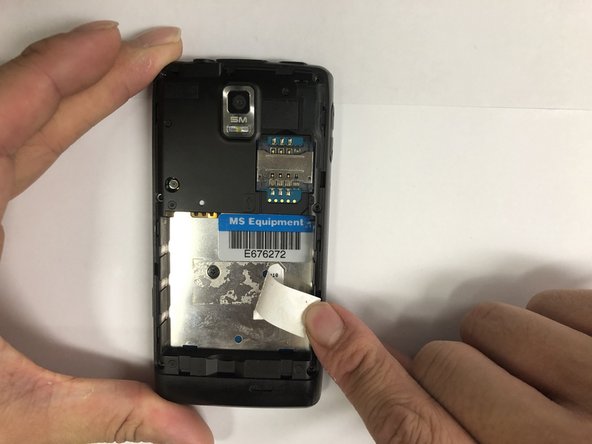
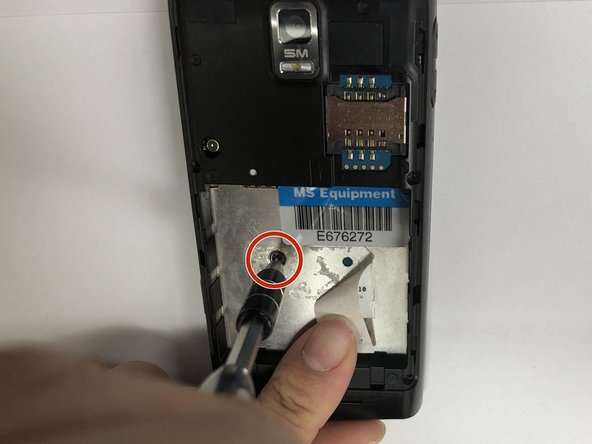
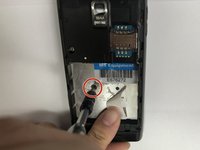
  4. LG GW910 Camera Replacement: paso 4, imagen 1 de 3 LG GW910 Camera Replacement: paso 4, imagen 2 de 3 LG GW910 Camera Replacement: paso 4, imagen 3 de 3
    • Peel off the sticker with the metal spudger.

    • Remove one 1mm PH000 screw.

  5. LG GW910 Camera Replacement: paso 5, imagen 1 de 1
    • Pry open all four sides of the back-frame gently, using the metal spudger.

    • The back-frame should come out easily.

    • Volume button and shutter button may fall out during the process.

  6. LG GW910 Camera Replacement: paso 6, imagen 1 de 1
    • Pry off the connector using the iFixit opening tool to remove the communication board.

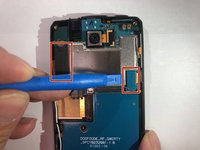
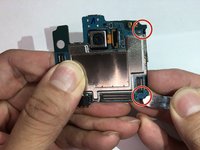
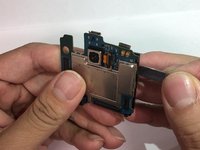
  7. LG GW910 Camera Replacement: paso 7, imagen 1 de 3 LG GW910 Camera Replacement: paso 7, imagen 2 de 3 LG GW910 Camera Replacement: paso 7, imagen 3 de 3
    • Pry off the connectors using the iFixit opening tool.

    • Disconnect the antenna using the iFixit opening tool.

    • The motherboard should be able to be removed easily.

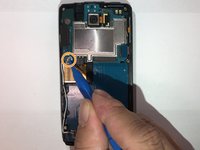
  8. LG GW910 Camera Replacement, Camera: paso 8, imagen 1 de 2 LG GW910 Camera Replacement, Camera: paso 8, imagen 2 de 2
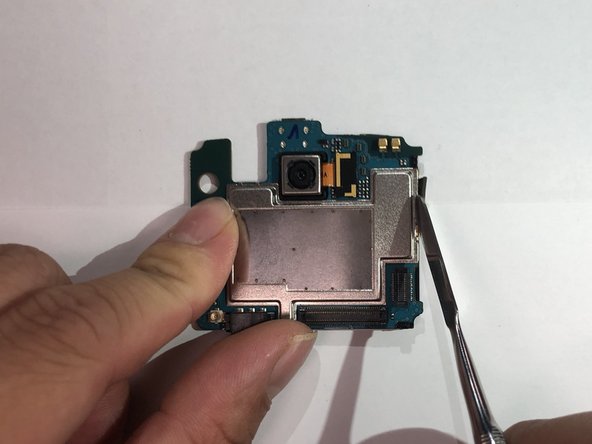
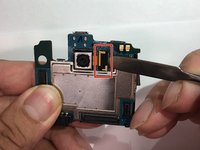
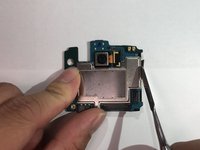
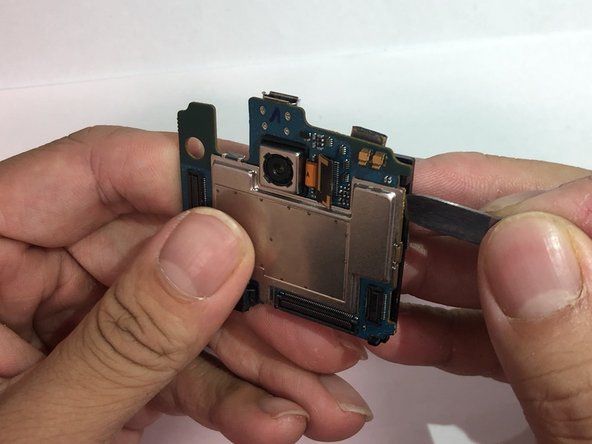
    • Disconnect the connector using the metal spudger.

    • Peel back the tape on the side.

    • Replacement tape might be needed.

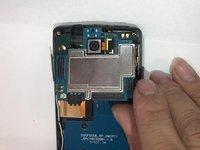
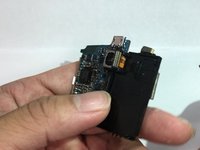
  9. LG GW910 Camera Replacement: paso 9, imagen 1 de 3 LG GW910 Camera Replacement: paso 9, imagen 2 de 3 LG GW910 Camera Replacement: paso 9, imagen 3 de 3
    • Pry open the two plastic hooks using the metal spudger tool.

    • Crack open the black plastic cover using the metal spudger tool. The cover should be easily turned over.

    • The connector might get stuck in the opening while turning over the cover. Twist the connector if needed.

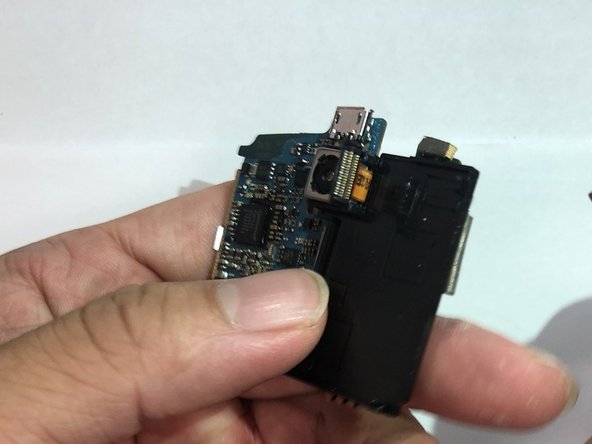
  10. LG GW910 Camera Replacement: paso 10, imagen 1 de 2 LG GW910 Camera Replacement: paso 10, imagen 2 de 2
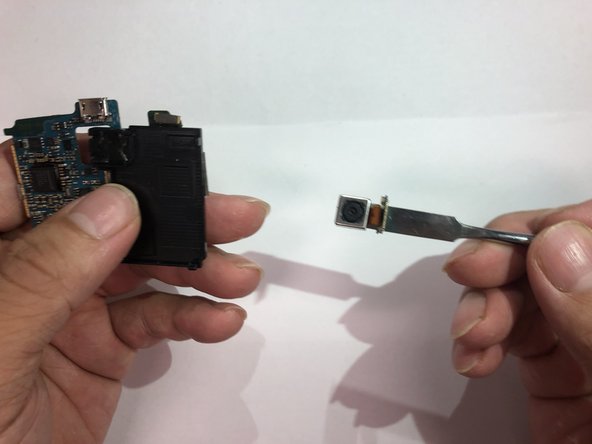
    • Remove the camera unit by prying on it.

    • Adhesive will be needed for reassembly.

Conclusión

To reassemble your device, follow these instructions in reverse order.

2 personas más completaron esta guía.

Jonas Ke

Miembro Desde 11/06/18

492 Reputación

3 Guías creadas

Equipo

IUPUI, Team S1-G6, Hovde Fall 2018 Miembro de IUPUI, Team S1-G6, Hovde Fall 2018

IUPUI-HOVDE-F18S1G6

Miembros de 3

6 Guías creadas

0 comentarios

Agregar Comentario

Ver Estadísticas:

Ultimas 24 horas: 0

Ultimos 7 días: 1

Ultimos 30 días: 3

Todo El Tiempo: 161