
HP Envy Ultrabook 4-1015dx Hard Disk Drive Replacement
Introducción
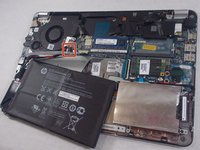
Ir al paso 1If you are having issues with your hard disk drive, this guide explains how to remove the drive from the device for troubleshooting purposes or to insert a replacement hard drive.
Qué necesitas
Herramientas


-
-
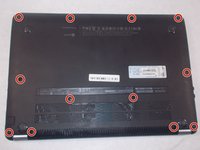
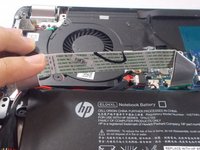
Make sure that the device is turned off and that all external devices are removed.
-
-
-
-
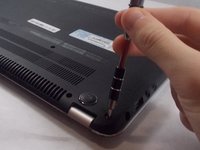
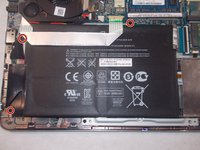
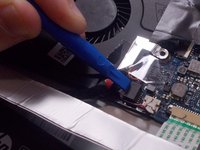
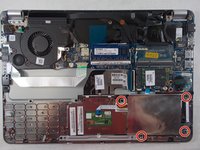
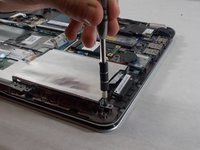
Using a size 0 Phillips head screwdriver, remove the four 3 mm size 0 screws attaching the hard drive casing to the device.
-


To reassemble your device, follow these instructions in reverse order.
To reassemble your device, follow these instructions in reverse order.
Equipo

UMass Dartmouth, Team S1-G3, Valliere Fall 2018 Miembro de UMass Dartmouth, Team S1-G3, Valliere Fall 2018
UMASSD-VALLIERE-F18S1G3
5 Miembros
6 Guías creadas