Saltar al contenido principal
HP Envy 4520 LCD Screen  Replacement

HP Envy 4520 LCD Screen Replacement

Markell Parks

Markell Parks y 4 otros contribuidores

Última actualización: April 16, 2023

7 - 10 minutos
Fácil

Introducción

Ir al paso 1

The replacement of LCD screen will require a T10 and a T6 screwdriver.

Qué necesitas

Herramientas

  1. HP Envy 4520 LCD Screen  Replacement, LCD Screen: paso 1, imagen 1 de 2 HP Envy 4520 LCD Screen  Replacement, LCD Screen: paso 1, imagen 2 de 2
    • Lift the scanner bed.

  2. HP Envy 4520 LCD Screen  Replacement: paso 2, imagen 1 de 2 HP Envy 4520 LCD Screen  Replacement: paso 2, imagen 2 de 2
    • Remove the T10, 13 mm center screw.

  3. HP Envy 4520 LCD Screen  Replacement: paso 3, imagen 1 de 3 HP Envy 4520 LCD Screen  Replacement: paso 3, imagen 2 de 3 HP Envy 4520 LCD Screen  Replacement: paso 3, imagen 3 de 3
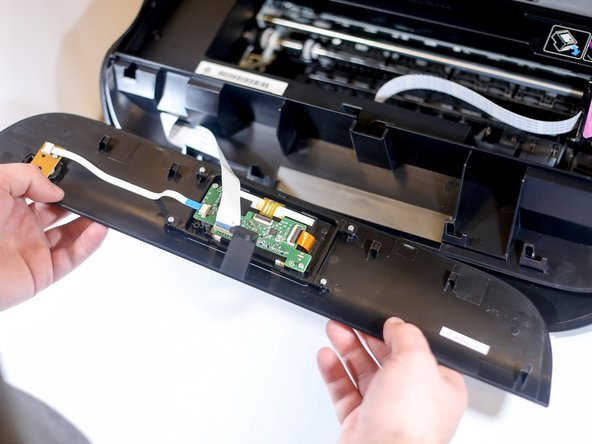
    • Slide the front panel to the right, then lift the front panel upwards.

  4. HP Envy 4520 LCD Screen  Replacement: paso 4, imagen 1 de 3 HP Envy 4520 LCD Screen  Replacement: paso 4, imagen 2 de 3 HP Envy 4520 LCD Screen  Replacement: paso 4, imagen 3 de 3
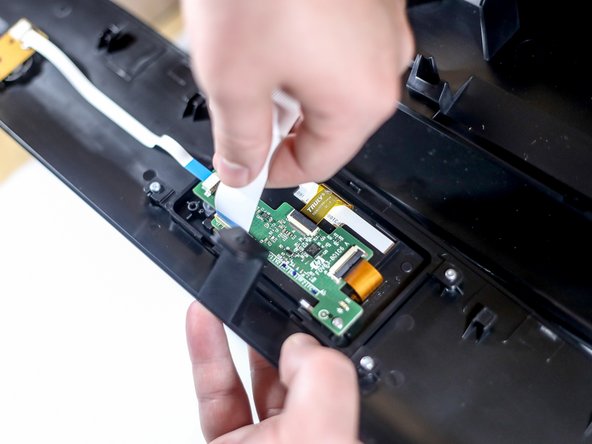
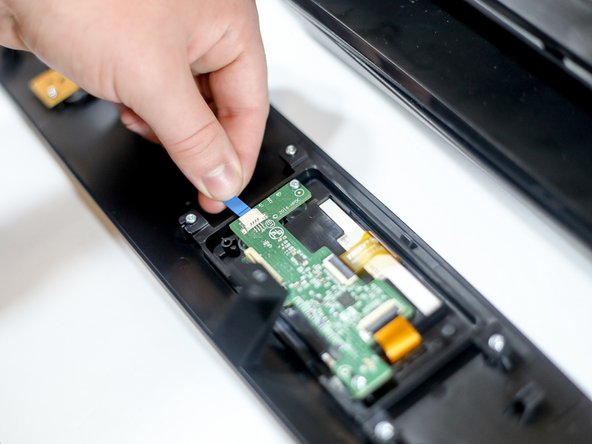
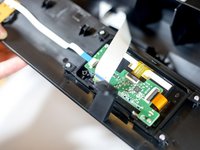
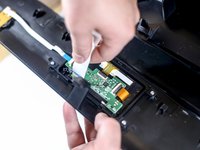
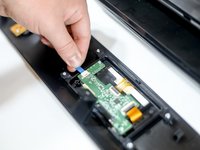
    • Remove the large flat ribbon cable by pinching the top and bottom of the cable between thumb and index finger and pulling away from the mother board.

    • Remove the small flat ribbon cable by pinching the top and bottom of the cable between thumb and index finger and pulling away from the mother board.

  5. HP Envy 4520 LCD Screen  Replacement: paso 5, imagen 1 de 3 HP Envy 4520 LCD Screen  Replacement: paso 5, imagen 2 de 3 HP Envy 4520 LCD Screen  Replacement: paso 5, imagen 3 de 3
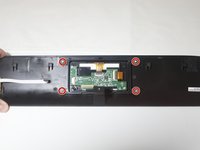
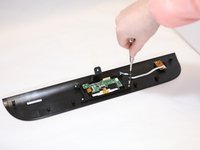
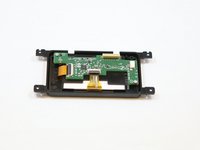
    • Remove the four T6, 7 mm mounting screws.

    • Remove the LCD screen out of the plastic housing.

Conclusión

To reassemble your device, follow these instructions in reverse order.

Una persona más ha completado esta guía.

0 comentarios

Agregar Comentario

Ver Estadísticas:

Ultimas 24 horas: 2

Ultimos 7 días: 3

Ultimos 30 días: 65

Todo El Tiempo: 1,813