
Dell XPS 13 9360 SSD Replacement

Introducción
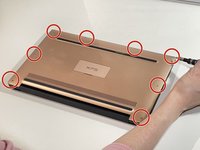
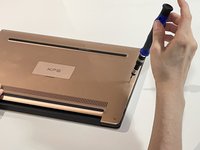
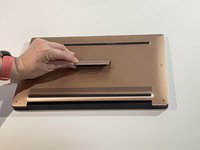
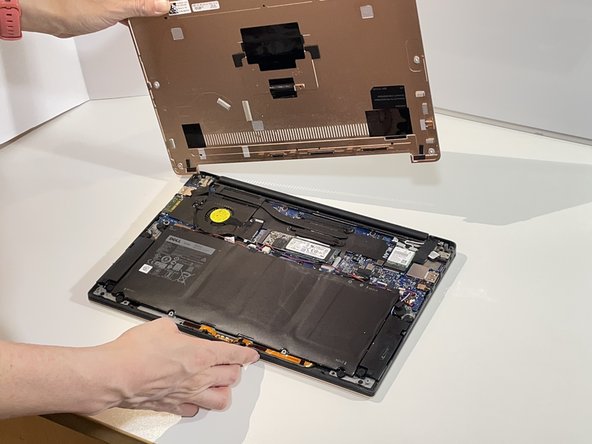
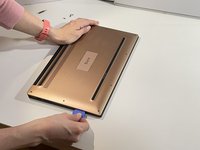
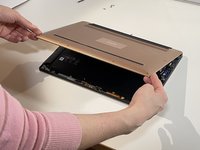
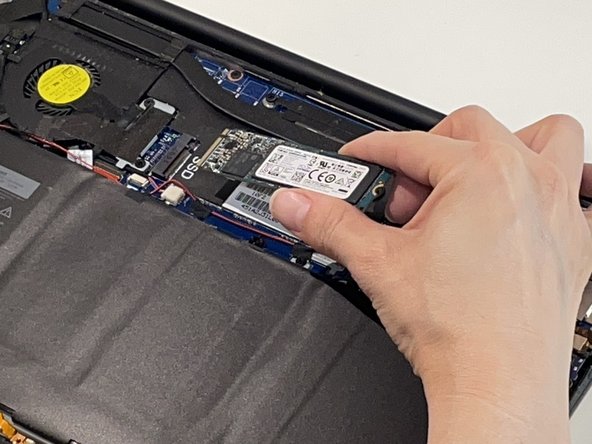
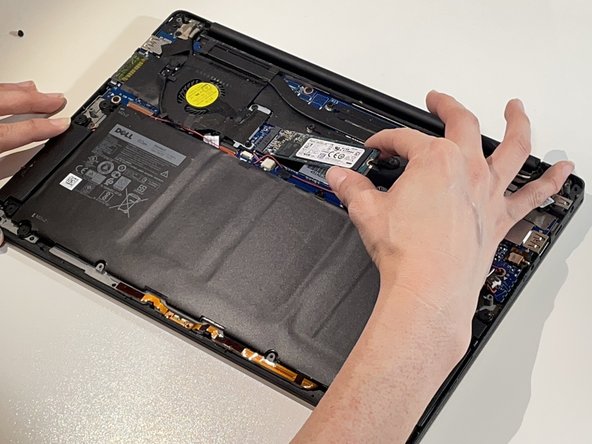
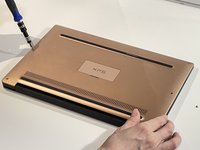
Ir al paso 1If you need to replace or upgrade the SSD for your Dell XPS 13 9360 laptop, follow this guide.
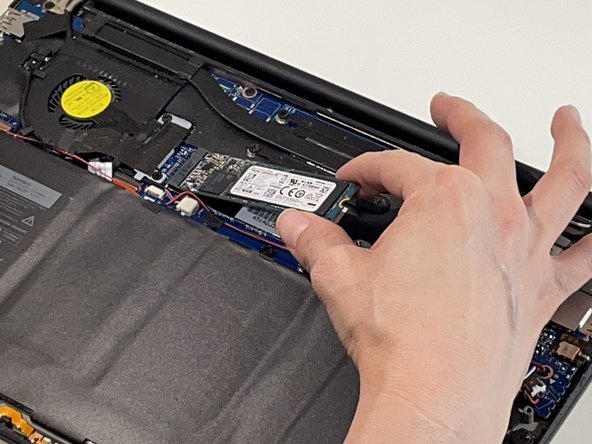
Replacing the SSD on this model could help improve its storage space and performance. The model shown in this guide contains a 256 GB M.2 PCIe NVMe SSD, however, the model can upgrade to a 1 TB SSD.
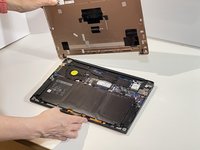
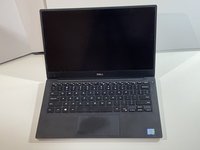
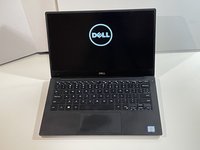
Before you begin this repair, power off your computer and disconnect it from the charger. In addition, make sure to disconnect the battery before replacing the SSD. This will help prevent accidental damage to the computer or its electrical components.
Qué necesitas


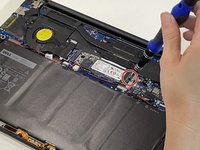


To reassemble your device, follow these instructions in reverse order.
To reassemble your device, follow these instructions in reverse order.
Cancelar: No complete esta guía.
Una persona más ha completado esta guía.

Equipo

Austin Community College, Team 52-6, Watkins Spring 2024 Miembro de Austin Community College, Team 52-6, Watkins Spring 2024
AUSTINCC-WATKINS-S24S52G6
1 Miembro
1 Guía escrita
Un comentario
Simple instructions. Could have used a little more detail in step 6 on how to disconnect the battery cable.