
Dell Latitude 7420 Fan Assembly Replacement
Introducción
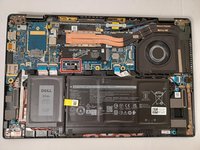
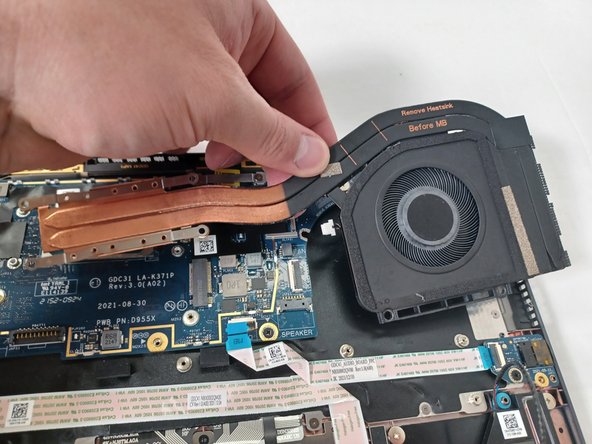
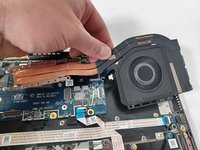
Ir al paso 1If your laptop keeps overheating, you may need to replace the fans and heat sink. Your Dell Latitude 7420 laptop may overheat due to dirty or dusty vents or fans. This can often be fixed by cleaning out the vents or fan with a dust blower. If that doesn't fix the issue, checking the thermal paste under the heat sink is a good idea because it may need to be replaced too.
Before starting, please ensure the device is turned off and disconnected from any adaptors or charging cables.
Likewise, use an anti-static band or mat when opening computers or handling components.
If the thermal paste in the Dell Latitude 7420 needs to be replaced, an in-depth application guide can be found here.


-
-
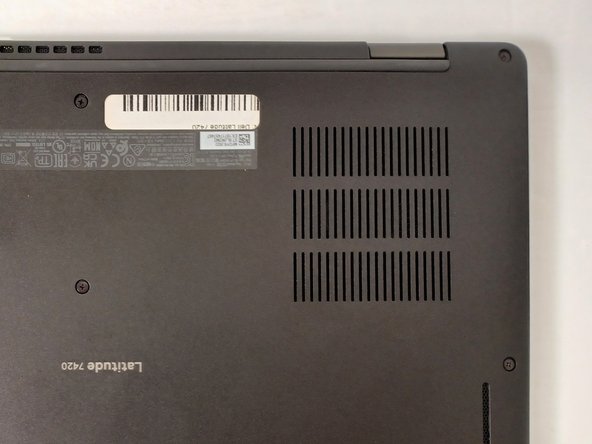
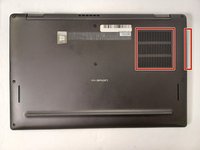
Remove the eight, 7 mm screws from the back case using a Phillips #0 screwdriver.
-
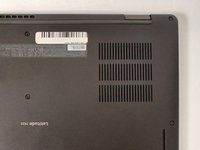
Use an opening pick or opening tool and work your way around the periphery of the base cover to separate it from the chassis.
-
-
-
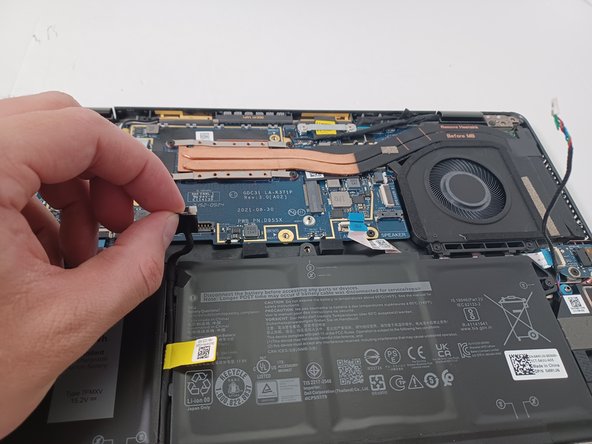
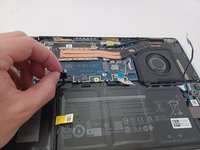
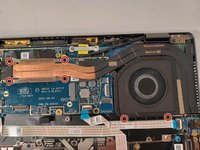
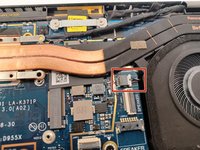
Using the Phillips #1 screwdriver, remove the five 5 mm screws securing the battery to the motherboard.
-
-
-
Herramienta utilizada en este paso:Dust Blower$4.99
-
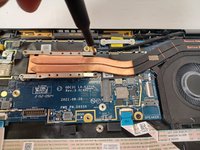
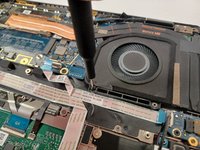
Use a cloth and dust blower to clean the vents.
-


To reassemble your device, follow these instructions in reverse order.
To reassemble your device, follow these instructions in reverse order.
Cancelar: No complete esta guía.
3 personas más completaron esta guía.
Equipo

Gateway, Team 1-2, Pee Spring 2023 Miembro de Gateway, Team 1-2, Pee Spring 2023
GCC-PEE-S23S1G2
4 Miembros
10 Guías creadas