
Dell Inspiron 531 Graphics Card Replacement

Introducción
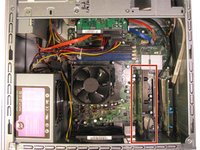
Ir al paso 1Are you trying to enhance your Dell Inspiron's graphics capabilities? Use this guide to replace your graphics card and let the visual splendor begin.
Qué necesitas
Herramientas


Ver más…
-
-
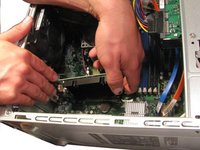
Place the desktop on its side. Make sure to place the computer on a soft but firm surface.
-
Locate and remove the two screws that secure the side panel to the desktop:
-
Two 1/4" Phillips/slotted combination screws.
-
-
-
-
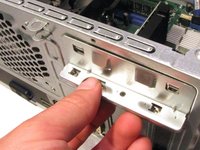
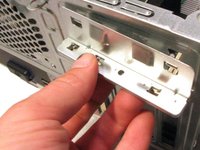
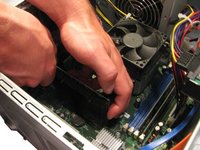
Remove the screw that secures the support bracket:
-
One 1/4" Phillips screw
-
-
-
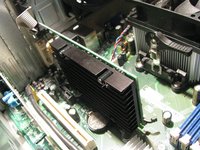
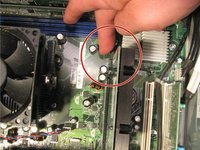
Locate the push tab that locks the graphics card into place.
-
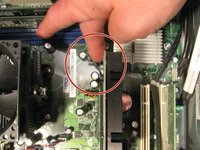
Push the tab away from the graphics card and towards the fan.
-
Hold the tab in this position through step 7.
-


To reassemble your device, follow these instructions in reverse order.
To reassemble your device, follow these instructions in reverse order.
