Asus ROG GL551J Screen Replacement
Introducción
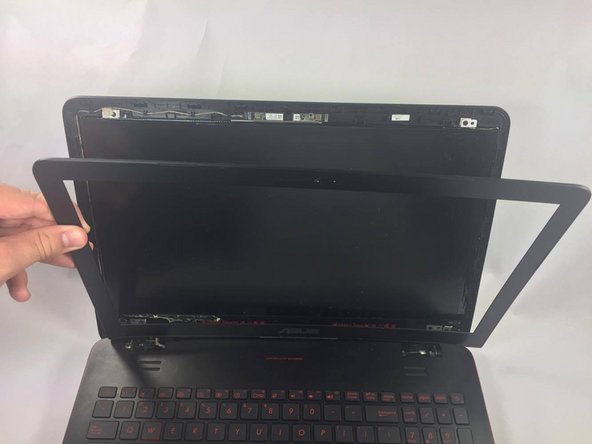
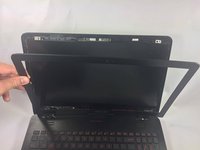
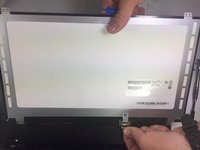
Ir al paso 1Use this guide for instructions on how to remove the screen from your ASUS ROG GL551J laptop.
The screen is the output surface for a laptop, showing text and/or images to the user. If the laptop screen becomes cracked, it fails to display anything, or the images are distorted or discolored, it may need to be replaced.
Be sure that your laptop is completely powered off and disconnected from external power before beginning this guide. It is also recommended that you wear ESD (electrostatic discharge) gloves or rubber gloves to avoid damaging laptop components.
Qué necesitas
Partes
Herramientas
Ver más…
-
-
-
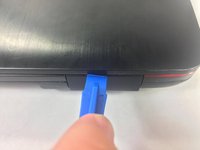
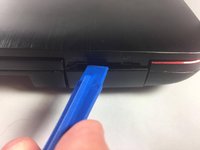
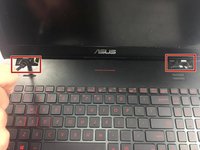
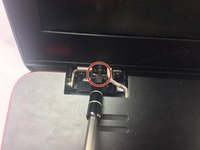
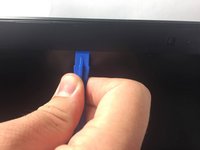
Use a plastic opening tool to remove the plastic hinge covers on either side of the laptop.
-
To reassemble your device, follow these instructions in reverse order.
To reassemble your device, follow these instructions in reverse order.
Cancelar: No complete esta guía.
Una persona más ha completado esta guía.
Un comentario
Hey, I am having issues putting the plastic hinge caps back on after I'm done. I know there is a right one and a left one but I just don't know how to pop them back into place. Starting to get a bit desperate. Could anyone give me some tips?
Thanks!


