Saltar al contenido principal

Asus ROG GL551J Screen Replacement

Inglés
Español
Paso 3
Asus ROG GL551J Screen Replacement: paso 0, imagen 1 de 2 Asus ROG GL551J Screen Replacement: paso 0, imagen 2 de 2
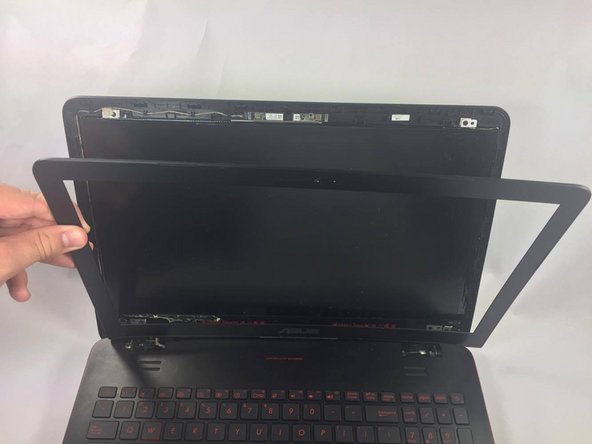
  • Use a plastic opening tool to pop out the bezel from all four sides, then lift it out of the frame.

  • When doing this in reverse during reassembly, try closing the laptop and applying pressure to reattach the bezel snaps.

Insertar traducción aquí

Insertar traducción aquí

Tus contribuciones son autorizadas bajo la licencia de código abierto de Creative Commons.