
Asus ROG G752V Fan Replacement
Introducción
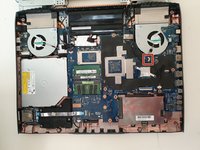
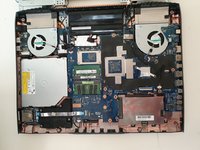
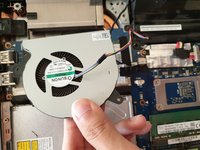
Ir al paso 1If your computer is overheating it may be due to a dirty or old fan. This guide will show you how to clean or replace the fan of Asus ROG G752V laptop.
Look at our Asus Rog G752V Troubleshooting page to identify the symptoms of a dirty or old fan. If your symptoms match, follow this guide to clean or replace your fan.
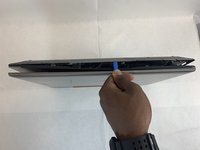
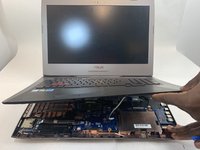
Before you start working, make sure that your Asus ROG G752V laptop charger is disconnected, and your laptop is turned off. In addition, follow the warnings that are attached to images in this guide.


-
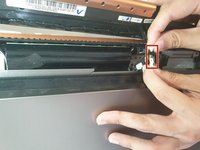
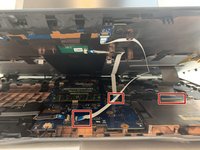
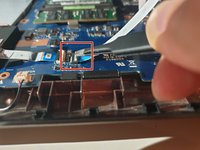
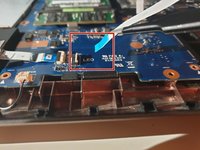
Herramienta utilizada en este paso:Tweezers$4.99
-
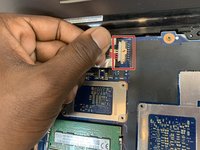
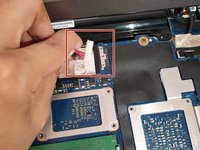
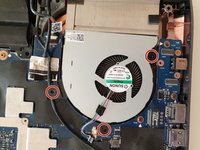
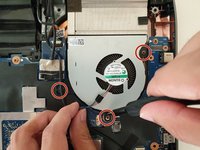
Pick out all 11 rubber plugs off of the back cover with a pair of tweezers.
-
-


To reassemble your device, follow these instructions in reverse order.
To reassemble your device, follow these instructions in reverse order.
Cancelar: No complete esta guía.
4 personas más completaron esta guía.
Equipo

Embry-Riddle Aeronautical University, Team S2-G36, Watkins Fall 2019 Miembro de Embry-Riddle Aeronautical University, Team S2-G36, Watkins Fall 2019
ERAU-WATKINS-F19S2G36
Miembros de 4
7 Guías creadas