
Asus M51E-B2 Swivel Camera Replacement
Introducción
Ir al paso 1This guide shows you how to properly fix your laptop's swivel camera. This is an easy fix in order to get your camera to function properly. In order to accomplish this, you will need a dual-tipped metal spudger and a Phillips PH0 head screwdriver.
Qué necesitas


-
-
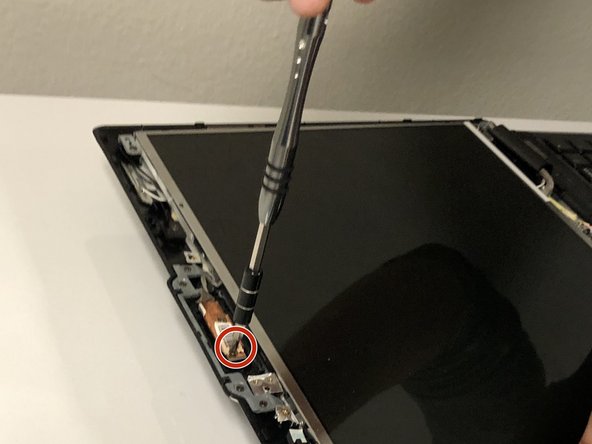
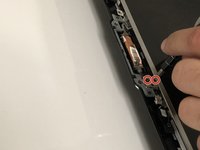
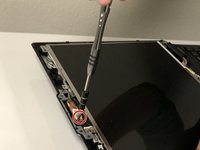
Open the laptop.
-
Press and hold the power button until the laptop powers off.
-
-


To reassemble your device, follow these instructions in reverse order.
To reassemble your device, follow these instructions in reverse order.
Cancelar: No complete esta guía.
Una persona más ha completado esta guía.
Equipo

University of North Texas, Team S8-G2, Riccardelli Fall 2018 Miembro de University of North Texas, Team S8-G2, Riccardelli Fall 2018
UNT-RICCARDELLI-F18S8G2
4 Miembros
4 Guías creadas