Saltar al contenido principal
Asus Chromebook C300SA-DS02 Daughterboard Replacement

Asus Chromebook C300SA-DS02 Daughterboard Replacement

Austin Blakely

Austin Blakely y 2 otros contribuidores

Última actualización: December 10, 2019

50 minuto
Moderado

Introducción

Ir al paso 1

This guide will show the procedure to replace a faulty daughterboard in an Asus Chromebook C300SA-DS02. This should solve problems with the right side USB port. Due to design choices, the display hinges sit atop the motherboard and daughterboards. So while it is not necessary to disconnect the cable connections to the display, you should exercise

Qué necesitas

Herramientas

  1. Asus Chromebook C300SA-DS02 Daughterboard Replacement, Keyboard: paso 1, imagen 1 de 2 Asus Chromebook C300SA-DS02 Daughterboard Replacement, Keyboard: paso 1, imagen 2 de 2
    • Power the laptop off and make sure the charger is unplugged before starting.

    • Remove the eight 8.0mm Phillips #0 screws on the bottom of the laptop.

    • Remove the three 6.0mm Phillips #0 screws.

  2. Asus Chromebook C300SA-DS02 Daughterboard Replacement: paso 2, imagen 1 de 3 Asus Chromebook C300SA-DS02 Daughterboard Replacement: paso 2, imagen 2 de 3 Asus Chromebook C300SA-DS02 Daughterboard Replacement: paso 2, imagen 3 de 3
    • Open the laptop.

    • Using an iFixit opening tool, pry along the edges of the keyboard.

    • Lift the keyboard and slide it gently towards you.

    • Do not completely remove the keyboard. It is still connected to the back panel by a pair of ribbon cables.

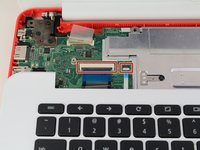
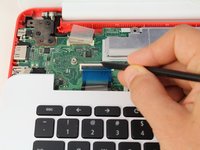
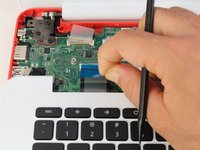
  3. Asus Chromebook C300SA-DS02 Daughterboard Replacement: paso 3, imagen 1 de 3 Asus Chromebook C300SA-DS02 Daughterboard Replacement: paso 3, imagen 2 de 3 Asus Chromebook C300SA-DS02 Daughterboard Replacement: paso 3, imagen 3 de 3
    • Disconnect the two ZIF connectors by prying up the locking bar with a spudger and removing the ribbon cable.

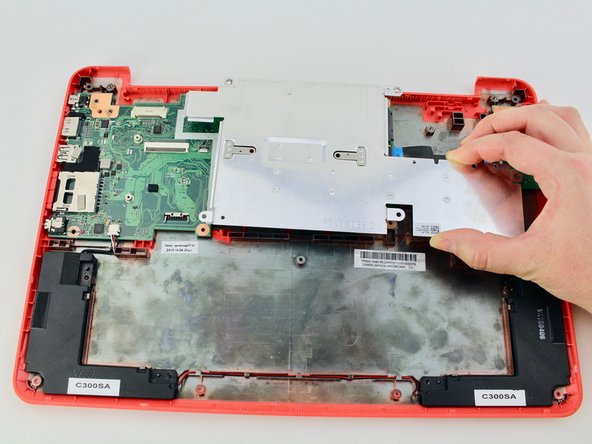
  4. Asus Chromebook C300SA-DS02 Daughterboard Replacement: paso 4, imagen 1 de 1
    • Remove the keyboard from the laptop.

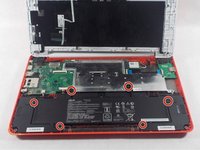
  5. Asus Chromebook C300SA-DS02 Daughterboard Replacement, Battery: paso 5, imagen 1 de 2 Asus Chromebook C300SA-DS02 Daughterboard Replacement, Battery: paso 5, imagen 2 de 2
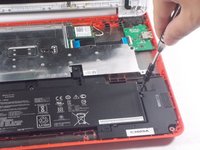
    • Remove the six 5.6mm Phillips #0 screws around the battery.

  6. Asus Chromebook C300SA-DS02 Daughterboard Replacement: paso 6, imagen 1 de 2 Asus Chromebook C300SA-DS02 Daughterboard Replacement: paso 6, imagen 2 de 2
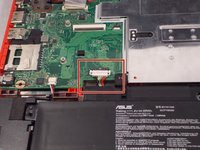
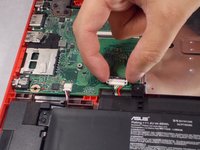
    • Using your thumb and index finger, pinch the multi-color cable and disconnect it from the motherboard.

  7. Asus Chromebook C300SA-DS02 Daughterboard Replacement: paso 7, imagen 1 de 1
    • Lift the battery out of the laptop.

  8. Asus Chromebook C300SA-DS02 Daughterboard Replacement, Display Assembly: paso 8, imagen 1 de 2 Asus Chromebook C300SA-DS02 Daughterboard Replacement, Display Assembly: paso 8, imagen 2 de 2
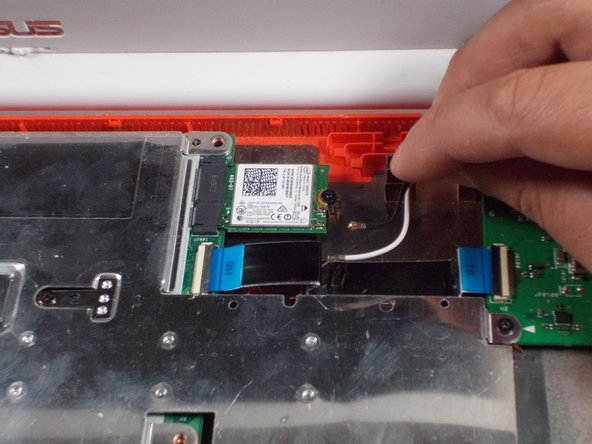
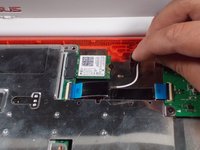
    • Unplug the black and white cable from the motherboard.

    • These two wires connect to the antenna within the display assembly. The white cable is longer and connects to the bottom import.

  9. Asus Chromebook C300SA-DS02 Daughterboard Replacement: paso 9, imagen 1 de 1
    • Peel back the tape covering the display cable.

    • Ease the cable towards the screen and out from the connector.

  10. Asus Chromebook C300SA-DS02 Daughterboard Replacement: paso 10, imagen 1 de 1
    • Use a Phillips #0 driver to remove the six 5mm screws on the top right and left display hinges.

  11. Asus Chromebook C300SA-DS02 Daughterboard Replacement: paso 11, imagen 1 de 1
    • Gently lift the display assembly up and away from the laptop.

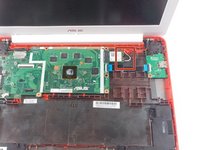
  12. Asus Chromebook C300SA-DS02 Daughterboard Replacement, Daughterboard: paso 12, imagen 1 de 3 Asus Chromebook C300SA-DS02 Daughterboard Replacement, Daughterboard: paso 12, imagen 2 de 3 Asus Chromebook C300SA-DS02 Daughterboard Replacement, Daughterboard: paso 12, imagen 3 de 3
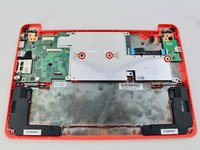
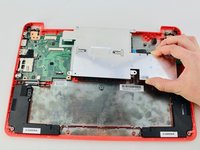
    • Using your Phillips #0 screwdriver, unscrew three, 3.6mm screws from the silver heat sink.

    • Remove the heat sink from the motherboard.

  13. Asus Chromebook C300SA-DS02 Daughterboard Replacement: paso 13, imagen 1 de 3 Asus Chromebook C300SA-DS02 Daughterboard Replacement: paso 13, imagen 2 de 3 Asus Chromebook C300SA-DS02 Daughterboard Replacement: paso 13, imagen 3 de 3
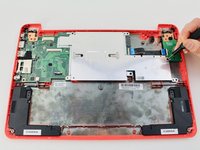
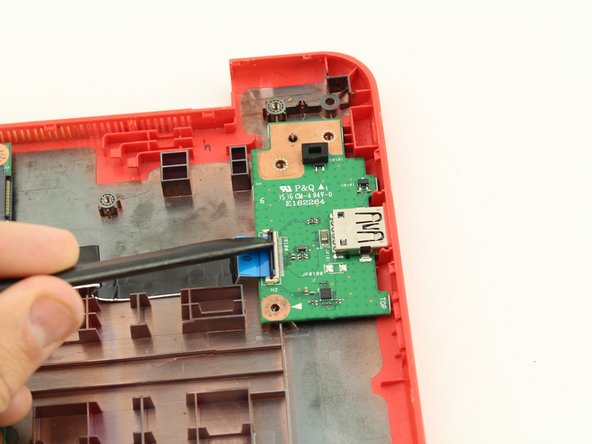
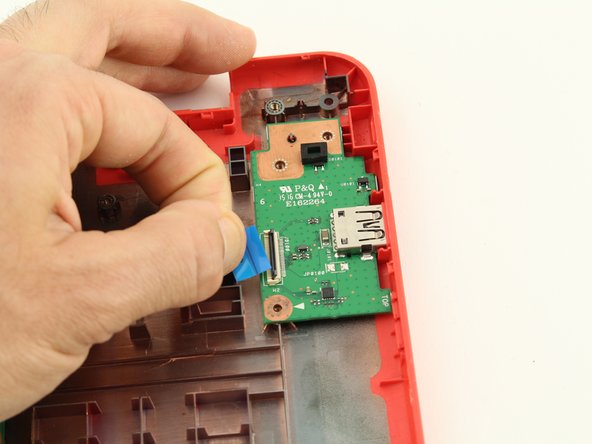
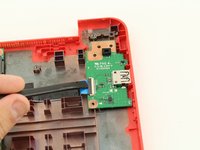
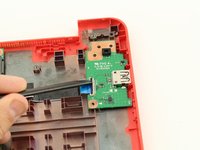
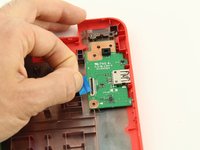
    • Use a spudger to flip up the locking tab on the ZIF connector of the daughterboard.

    • Slide the ribbon cable from the connector.

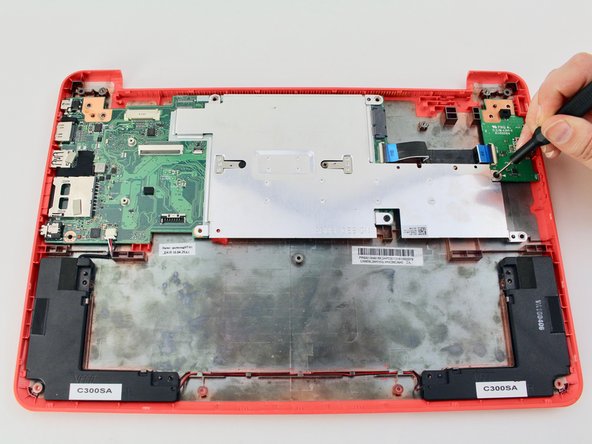
  14. Asus Chromebook C300SA-DS02 Daughterboard Replacement: paso 14, imagen 1 de 1
    • Remove the daughterboard by lifting it from the bottom case.

Conclusión

To reassemble your device, follow these instructions in reverse order.

Austin Blakely

Miembro Desde 03/11/19

21,309 Reputación

53 Guías creadas

Equipo

iFixit Miembro de iFixit

Staff

Miembros de 118

19,543 Guías creadas

0 comentarios

Agregar Comentario

Ver Estadísticas:

Ultimas 24 horas: 0

Ultimos 7 días: 0

Ultimos 30 días: 1

Todo El Tiempo: 245