
ASUS VivoBook S400C Trackpad Replacement

Introducción
Ir al paso 1Use this guide to replace your ASUS VivoBook S400C’s trackpad.
The trackpad is used to navigate and click on items in the Chromebook via the cursor, similar to the mouse on a desktop computer. A malfunctioning trackpad will not respond to your touch or is slow to respond.
We recommend reviewing the device’s troubleshooting page for other solutions, such as cleaning the touchpad, prior to replacing the touchpad, as Asus chose to make replacement on this model particularly difficult by requiring removal of the motherboard to take out the trackpad.
Power off and unplug your computer before beginning the replacement.


-
-
Flip the device over and remove the ten 5.7 mm screws with a Phillips #0 screwdriver.
-
-
-
Using a spudger, lift up the plug connecting the battery to the motherboard.
-
-
-
With a Phillips #0 screwdriver, remove the four 5.7 mm screws holding the battery to the laptop.
-
-
-
Remove the three Phillips #0 screws holding the the hard drive in place:
-
Two 3.8 mm screws.
-
One 5.7 mm screw.
-
-
-
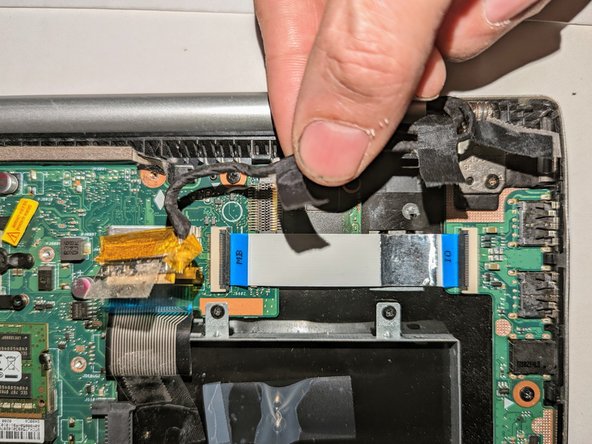
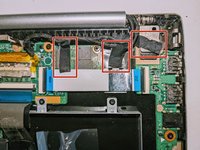
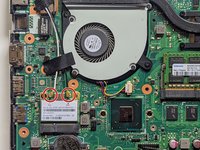
Remove the black shield covering the display connector and the heat sink.
-
-
-
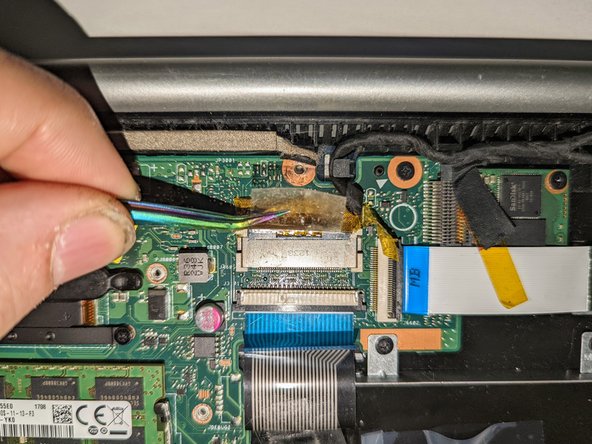
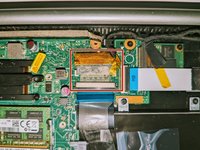
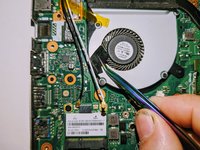
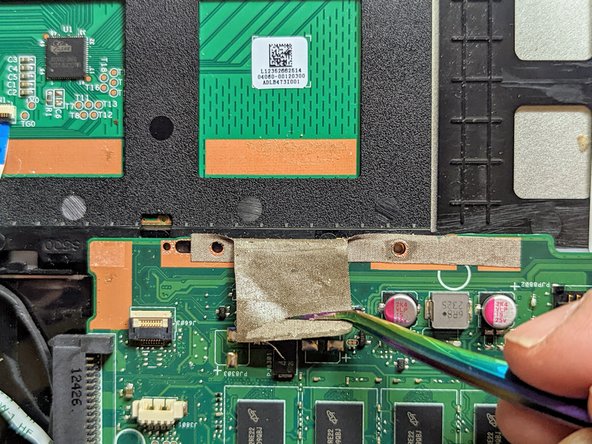
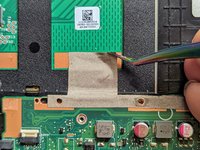
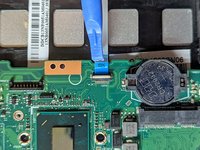
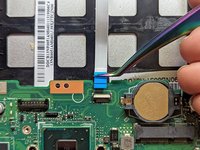
Remove the black tape securing the keyboard ribbon cable to the display connector.
-
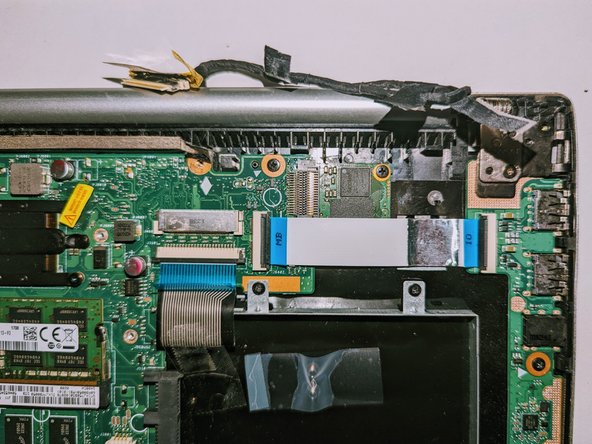
Fold the ribbon cable the opposite way, resecuring it to the hard drive to keep it out of the way.
-
-
-
-
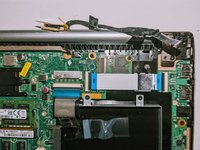
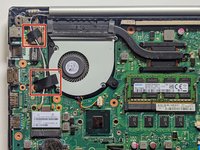
Remove the two screws securing the hinge on the left.
-
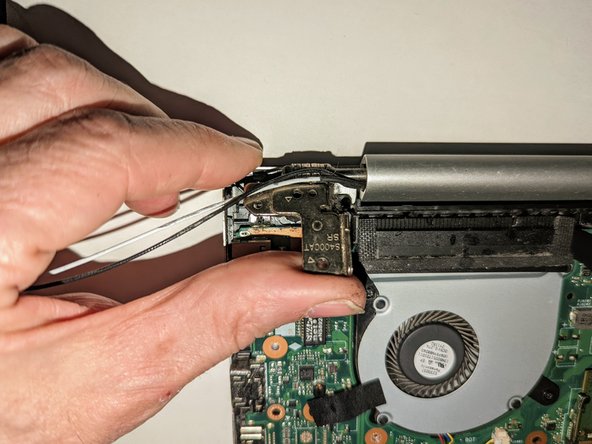
Pry the hinge up by hand to a 90 degree angle.
-
-
-
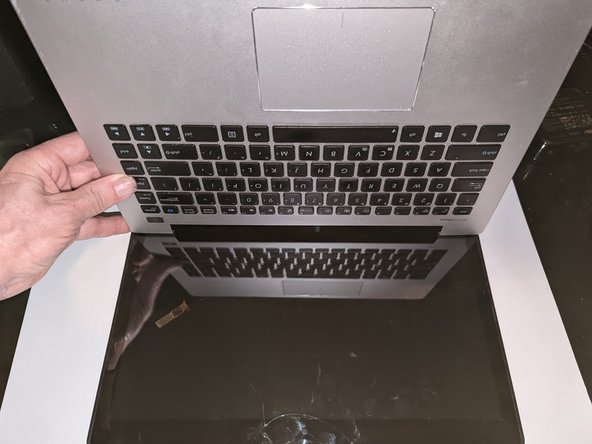
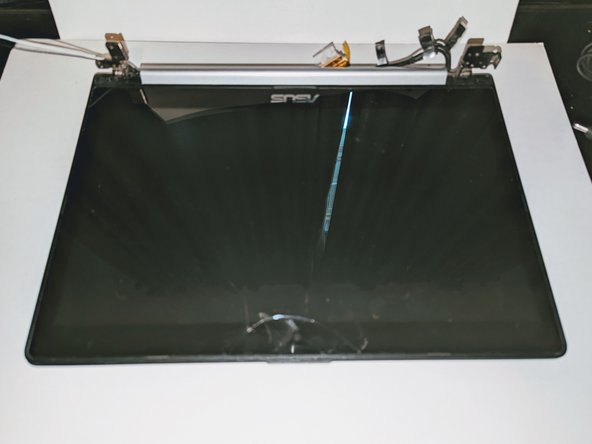
Lift the base of the laptop from the front.
-
Raise it to a 90 degree angle.
-
Slide it forward slightly to clear the hinges.
-
The display is now free.
-
-
-
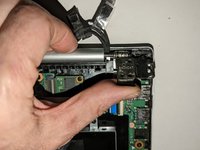
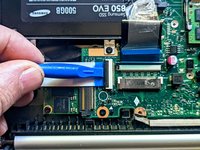
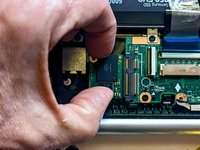
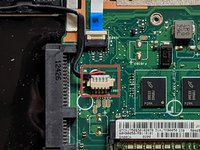
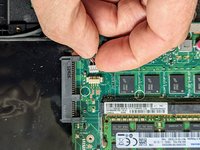
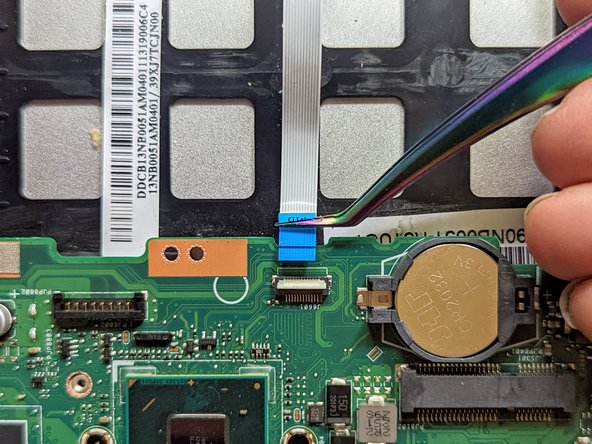
Disconnect the I/O Board ribbon cable from the motherboard.
-
Flip up the retaining latch with a spudger.
-
-
-
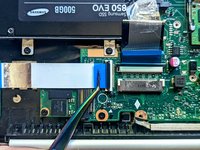
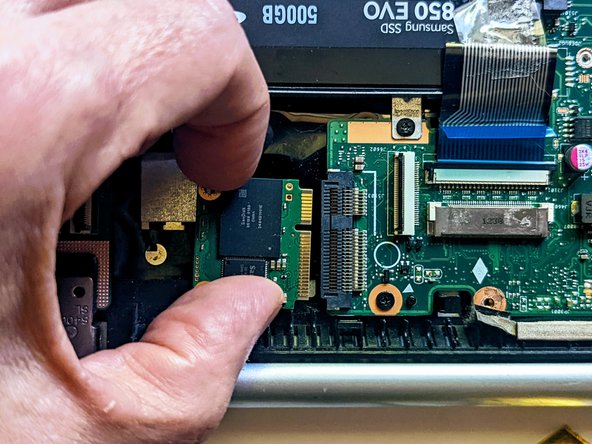
Grasp the SSD by the sides and slide it out of the connector.
-
-
-
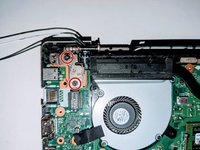
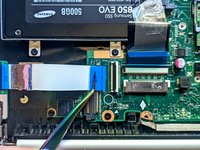
Remove the screw securing the fan to the palm rest. All other fan and heatsink screws can remain in place.
-
-
-
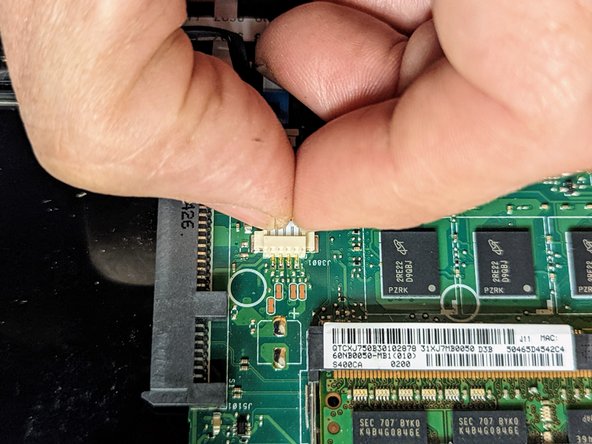
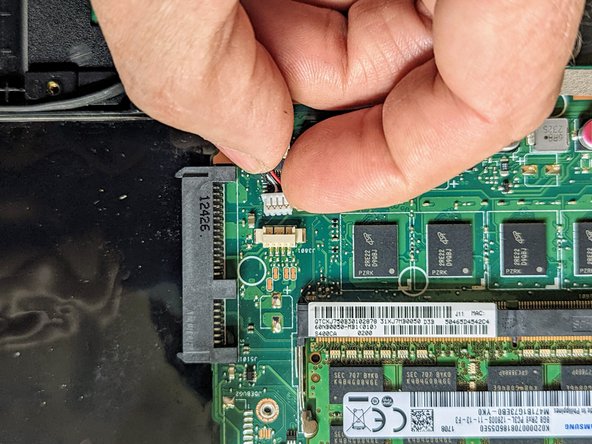
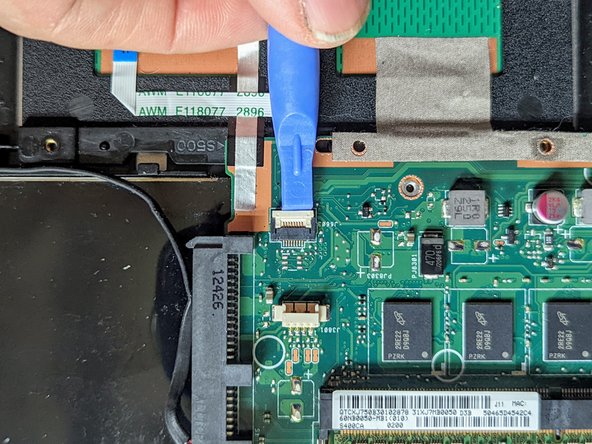
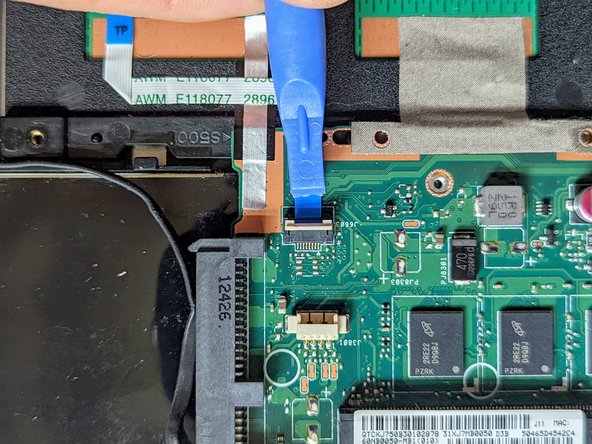
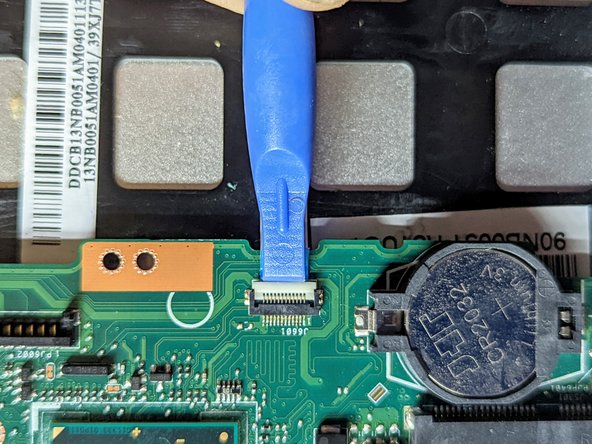
Use a spudger to flip up the LED board cable retainer.
-
-
-
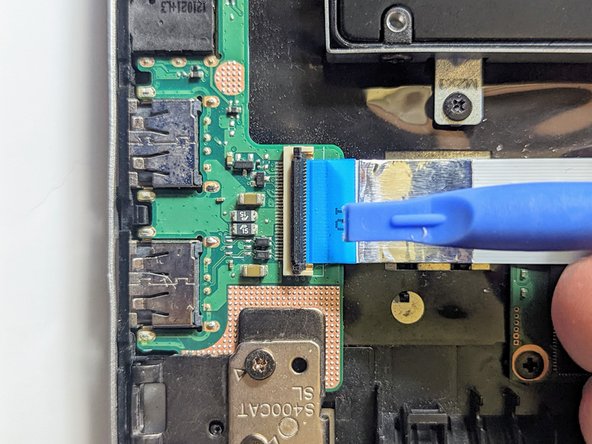
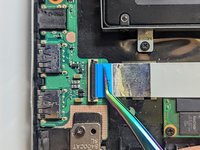
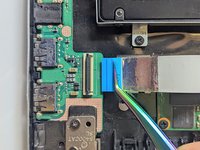
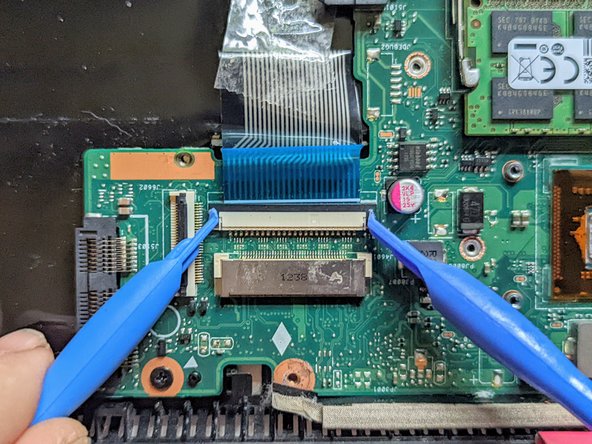
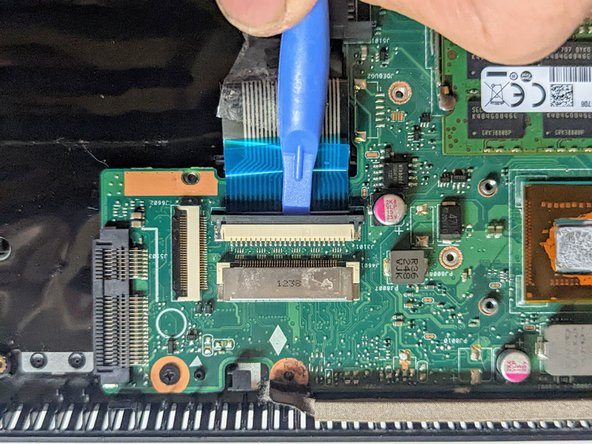
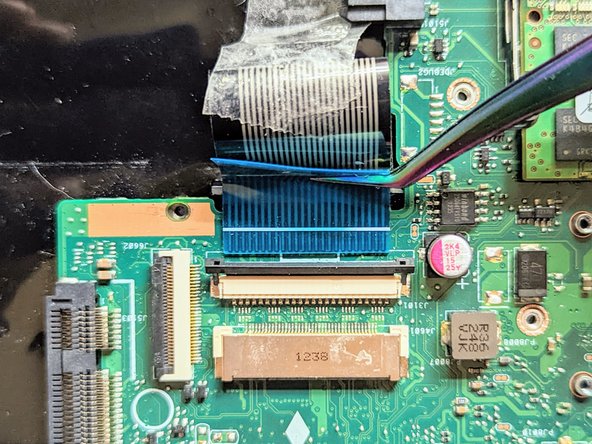
Place a spudger on the ears on either side of the keyboard ribbon cable connector and push evenly on both sides to release it.
-
Lift it slightly to relieve the tension.
-
-
-
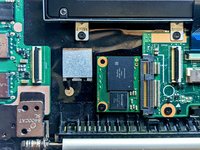
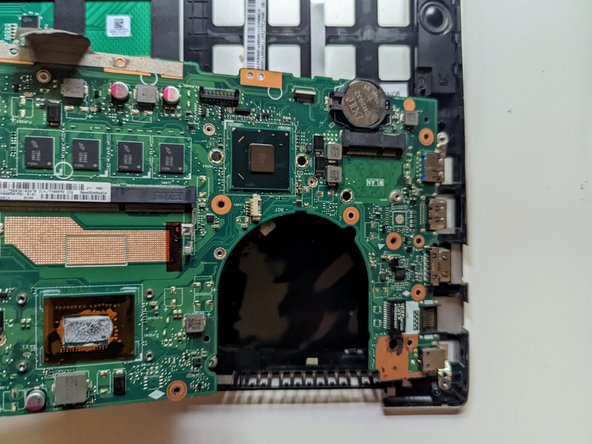
Lift and slide the motherboard toward the hard drive to clear the connectors on the opposite side from the case.
-
-
-
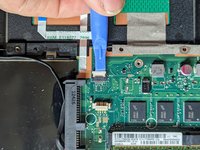
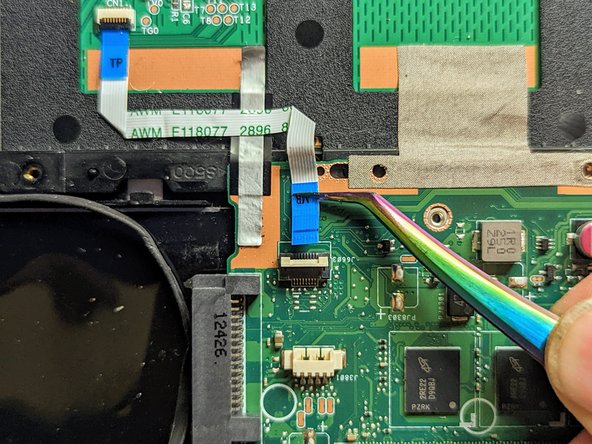
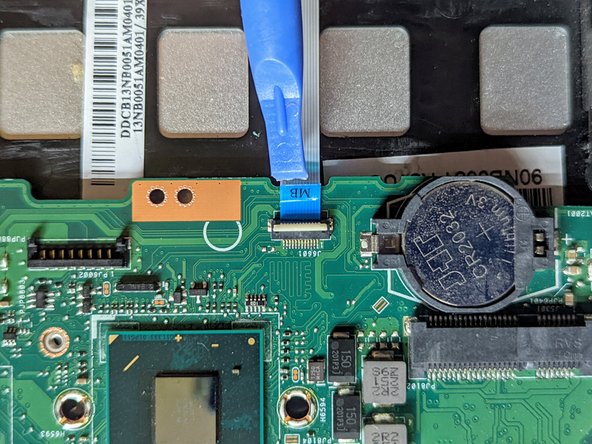
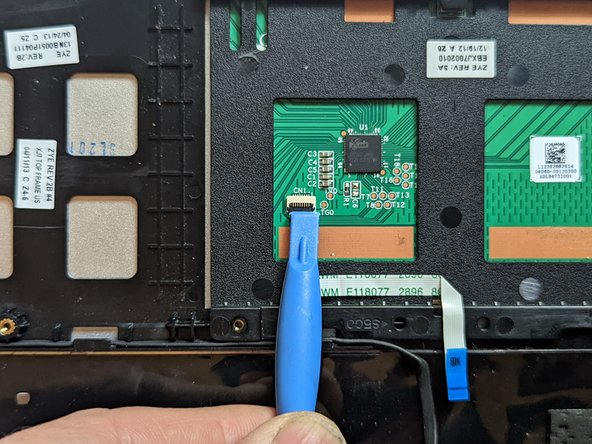
Flip the retaining latch on the trackpad ribbon cable connector up with a spudger.
-
-
-
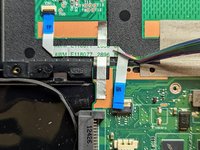
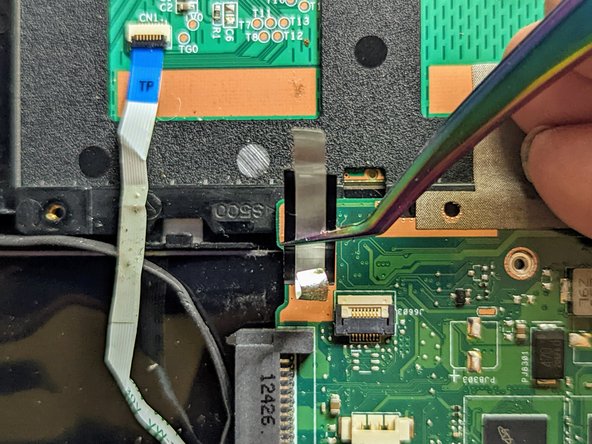
Lift the side of the trackpad farthest from the side of the case and slide it away from the edge to remove it.
-


To reassemble your device, follow these instructions in reverse order.
To reassemble your device, follow these instructions in reverse order.

Equipo
