Saltar al contenido principal
Xelio P1001A-BK Rear Camera Replacement

Xelio P1001A-BK Rear Camera Replacement

Caleb

Caleb y 5 otros contribuidores

Última actualización: January 21, 2025

15 - 20 minutos
Fácil
Fotos de acción
Policía gramatical
¡Viñetas!
Texto confuso
Bordeador de Pasos

Introducción

Ir al paso 1

The camera on this table is a simple device and has no moving parts. If the camera must be removed for servicing, the process to do so is fairly simple and does not involve de-soldering or soldering. Care must be taken, however, because the parts being handled are very small and made of plastic so are easy to break. Be patient, move slowly, do not apply large amounts of force when removing parts.

Qué necesitas

Herramientas

  1. Xelio P1001A-BK Rear Camera Replacement, Back Cover: paso 1, imagen 1 de 2 Xelio P1001A-BK Rear Camera Replacement, Back Cover: paso 1, imagen 2 de 2
    • Remove the two 3 mm retaining screws from the side of the tablet with a Phillips #0 screwdriver.

  2. Xelio P1001A-BK Rear Camera Replacement: paso 2, imagen 1 de 2 Xelio P1001A-BK Rear Camera Replacement: paso 2, imagen 2 de 2
    • Insert the plastic opening tool in between the shelf halves and lift the top shelf half to detach the securing tabs.

    • There are four securing tabs located on each long side.

    • Before fully separating the shell halves, observe if the speakers are separated from the shell half. If they are still in their sockets, gently pry them loose with the plastic opening tool.

  3. Xelio P1001A-BK Rear Camera Replacement, Rear Camera: paso 3, imagen 1 de 1
    • Locate ribbon connector, make sure it is secure.

  4. Xelio P1001A-BK Rear Camera Replacement: paso 4, imagen 1 de 1
    • With a plastic opening tool, gently pry the camera body from its retaining socket

  5. Xelio P1001A-BK Rear Camera Replacement: paso 5, imagen 1 de 1
    • Make sure the camera is unobstructed

  6. Xelio P1001A-BK Rear Camera Replacement: paso 6, imagen 1 de 3 Xelio P1001A-BK Rear Camera Replacement: paso 6, imagen 2 de 3 Xelio P1001A-BK Rear Camera Replacement: paso 6, imagen 3 de 3
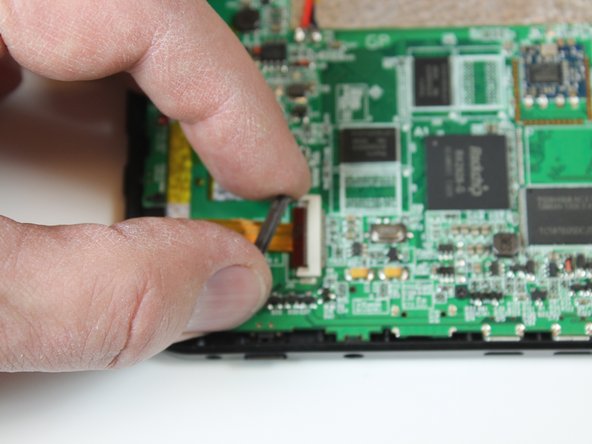
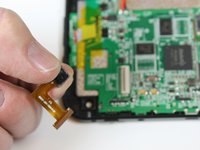
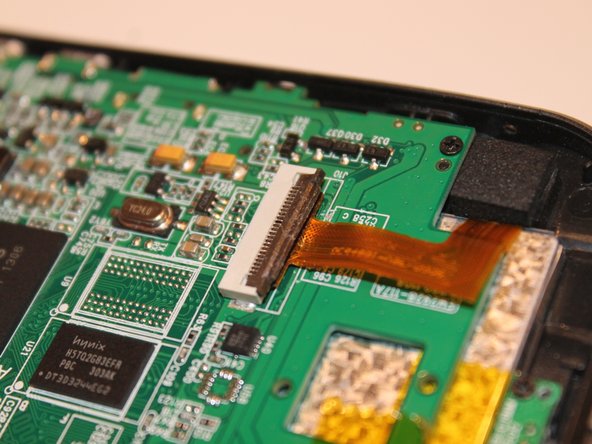
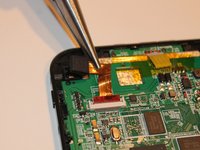
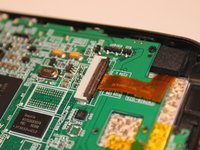
    • If there is still no picture, remove the securing tab on the ribbon connector by inserting the plastic opening tool between the tab on the ribbon cable connector body.

    • Slowly twist the opening tool to loosen the tab. Move the screwdriver to different parts of the tab to move it a little bit at a time.

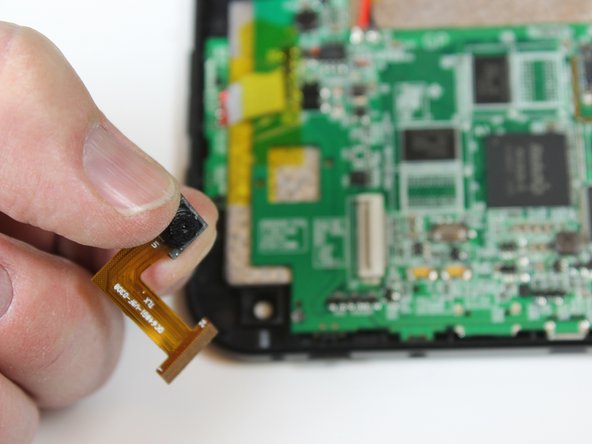
    • Once the tab is loose, remove it then slide the ribbon cable from its connector and remove the camera from the tablet

  7. Xelio P1001A-BK Rear Camera Replacement: paso 7, imagen 1 de 1
    Herramienta utilizada en este paso:
    Microfiber Cleaning Cloths
    $3.99
    • With a microfiber lens cleaning cloth, clean the camera lens

  8. Xelio P1001A-BK Rear Camera Replacement: paso 8, imagen 1 de 3 Xelio P1001A-BK Rear Camera Replacement: paso 8, imagen 2 de 3 Xelio P1001A-BK Rear Camera Replacement: paso 8, imagen 3 de 3
    • To install a new camera, slide the ribbon cable back into its connector

    • Reinstall the ribbon cable securing tab

    • Note the indentation that goes along the edge of the securing tab. It must be facing up to orient the tab correctly

    • Install the camera in its retaining socket

Conclusión

To reassemble your device, follow these instructions in reverse order.

Caleb

Miembro Desde 03/11/15

101 Reputación

1 Guía escrita

Equipo

Colorado Springs, Team 4-2, Panko Spring 2015 Miembro de Colorado Springs, Team 4-2, Panko Spring 2015

UCCS-PANKO-S15S4G2

Miembros de 3

12 Guías creadas

0Guía Comentarios

Agregar Comentario

Ver Estadísticas:

Ultimas 24 horas: 0

Ultimos 7 días: 1

Ultimos 30 días: 3

Todo El Tiempo: 154