
UE BOOM 2 Speaker Replacement
Introducción
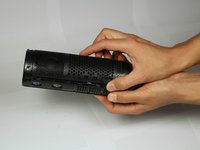
Ir al paso 1This guide will show how the speaker of the UE Boom 2 is removed. This is an extensive and intrusive process which removes most components of the speaker.
Qué necesitas
Herramientas


Ver más…
-
-
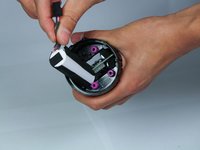
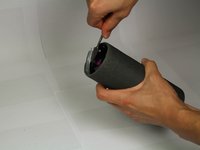
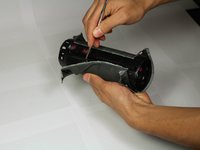
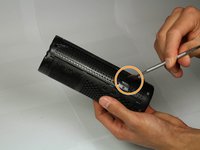
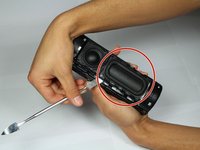
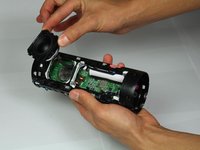
Remove the D-ring located at the bottom of the device, opposite end of the power button.
-
Remove by twisting in a counter-clockwise motion.
-
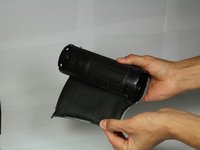
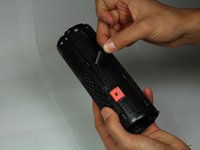
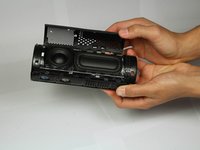
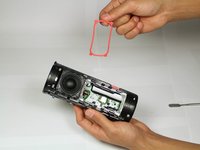
Removing the D-ring will allow you to be able to remove the rubber port cover revealing the headphone jack and charging port.
-
-
-
-
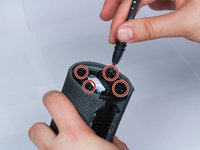
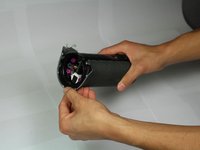
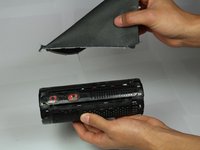
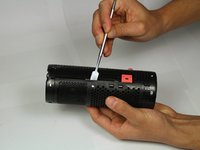
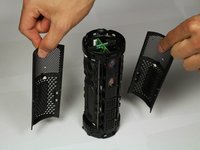
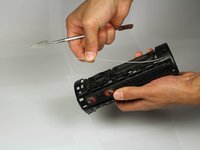
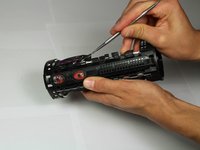
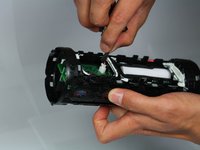
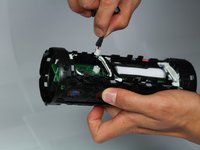
Using the metal spudger, specifically the pointy end, find the gap between the speaker and billow (the large speaker-like object next to the speaker).
-
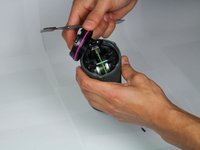
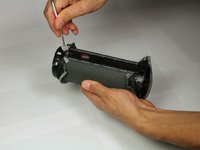
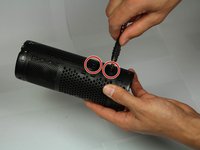
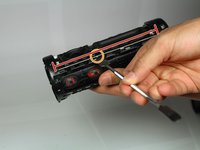
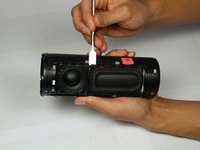
Pry the metal wire up and out at exactly this gap, then slide down wire towards one end to pop it out completely.
-
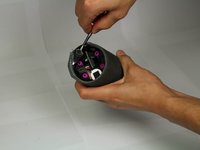
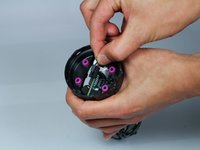
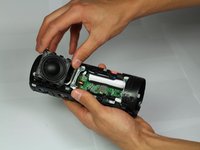
Once one end is out, use fingers to gently pull off completely, so as not to bend the wire to aggressively.
-


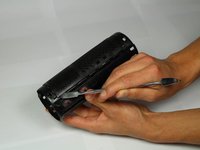


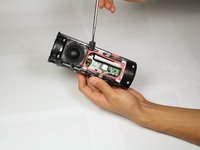


To reassemble your device, follow these instructions in reverse order.
To reassemble your device, follow these instructions in reverse order.
Cancelar: No complete esta guía.
14 personas más completaron esta guía.
Equipo

Cal Poly, Team S12-G5, Banghart Winter 2018 Miembro de Cal Poly, Team S12-G5, Banghart Winter 2018
CPSU-BANGHART-W18S12G5
Miembros de 2
15 Guías creadas
10 comentarios
Hi, very good tutorial, you got your 30 points ! ;)
But the main question remains to me : where to get a new speaker as UE doen’t sell spare parts and I don’t find any replacement on internet … any help more than welcome …
Cheers!
did you managed to source a replacement speaker? im having the same problem
Still did not find replacement … what about you guys ?
Check my update you may not have to buy a replacement
Check with a multimeter if the speakers are actually faulty. Mine were fine, turns out another component broke off and so I soldered it back on. Now it works fine.
Stig -