
Sony Xperia XA LCD Screen Replacement
Introducción
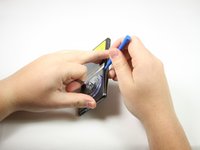
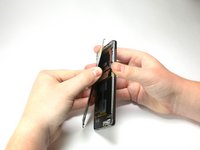
Ir al paso 1You will need to use a source of heat. You may need to buy adhesive for the reassembly. Make sure the phone is completely powered off before opening the device.


-
-
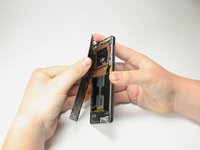
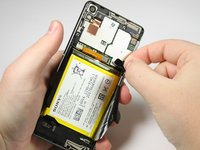
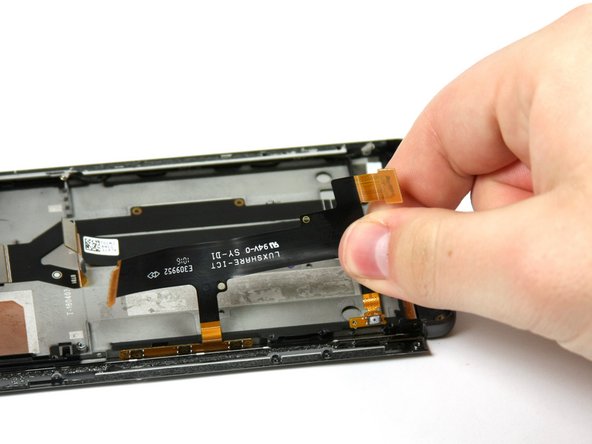
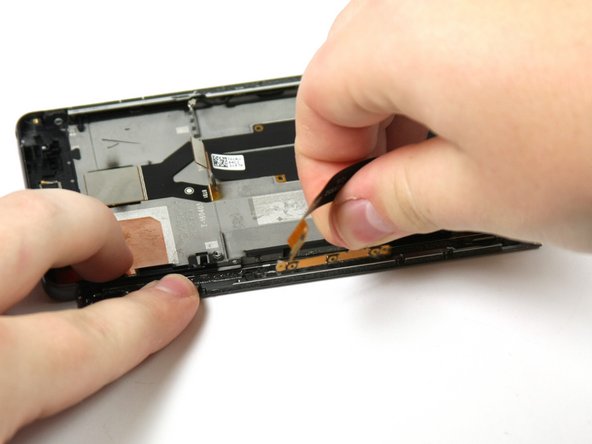
Remove the four 4mm screws holding the loudspeaker in place with a Phillips #00 screwdriver.
-
-


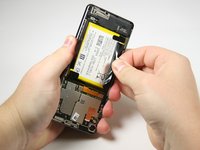


To reassemble your device, follow these instructions in reverse order.
To reassemble your device, follow these instructions in reverse order.
Cancelar: No complete esta guía.
7 personas más completaron esta guía.
Equipo

Cal Poly, Team S17-G2, Livingston Spring 2018 Miembro de Cal Poly, Team S17-G2, Livingston Spring 2018
CPSU-LIVINGSTON-S18S17G2
Miembros de 4
8 Guías creadas