
Sony Vaio VPCCW17FX Keyboard Replacement
Introducción
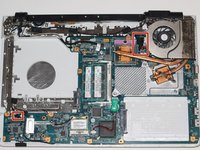
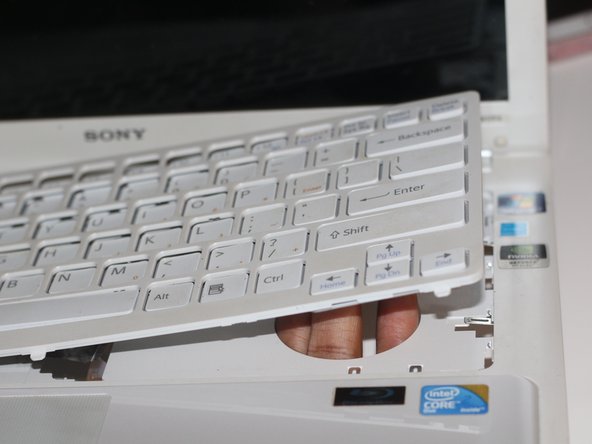
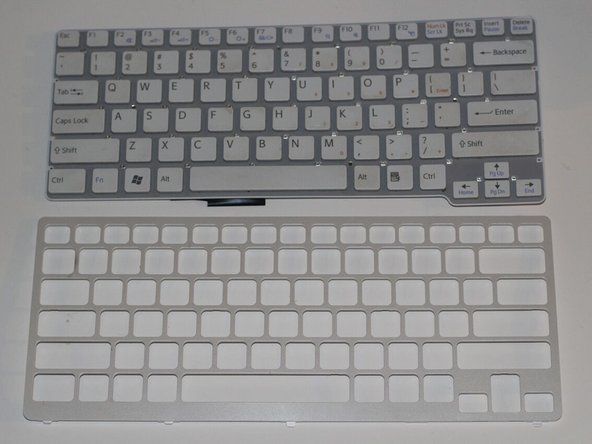
Ir al paso 1This guide will instruct users on how to remove the keyboard from the laptop for repair or replacement purposes.
Qué necesitas


-
-
Now, remove the small covers from the back of the case.
-
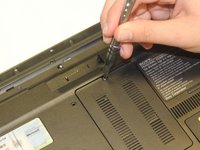
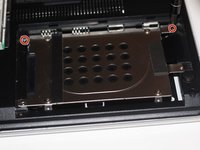
Using a Phillips #00 screwdriver, unscrew the three 5.6 mm screws from the covers (one screw on the RAM cover [middle] and two screws on the Hard Drive cover [bottom right]).
-
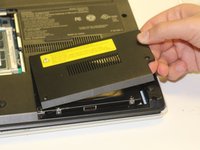
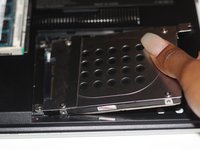
Then, lift up on and remove these covers as shown in the third image.
-
-
-
-
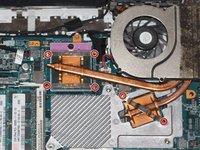
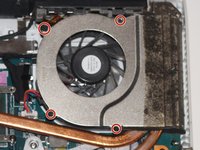
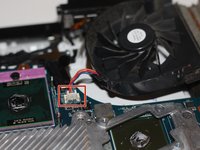
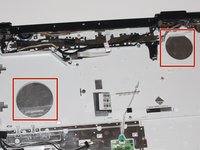
Locate the fan (top-right corner of the computer).
-
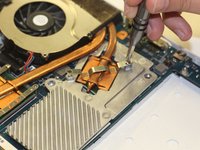
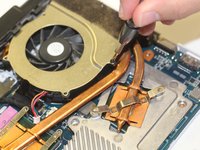
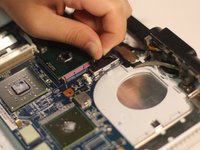
Using a Phillips #00 screwdriver, unscrew the six 2.7 mm screws that secure the fan to the motherboard.
-
-
-
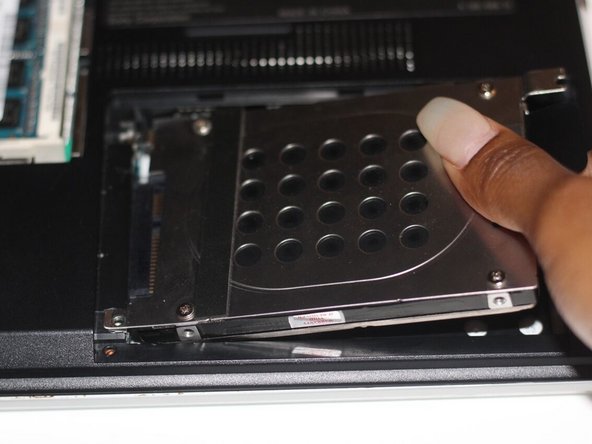
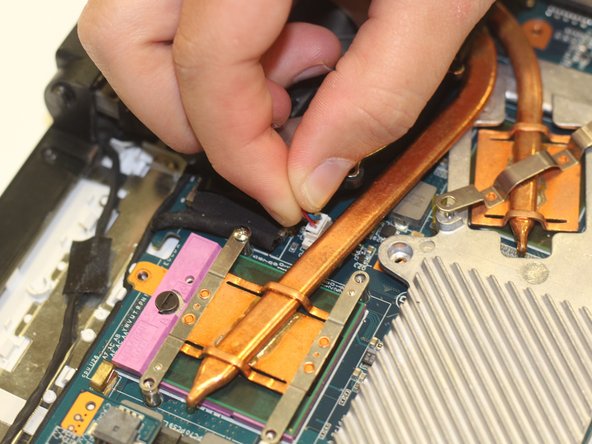
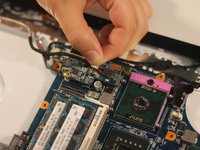
With your hand, grasp the side of the DVD/CD drive and gently pull it out of the socket, disconnecting it from the motherboard.
-
-
-
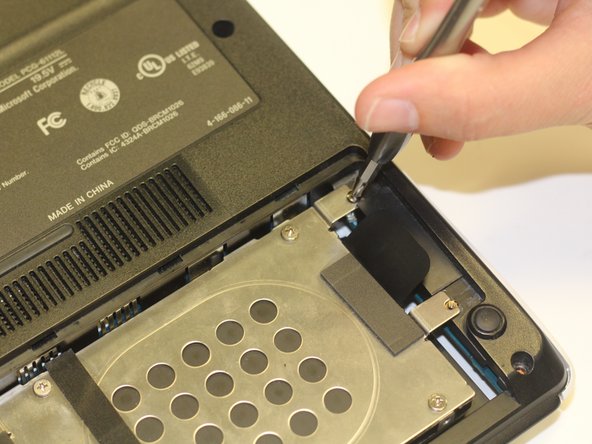
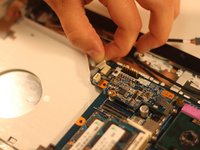
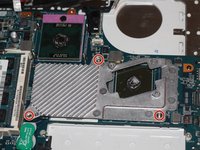
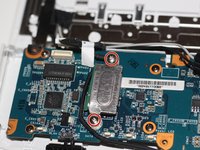
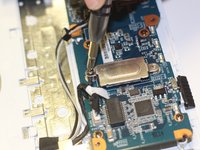
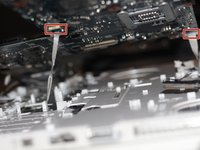
Using the Phillips #00 screwdriver, unscrew the two 4.9 mm screws depicted here.
-
Next, remove the metal cover to expose the bluetooth card.
-
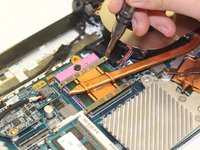
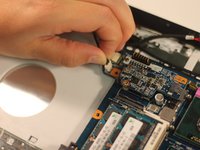
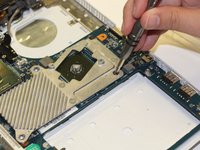
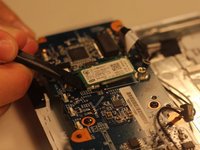
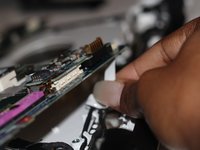
Gently fit the flat end of a spudger under the edge of the bluetooth card. Then, lightly pry up on this edge to release the card from the motherboard. (Refer to the third image)
-
-
-
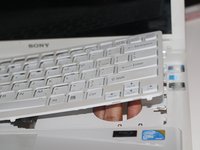
Using the Phillips #00 screwdriver, remove the one 3.7 mm screw that secures the keyboard to the laptop.
-


To reassemble your device, follow these instructions in reverse order.
To reassemble your device, follow these instructions in reverse order.
Cancelar: No complete esta guía.
2 personas más completaron esta guía.
Equipo

University of Alabama, Team S3-G9, Bedsole Spring 2018 Miembro de University of Alabama, Team S3-G9, Bedsole Spring 2018
UA-BEDSOLE-S18S3G9
Miembros de 3
12 Guías creadas