
Samsung DV300F Lens Replacement
Introducción
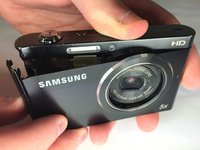
Ir al paso 1This guide will show how to remove the camera's lens.
Qué necesitas
Herramientas

-
-
Remove the two black 4.2 mm screws on the right side of the camera using a Phillips #0 screwdriver.
-
Remove the two black 4.2 mm screws on the left side of the camera using a Phillips #0 screwdriver.
-
Remove the two black 4.2 mm screws on the bottom of the camera using a Phillips #0 screwdriver.
-
-
-
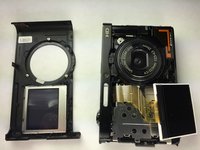
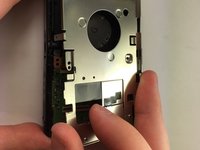
Remove the back case of the camera carefully.
The covers are attached with very small tabs around the cover perimeter. A very small blade screwdriver is helpful in prizing the covers apart and off.
-
-
-
-
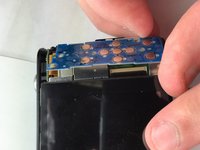
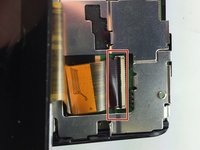
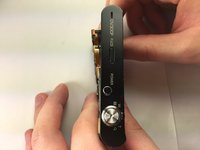
Remove the blue button control from its position next to the LCD screen.
-
Pull the ribbon cable to disconnect the blue button control from the camera.
-
-
-
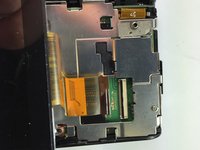
Remove the back LCD screen from its place carefully.
samsung es90 lcd Where to call the address
I live in Bangladesh
The white LCD is attached to the housing with sticky tape. Again a small blade screwdriver is helpful to CAREFULLY pry it out.
Where can i find a replacement lcd screen?
-
-
-
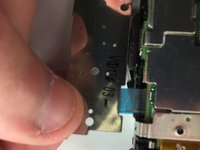
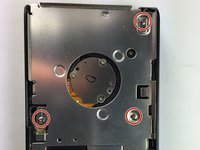
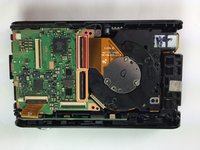
Unscrew the 3 silver #0 Phillips 4.45mm screws from the circuit board cover
-
Remove the circuit board cover
-


To reassemble your device, follow these instructions in reverse order.
To reassemble your device, follow these instructions in reverse order.
Cancelar: No complete esta guía.
5 personas más completaron esta guía.
Equipo

Baylor, Team 5-10, Williams Spring 2015 Miembro de Baylor, Team 5-10, Williams Spring 2015
BU-WILLIAMS-S15S5G10
3 Miembros
10 Guías creadas
Only one screw on bottom of camera
John Petralito - Contestar