Introducción
Después de un largo uso de un teclado, vendrá un tiempo cuando ciertas teclas dejarán de funcionar. Esto puede ser difícil, especialmente si la tecla que ha dejado de funcionar es una tecla esencial, como una letra. Esta guía te enseña como reemplazar un Switch Romer G roto del teclado Logitech G Pro, para que puedas seguir usando tu teclado sin tener que reemplazarlo por completo. Después de terminar con esta reparación, serás capaz de reparar tu teclado en el futuro si más teclas dejan de funcionar.
Qué necesitas
-
-
Usa tus dedos para remover la keycap de las teclas que ya no funcionan.
-
-
-
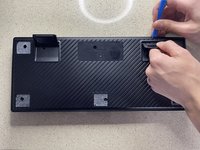
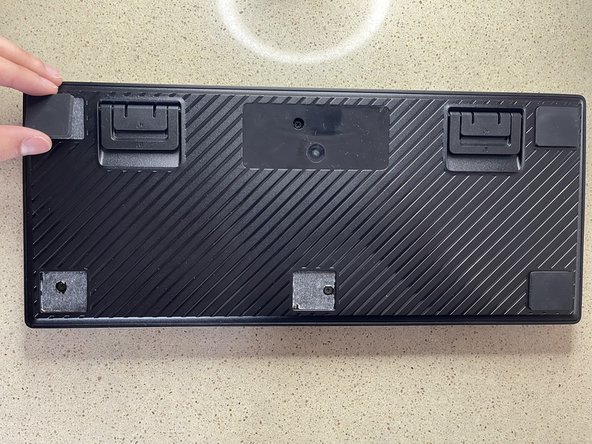
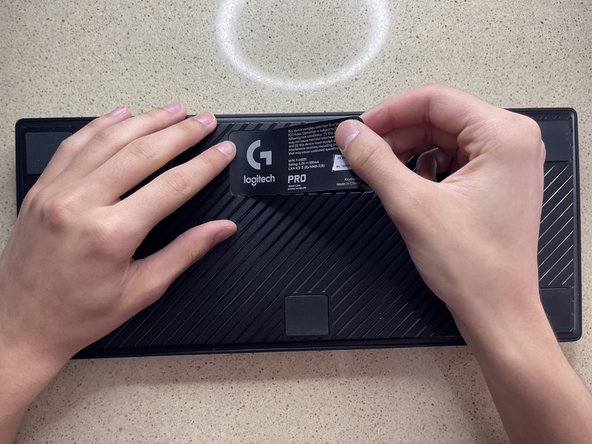
Toma tu herramienta de apertura o spudger y presiona hacia abajo en el doblez que hay entre la parte superior e inferior de la bandeja y con cuidado jala desde las patas del teclado para separar la cubierta.
-
Haz esto en la parte izquierda y derecha para que la parte trasera de la cubiertase separe eventualmente.
-
-
-
-
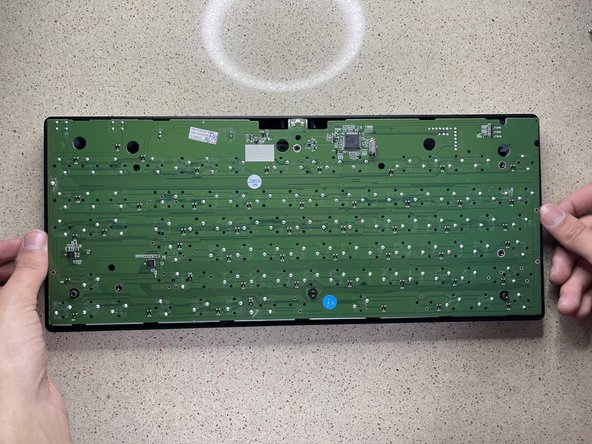
Voltea el teclado así que puedas ver las teclas.
-
Para localizar la unión de soldadura en el tablero, cuenta el número de filas hacia abajo y las teclas desde la derecha o la izquierda hacia la tecla/switch.
-
Voltea el teclado para que puedas ver las uniones de soldadura otra vez.
-
Usando el número de filas y teclas desde la izquierda y derecha, cuenta la unión de soldadura para encontra la que se necesita remover.
-
-
Herramienta utilizada en este paso:Desoldering Pump$3.99
-
Calienta tu cautín a 350 grados Celsius.
-
Los dos pines que necesitas desoldar estarán en forma diagonal uno del otro.
-
En este punto, quieres desoldar ambos pines que sostienen el switch. Como la soldadura está caliente querrás usar tu bomba de soldadura para remover la soldadura que ha sido quemada.
-
-
-
Toma el teclado y voltéalo para que puedas ver el lado donde están todas las soldaduras.
-
Después de localizar el nuevo switch en la parte trasera de la tarjeta, presiona el cautín contra el pin, y coloca soldadura en el lugar del cautín para crear la unión. Has esto para ambos pines.
-
-
-
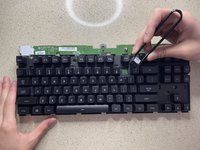
Toma la carcasa trasera y colócala en la parte de atrás y presiona firmemente en los bordes hasta que embonen en su lugar.
-
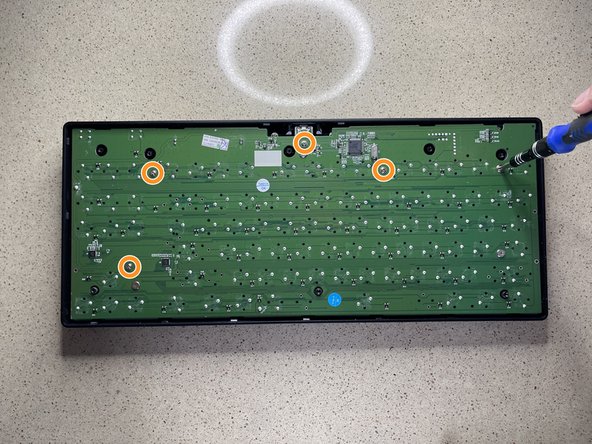
Reemplaza los cinco tornillos de 12.7 mm con un desarmador Philips #1.
-
Reemplaza los tres tornillos de 7.6 mm con un desarmador Philips #1 para unir nuevamente la carcasa trasera con la delantera.
-


Felicitaciones, ya has aprendido como desarmar y armar un teclado Logitech G Pro así como reemplazar sus switches Romer G en el mismo.
Felicitaciones, ya has aprendido como desarmar y armar un teclado Logitech G Pro así como reemplazar sus switches Romer G en el mismo.
Cancelar: No complete esta guía.
9 personas más completaron esta guía.
Un agradecimiento especial a estos traductores:
100%


Estos traductores nos están ayudando a reparar el mundo! ¿Quieres contribuir?
Empezar a traducir ›

Equipo

UMass Dartmouth, Team S1-G18, Sinclaire Spring 2021 Miembro de UMass Dartmouth, Team S1-G18, Sinclaire Spring 2021
UMASSD-SINCLAIRE-S21S1G18
1 Miembro
5 Guías creadas
12 comentarios
I dropped a full glass of milk on it. Took 2 hours to completely disassemble, clean, and reassemble it. It looks just like when I had it. Thanks !
A few additional points:
* If you also need to remove the lower cover from the board, the operation has a few tricky bits:
** The full-size version of the keyboard has two plastic hooks holding the cover to the board and there is no obvious way to release them. This means that even after you remove all the screws, the cover will not release. Be careful and confirm that it is just catching in the areas between the three sets of keys. They will probably break and I couldn't figure out a way to avoid it but it isn't critical and won't affect the reassembled keyboard. Just be aware of this and be aware of this.
** The power switch and the windows-key-disable switch are extremely delicate and easy to break. The switch itself is tiny and has a miniscule sliding arm sticking out that fits into the much-larger case switch cover.
to be continued because of dumb character limit. (I'm just trying to help here!)
continued...
* If you look carefully at the pictures of the solder points, you'll notice that there are two different orientations. If you, like me, want to cannibalise an unused key (such as one of the G1-6 keys or the three near-useless Print Screen, Scroll Lock, and Pause buttons, care a careful look at the broken key to see which orientation you need.
* The keycaps themselves are not that well-designed and become loose after repeated removal, no matter how careful you are. This means that if you like to vacuum your keyboard or shake out the lint, you may be in for a bit of annoyance.
* The shift and enter keys do not have adequate lateral support and you may find that, over time, they become misaligned with their adjacent keys. I think the takeaway message is to avoid Romer keys; they are just not as well-built or designed as Cherry.
Romer G's are absolutely terrible. I'm not talking about feel or function here, they feel great as long as they're working, but they break EXTREMELY easily in a way that is almost unrepairable - the little plastic "feet" that keep a keycap attached to the switch break off and get stuck in the switch, so now you have to replace both the switch and the keycap, good luck with that. After I cleaned my keyboard for the first time (removing all the keycaps from the switches), I found out I had broken like 5-10 of them, including the spacebar, and some were broken from before. The broken keys started double-clicking all the time, which is especially annoying with the spacebar, so now ky board is pretty much unusable. There's 100$ down the drain. Learn to make switches, Logitech!
Hey Nikoi, you might not read this for a while but I hope this helps. This keyboard chatter blocker program stops the double tapping entirely! https://github.com/mcmonkeyprojects/Keyb...
Joe Goh -