Saltar al contenido principal

Reemplazo de Switch Romer G del teclado Logitech G PRO

Inglés
Español
Paso 15
Logitech G PRO Keyboard Romer G Switch Replacement: paso 0, imagen 1 de 3 Logitech G PRO Keyboard Romer G Switch Replacement: paso 0, imagen 2 de 3 Logitech G PRO Keyboard Romer G Switch Replacement: paso 0, imagen 3 de 3
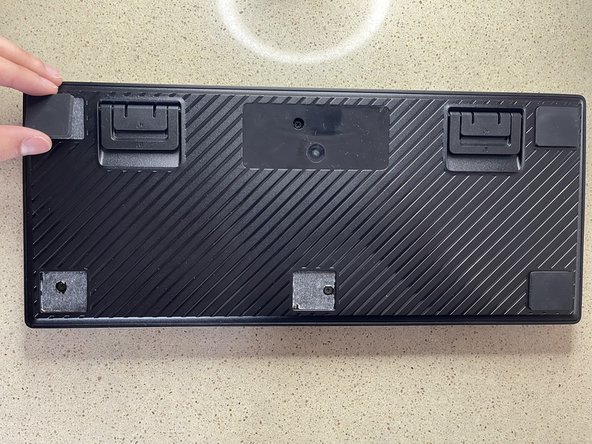
  • Apply some adhesive to each location where there was a rubber pad on the bottom of the keyboard. Then place each of the rubber feet back on top of the adhesive.

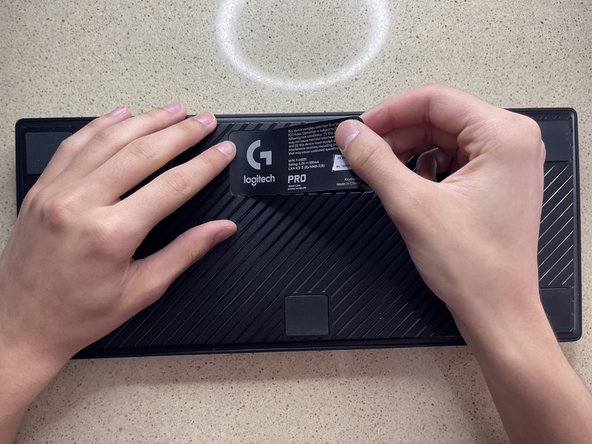
  • Take the Logitech branding sticker and reapply it back to its location.

  • The Logitech sticker does not need adhesive as it should retain its original adhesive and can just be reapplied.

Aplica algo de adhesivo a cada lugar donde había una almohadilla de goma en la parte trasera del teclado. Después coloca cada soporte de las almohadillas encima del adhesivo.

Toma la estampa con el logo de Logitech y aplícalo de vuelta a su lugar.

La estampa de Logitech no necesita adhesivo, ya que debería tener de su adhesivo original y puede ser reaplicado.

Tus contribuciones son autorizadas bajo la licencia de código abierto de Creative Commons.