
Razer Blade Stealth 2017 Motherboard Replacement

Introducción
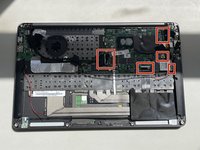
Ir al paso 1This guide outlines how to remove the motherboard in the Razer Blade Stealth 2017. Motherboard replacement may be necessary if the motherboard fails due to power surge or outage, overheating, or the use of faulty components. Some tools are required for this replacement.
Qué necesitas
Partes
Herramientas


Ver más…
-
-
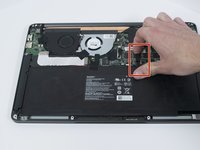
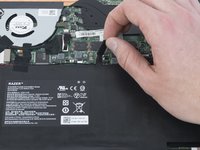
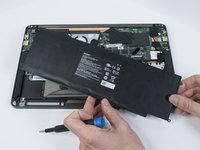
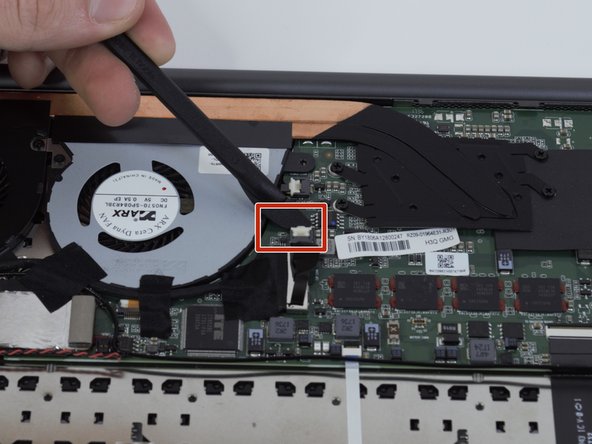
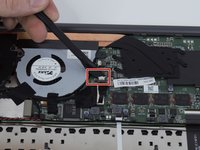
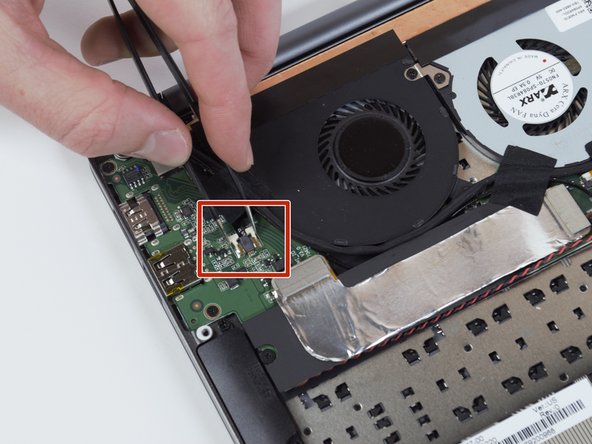
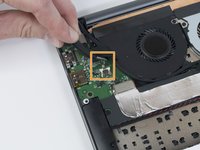
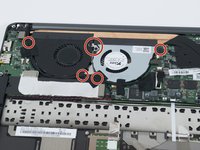
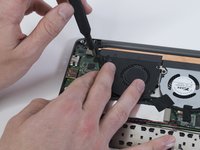
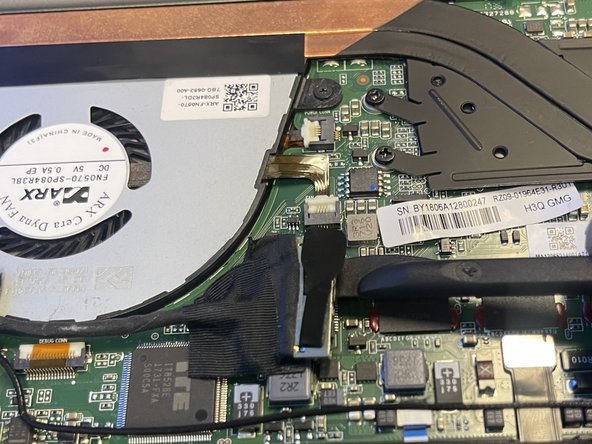
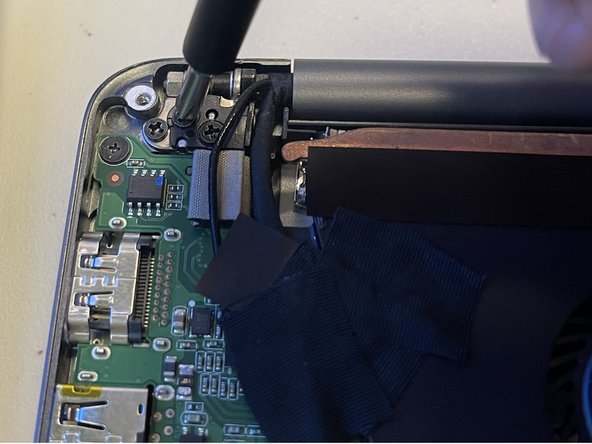
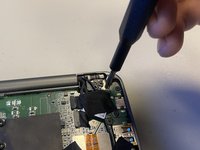
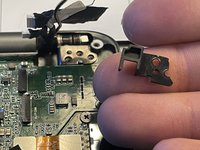
Use a Torx T5 screwdriver to remove the eight, 3mm screws on the bottom cover of the laptop.
-
-


To reassemble your device, follow these instructions in reverse order. Ensure that your laptop boots into BIOS for any necessary configuration after installing a new motherboard.
To reassemble your device, follow these instructions in reverse order. Ensure that your laptop boots into BIOS for any necessary configuration after installing a new motherboard.
Cancelar: No complete esta guía.
Una persona más ha completado esta guía.

Equipo

University of North Texas, Team 5-1, Coppersmith Spring 2024 Miembro de University of North Texas, Team 5-1, Coppersmith Spring 2024
UNT-COPPERSMITH-S24S5G1
Miembros de 4
4 Guías creadas