Rain Bird ESP-6TM Control Board Replacement
Introducción
Ir al paso 1Make sure that all power sources are disconnected before begining disassemble. The control board can be purchased from original supplier or second hand.
Qué necesitas
-
-
Remove the lower plastic control box cover by gripping it with two hands and pulling it away from the control box.
-
Remove the plastic wire cover by gripping it with two hands and it pulling away from control box.
-
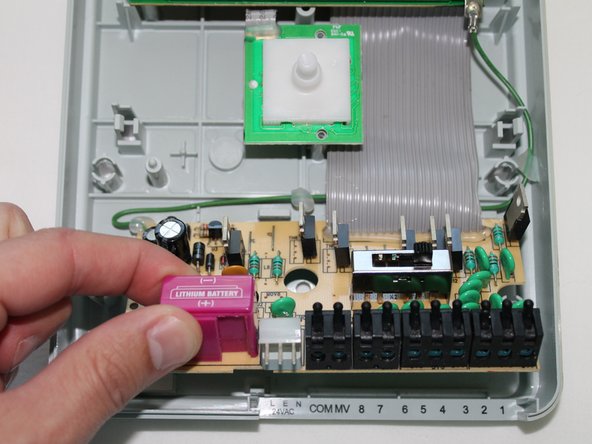
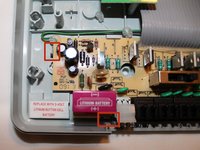
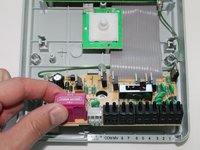
Remove the Lithium Ion battery by pulling out. The slide out battery compartment.
-
-
-
-
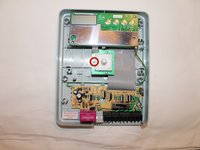
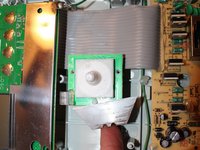
The snap connector must be cut free. It is best to use a razor blade, as the space is extremely limited. Cut on the top side and not the underside to insure it will snap back into place.
-
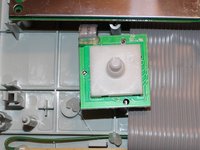
Place the razor blade on top of knob control board, sliding the razor blade underneath the snap connector. Then move the razor blade back and forth to remove the snap connector.
-
-
-
Using a spudger, release the clips holding the bottom control board. Then slide it downward while lifting control board away. This will separate the bottom of the control board from casing.
-
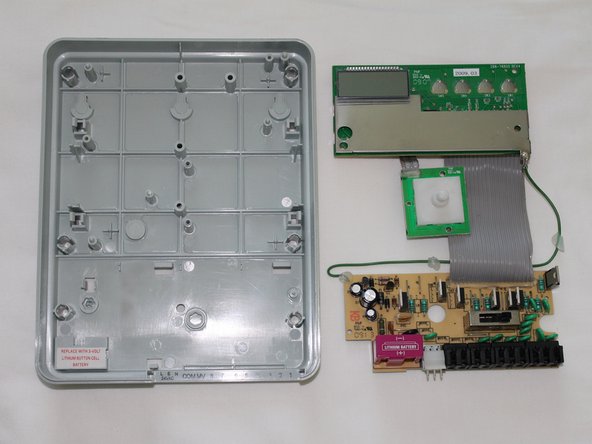
Once the bottom control board has been removed, simply lift the entire control board assembly away from the plastic casing. Then replace.
-
To reassemble your device, follow these instructions in reverse order.
To reassemble your device, follow these instructions in reverse order.
Cancelar: No complete esta guía.
Una persona más ha completado esta guía.
7 comentarios
what happen if the screen said " PR OFF"


