
Desmontaje Philips Satinelle
Introducción
Ir al paso 1Esta guía te enseñará cómo desmontar Phillips Satinelle para reemplazar piezas.
Qué necesitas


-
-
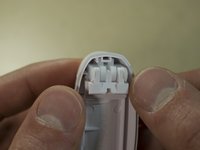
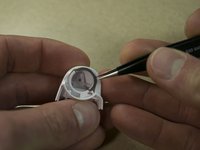
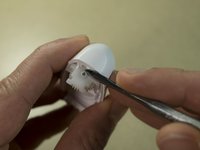
Desenchufa el dispositivo y retira la protección violeta.
-
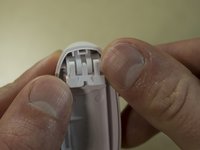
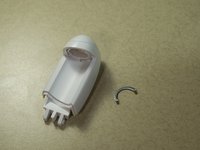
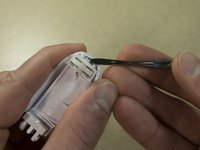
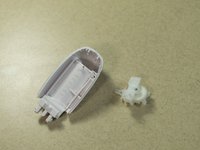
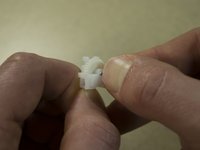
Retira el cabezal presionando el lado derecho del mismo (con el dispositivo de espaldas a usted).
-
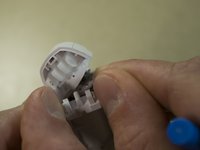
Escucharás un "clic" y el cabezal se desprenderá del cuerpo del dispositivo.
-
-


Para volver a ensamblar tu dispositivo, sigue estas instrucciones en orden inverso.
Para volver a ensamblar tu dispositivo, sigue estas instrucciones en orden inverso.
Cancelar: No complete esta guía.
6 personas más completaron esta guía.
Un agradecimiento especial a estos traductores:
100%

¡ Francisco Javier Saiz Esteban nos está ayudando a reparar el mundo! ¿Quieres contribuir?
Empezar a traducir ›
Equipo

IUPUI, Team S5-G5, Wilson Fall 2017 Miembro de IUPUI, Team S5-G5, Wilson Fall 2017
IUPUI-WILSON-F17S5G5
3 Miembros
8 Guías creadas
6 comentarios
can we open the lower part which holds the motor and gear..
actualy the gear which holds the motor is gone bad i think.. so i want to replace it ..
can this be fixed..??
similar here, wanted to open the lower part where the cable goes in. the cable is broken at the entry.
To open main body …Click here
Thank you for this great tutorial. It really helps!
Can you please give us the dimensions for the gear’s teeth in step 7 and the corresponding gear in step 2 in the Philips Satinelle Motor Replacement tutorial? I can 3D print the gears, but I can’t find the dimensions online and the gears are simply to eroded to be able to measure them.