Saltar al contenido principal
Nokia E61i Connector Housing Replacement

Nokia E61i Connector Housing Replacement

Christopher Patton

Christopher Patton y 9 otros contribuidores

Última actualización: January 10, 2025

15 - 20 minutos
Moderado
Pasos faltantes
Fotos de acción
Necesita mejores imágenes
Mejor introducción

Qué necesitas

Herramientas

Ver más…

  1. Nokia E61i Connector Housing Replacement, Battery: paso 1, imagen 1 de 2 Nokia E61i Connector Housing Replacement, Battery: paso 1, imagen 2 de 2
    • First, gather all necessary tools.

    • Remove the back cover to access the battery by pushing the tab on the bottom of the cover.

    • Slide the back cover downwards off of the phone while pressing down on the tab.

  2. Nokia E61i Connector Housing Replacement: paso 2, imagen 1 de 1
    • Locate the bottom-left corner of the phone where there is a spot to remove the battery.

  3. Nokia E61i Connector Housing Replacement: paso 3, imagen 1 de 1
    • Lift the battery out using your finger.

    • The E61i uses a Nokia BP-4L standard battery.

  4. Nokia E61i Connector Housing Replacement, Front Cover: paso 4, imagen 1 de 2 Nokia E61i Connector Housing Replacement, Front Cover: paso 4, imagen 2 de 2
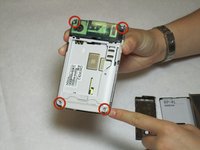
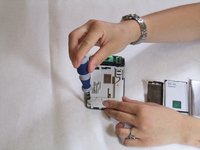
    • To remove the top of the back cover, pry the sides and pop it off.

    • Remove the four screws that secure the front cover to the rest of the phone using a T7 screwdriver.

  5. Nokia E61i Connector Housing Replacement: paso 5, imagen 1 de 1
    • Remove the cover by pulling it up and off.

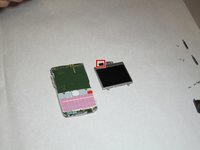
  6. Nokia E61i Connector Housing Replacement, Display: paso 6, imagen 1 de 2 Nokia E61i Connector Housing Replacement, Display: paso 6, imagen 2 de 2
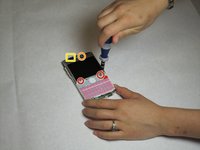
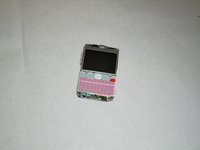
    • Take off the casing and keyboard.

    • Remove the screws while holding the screen in place using a Torx T6 screwdriver.

    • Remove the single screw while holding the screen in place using a Torx T5 screwdriver.

    • Lift the ribbon, disconnecting contact with the motherboard.

    • Firmly press the contacts into place to connect the ribbon and the motherboard when reassembling.

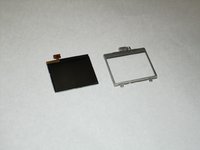
  7. Nokia E61i Connector Housing Replacement: paso 7, imagen 1 de 2 Nokia E61i Connector Housing Replacement: paso 7, imagen 2 de 2
    • Gently pull the screen off of the phone.

    • Be sure not to rip the sticker that connects the display and the motherboard.

    • Pull the silver case off to completely free the cracked or damaged screen.

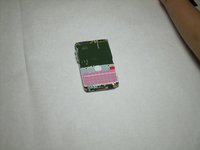
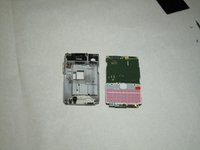
  8. Nokia E61i Connector Housing Replacement, Motherboard: paso 8, imagen 1 de 3 Nokia E61i Connector Housing Replacement, Motherboard: paso 8, imagen 2 de 3 Nokia E61i Connector Housing Replacement, Motherboard: paso 8, imagen 3 de 3
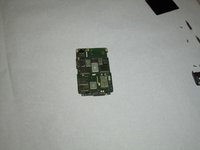
    • Pull the green motherboard from the back casing.

  9. Nokia E61i Connector Housing Replacement, Connector Housing: paso 9, imagen 1 de 1
    • Remove the connector housing by pushing and sliding it off the back panel.

    • Be very careful not to lose the small loose spring from behind the button or the small button itself.

Conclusión

To reassemble your device, follow these instructions in reverse order.

Equipo

Cal Poly, Team 9-63, Walters Spring 2011 Miembro de Cal Poly, Team 9-63, Walters Spring 2011

CPSU-WALTERS-S11S9G63

5 Miembros

12 Guías creadas

0 comentarios

Agregar Comentario

Ver Estadísticas:

Ultimas 24 horas: 1

Ultimos 7 días: 4

Ultimos 30 días: 9

Todo El Tiempo: 2,167