
Nikon Coolpix S9700 Screen Replacement
Introducción
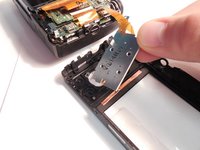
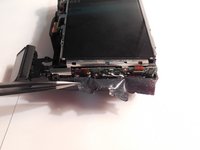
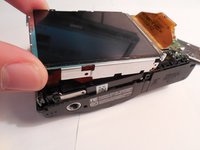
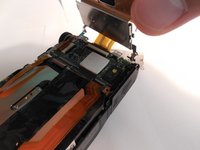
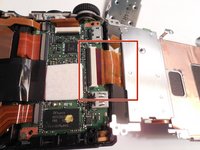
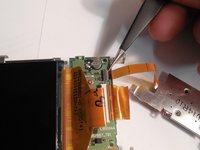
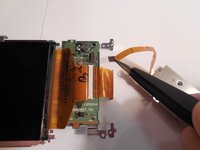
Ir al paso 1If the screen on the S9700 is cracked, scratched, or malfunctioning in any way, it may be time to replace it. Doing this will require patience and some basic knowledge of disassembly in general. However, there are some risks involved particularly in removing the ribbon cables.
Qué necesitas


-
-
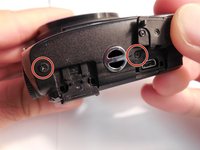
Remove the two 4-mm and three 3-mm J000 screws from the bottom of the S9700.
-
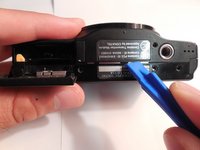
Three 3-mm screws are on the side opposite the battery compartment.
-
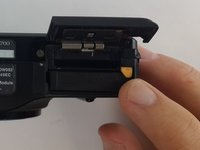
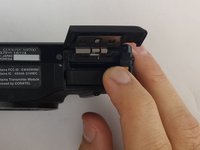
Two 4-mm screws are on the side with the battery compartment. One of these screws is in the battery compartment. Open it up for access.
-
-
-
-
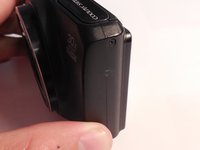
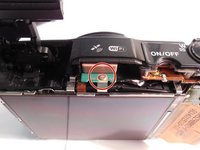
Remove the 2-mm J000 screw located at the top of the S9700 just below the satellite picture and Wi-Fi marking.
-
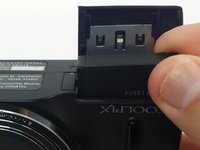
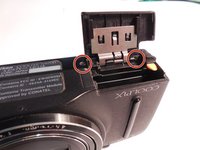
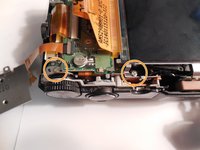
Remove the two 4-mm J000 screws right below the zoom dial.
-
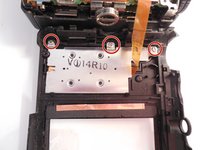
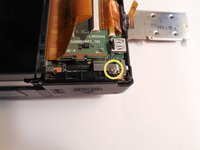
Remove the 4-mm J000 screw just above the battery compartment.
-


To reassemble your device, follow these instructions in reverse order.
To reassemble your device, follow these instructions in reverse order.
Cancelar: No complete esta guía.
8 personas más completaron esta guía.
Equipo

USF Tampa, Team 9-5, Lacy Fall 2016 Miembro de USF Tampa, Team 9-5, Lacy Fall 2016
USFT-LACY-F16S9G5
4 Miembros
10 Guías creadas