
Nikon Coolpix S9050 Motherboard Replacement
Introducción
Ir al paso 1The motherboard is the central hub for communication between all of the components in a device. If more than one component is failing to work, the motherboard may be faulty and needs to be replaced. This guide will assist you in replacing the motherboard on the Nikon Coolpix S9050.
Qué necesitas
Herramientas


-
-
Using a Phillips #000 screwdriver, remove the two 3.2mm black screws on both sides of the camera.
-
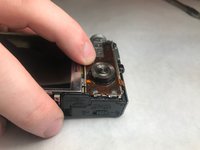
Set the camera face down and remove the four 3.2mm silver screws using the same screwdriver.
-
-
-
-
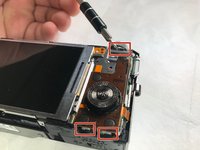
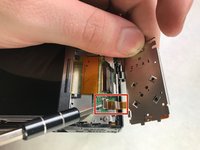
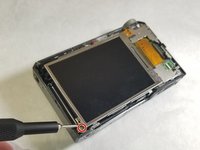
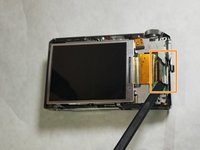
Remove the two 3.2 mm silver screws on either side of the display screen using a Phillips #000 screwdriver.
-
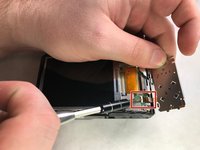
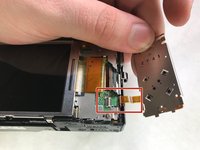
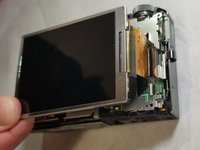
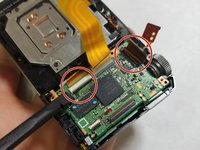
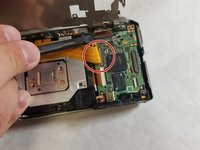
Use a spudger to detach the display ribbon cable and remove the display screen.
-


To reassemble your device, follow these instructions in reverse order.
To reassemble your device, follow these instructions in reverse order.
Cancelar: No complete esta guía.
Una persona más ha completado esta guía.
Equipo

IUPUI, Team S1-G5, Stella Fall 2019 Miembro de IUPUI, Team S1-G5, Stella Fall 2019
IUPUI-STELLA-F19S1G5
3 Miembros
5 Guías creadas