
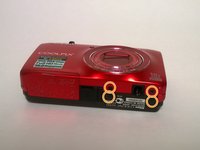
Nikon Coolpix S6300 Buttons Replacement
Introducción
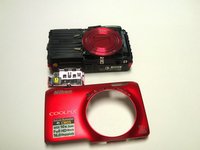
Ir al paso 1This guide shows how to remove a broken internal component for navigation buttons.
Qué necesitas
Herramientas


-
-
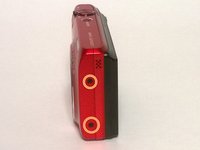
Place the camera facing upwards.
-
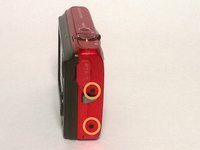
Press down on the battery cover and slide towards the front face of the camera.
-
-
-
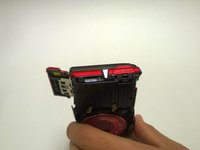
Locate the eight outer PH 2mm screws on the device.
-
Using the PH00 screwdriver remove all of the screws from the camera.
-
-


To reassemble your device, follow these instructions in reverse order.
To reassemble your device, follow these instructions in reverse order.
Cancelar: No complete esta guía.
Una persona más ha completado esta guía.
Equipo

USF Tampa, Team 1-2, Remmell Fall 2015 Miembro de USF Tampa, Team 1-2, Remmell Fall 2015
USFT-REMMELL-F15S1G2
5 Miembros
10 Guías creadas