
Nikon Coolpix S4000 Casing Replacement
Introducción
Ir al paso 1In order to replace anything in the camera, besides the battery or SD card, the camera’s casing must be removed. When removing the casing there are a few important factors to keep in mind.
The screws used to hold the casing together are very small, and easy to lose. Keep them in a safe place where you will be able to find them again.
Be gentle when removing the front and back casing from the body of the camera. It is tight around the body and can crack easily if you try to force it apart. Use the spudger if working it apart with your fingers is proving difficult.
Qué necesitas
Herramientas


-
-
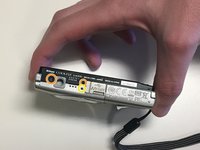
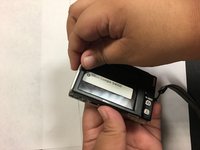
Slide the battery door open with a finger or thumb and release it so the door opens.
-
-
-
-
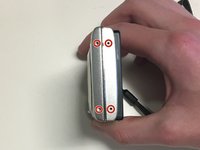
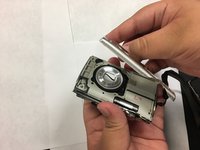
Remove four 2mm Phillips #000 screws.
-
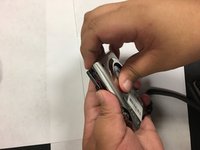
Remove two black 3mm Phillips #000 screws.
-
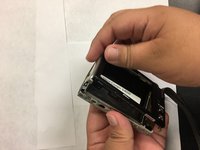
Remove one 4mm Phillips #000 screws.
-
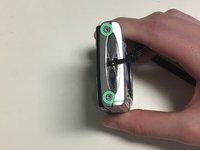
Remove two silver 3mm Phillips #000 screws.
-


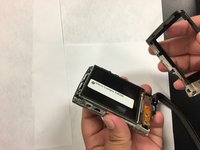
To reassemble your device, follow these instructions in reverse order.
To reassemble your device, follow these instructions in reverse order.
Equipo

University of North Texas, Team S4-G1, Thompson Spring 2018 Miembro de University of North Texas, Team S4-G1, Thompson Spring 2018
UNT-THOMPSON-S18S4G1
5 Miembros
16 Guías creadas