Saltar al contenido principal
Nikon Coolpix L840 Lanyard Ring Replacement

Nikon Coolpix L840 Lanyard Ring Replacement

Abraham Lozano

Abraham Lozano y 4 otros contribuidores

Última actualización: July 4, 2020

3 - 5 minutos
Fácil

Introducción

Ir al paso 1

This guide details the steps required to replace the lanyard ring.

Qué necesitas

Herramientas

Ver más…

  1. Nikon Coolpix L840 Lanyard Ring Replacement, Motherboard: paso 1, imagen 1 de 3 Nikon Coolpix L840 Lanyard Ring Replacement, Motherboard: paso 1, imagen 2 de 3 Nikon Coolpix L840 Lanyard Ring Replacement, Motherboard: paso 1, imagen 3 de 3
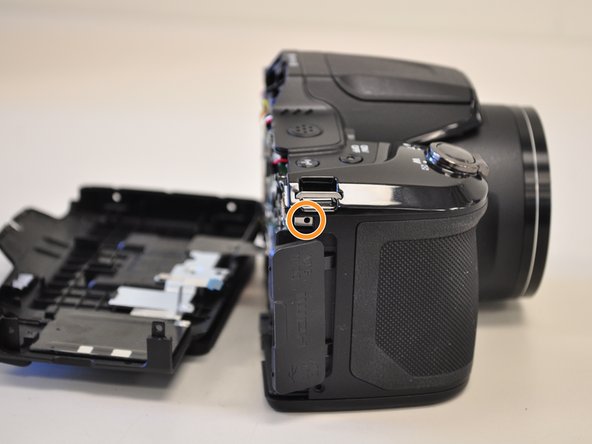
    • Unscrew all eight black, 4mm screws with a Philips 000. (The top-most screw shown in the third image can be accessed by lifting the cover flap off.)

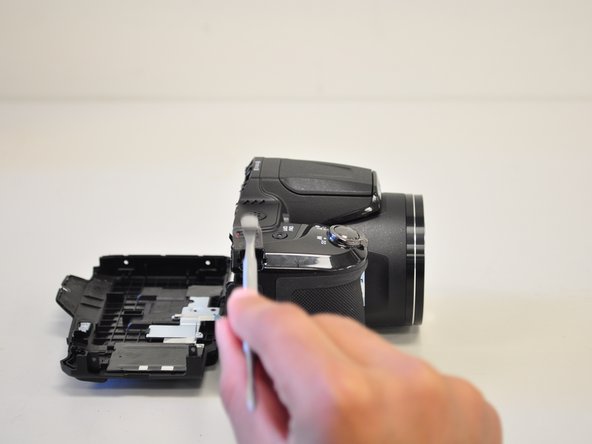
  2. Nikon Coolpix L840 Lanyard Ring Replacement: paso 2, imagen 1 de 1
    • Pry case open with a metal spludger by slipping the spludger between the back and front case of the camera and wiggling the spludger forwards and backwards.

    • Be careful not to damage the inner components of the camera when slipping the spludger into the camera.

  3. Nikon Coolpix L840 Lanyard Ring Replacement: paso 3, imagen 1 de 2 Nikon Coolpix L840 Lanyard Ring Replacement: paso 3, imagen 2 de 2
    Herramienta utilizada en este paso:
    Tweezers
    $4.99
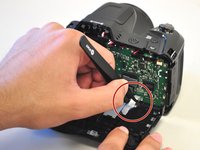
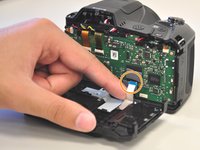
    • Carefully unhook the silver strip with tweezers. Get a grasp of the sides of the silver strip with the tweezers, and pull upwards and out.

    • The strip may also be identified by its blue tip, which becomes more visible once pulled out.

  4. Nikon Coolpix L840 Lanyard Ring Replacement, Lanyard Ring: paso 4, imagen 1 de 2 Nikon Coolpix L840 Lanyard Ring Replacement, Lanyard Ring: paso 4, imagen 2 de 2
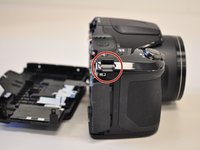
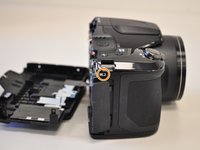
    • Identify lanyard ring.

    • Unscrew the 4 mm black screw with a Philips 000.

  5. Nikon Coolpix L840 Lanyard Ring Replacement: paso 5, imagen 1 de 2 Nikon Coolpix L840 Lanyard Ring Replacement: paso 5, imagen 2 de 2
    • Insert a metal spludger (or another sturdy tool with a thin tip) into the hole of the lanyard ring and lift the ring upwards and out of the camera.

Conclusión

To reassemble your device, follow these instructions in reverse order.

Una persona más ha completado esta guía.

Equipo

Cal Poly, Team 1-11, Maness Spring 2016 Miembro de Cal Poly, Team 1-11, Maness Spring 2016

CPSU-MANESS-S16S1G11

Miembros de 4

10 Guías creadas

0 comentarios

Agregar Comentario

Ver Estadísticas:

Ultimas 24 horas: 0

Ultimos 7 días: 4

Ultimos 30 días: 5

Todo El Tiempo: 688