
Nikon Coolpix 775 Motherboard Replacement
15 - 50 minutos
Moderado
Introducción
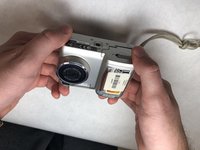
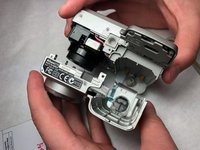
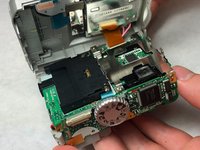
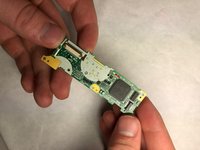
Ir al paso 1Do you think your motherboard is fried? This guide can help you walk through the removal of this motherboard for the Nikon Coolpix 775.
Qué necesitas


-
-
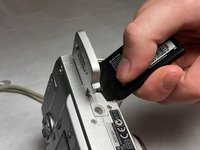
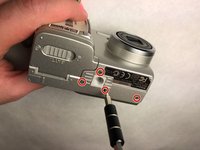
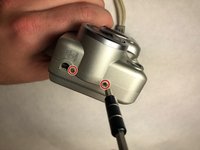
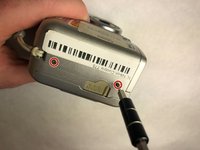
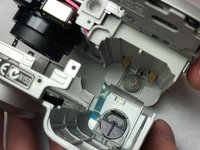
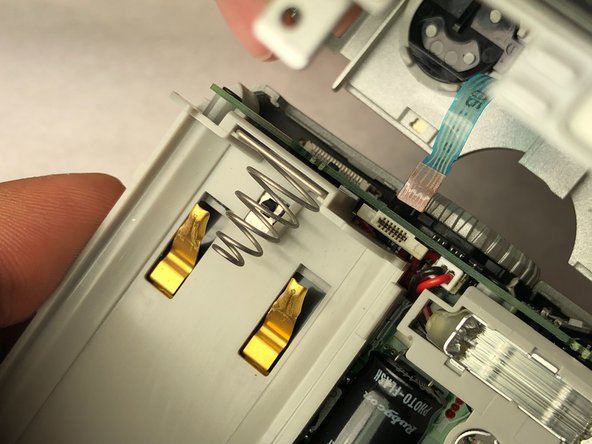
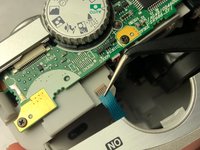
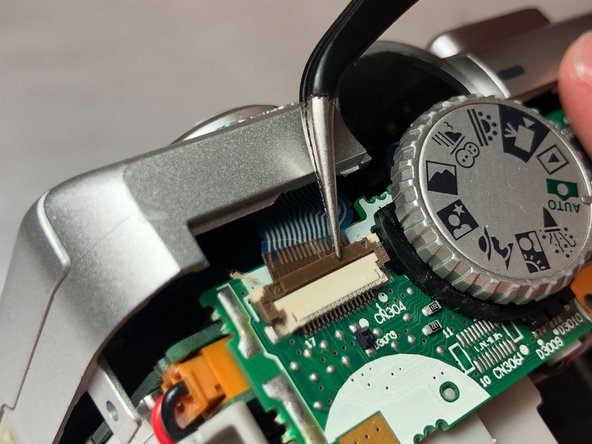
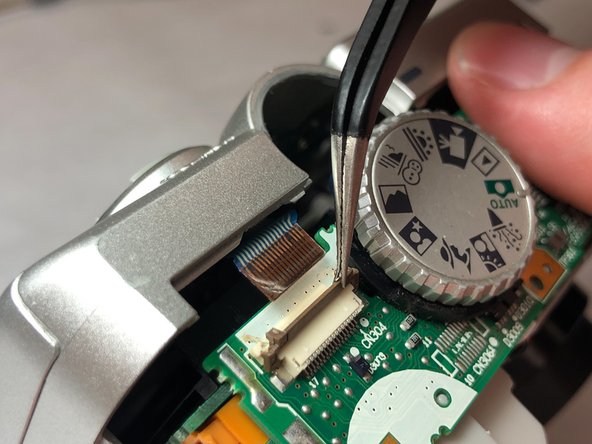
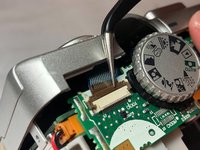
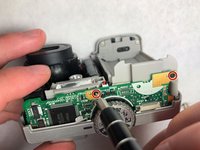
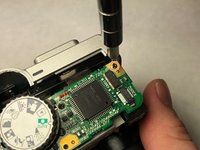
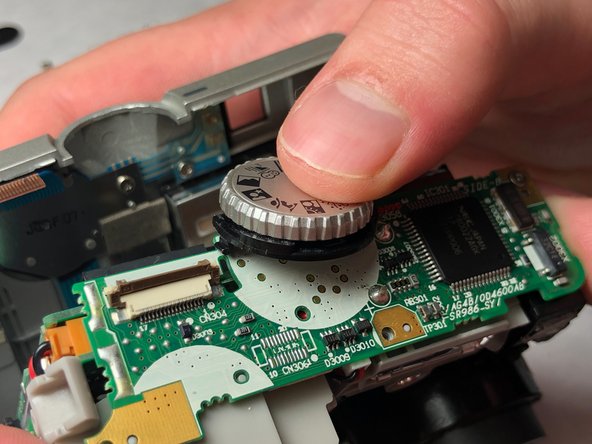
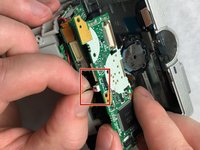
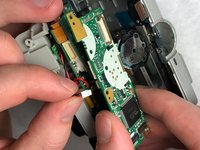
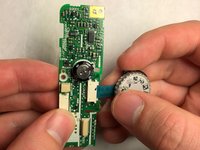
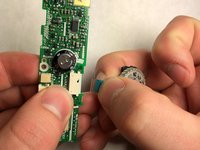
Unscrew the eight 4mm long JIS #00 screws from the bottom, right side, and the left side.
-
-


Casi Terminas!
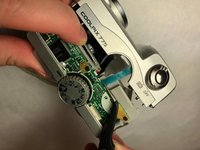
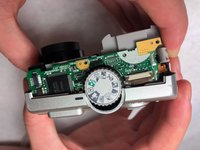
To reassemble your device, follow these instructions in reverse order.
Conclusión
To reassemble your device, follow these instructions in reverse order.
Equipo

IUPUI, Team S2-G3, Baechle Fall 2018 Miembro de IUPUI, Team S2-G3, Baechle Fall 2018
IUPUI-BAECHLE-F18S2G3
3 Miembros
6 Guías creadas