
Nikon COOLPIX S610c Lens Assembly Replacement
45 minuto
Moderado
Fotos de acción
Bordeador de Pasos
Introducción
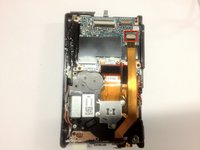
Ir al paso 1If your camera isn't taking photos properly, and you need to replace the lens assembly, follow this guide to remove the current assembly.
Qué necesitas
Herramientas


-
-
-
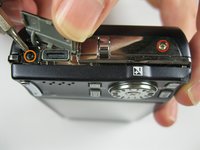
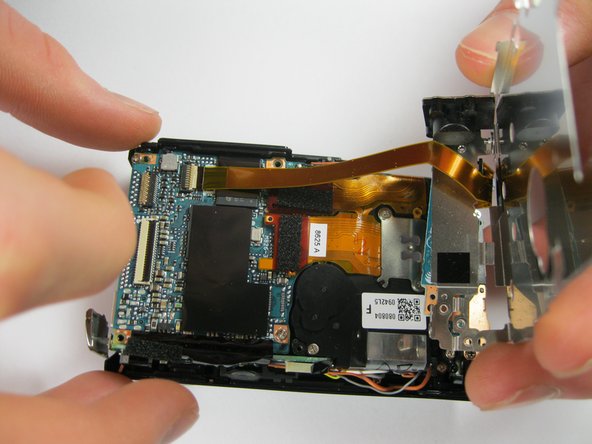
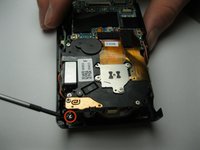
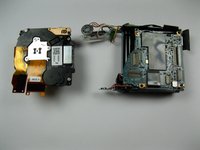
Remove the three 3x3mm screws that attach the front casing to the bottom.
-
-
-
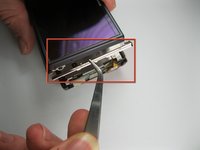
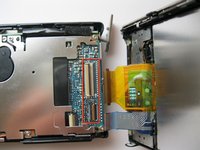
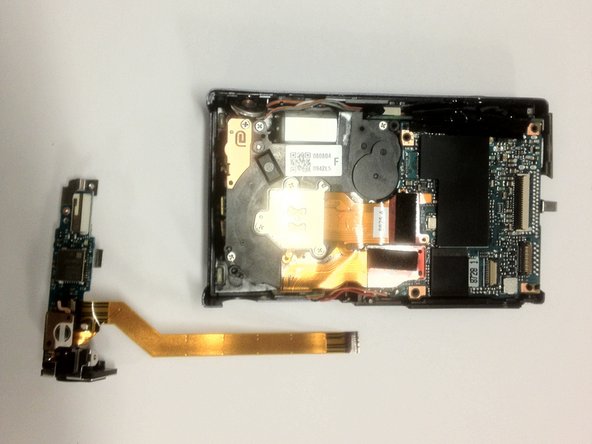
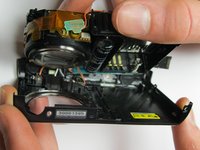
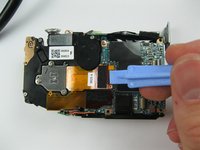
Pry up the ribbon connector that connects the ribbon cable to the lens assembly.
-


Casi Terminas!
To reassemble your device, follow these instructions in reverse order.
Conclusión
To reassemble your device, follow these instructions in reverse order.
Equipo

Cal Poly, Team 9-5, Regan Winter 2012 Miembro de Cal Poly, Team 9-5, Regan Winter 2012
CPSU-REGAN-W12S9G5
5 Miembros
12 Guías creadas