
Nextbook 8 Battery Replacement

Introducción
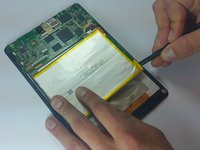
Ir al paso 1You will need a thin durable tool to get the back cover off first. A guitar pick works well if you don't have a plastic opening tool. The parts are very delicate, so use caution when removing the back cover and inner parts.
Qué necesitas


-
-
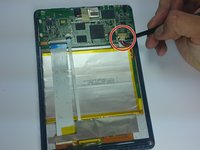
Use the plastic opening tool to remove the back cover. Carefully slide the tool between the front glass and back cover.
-
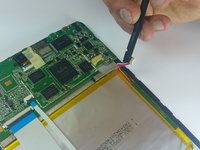
Slide the tool along the edge to work the back cover off.
-
-


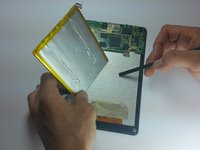
To reassemble your device, follow these instructions in reverse order.
To reassemble your device, follow these instructions in reverse order.
Cancelar: No complete esta guía.
23 personas más completaron esta guía.

Equipo

Colorado Springs, Team 5-1, Panko Spring 2015 Miembro de Colorado Springs, Team 5-1, Panko Spring 2015
UCCS-PANKO-S15S5G1
3 Miembros
10 Guías creadas
4 comentarios
Very helpful and well made.
Check Ebay. That's where I'm headed right now.
im having connection issues i cant find any wifi period